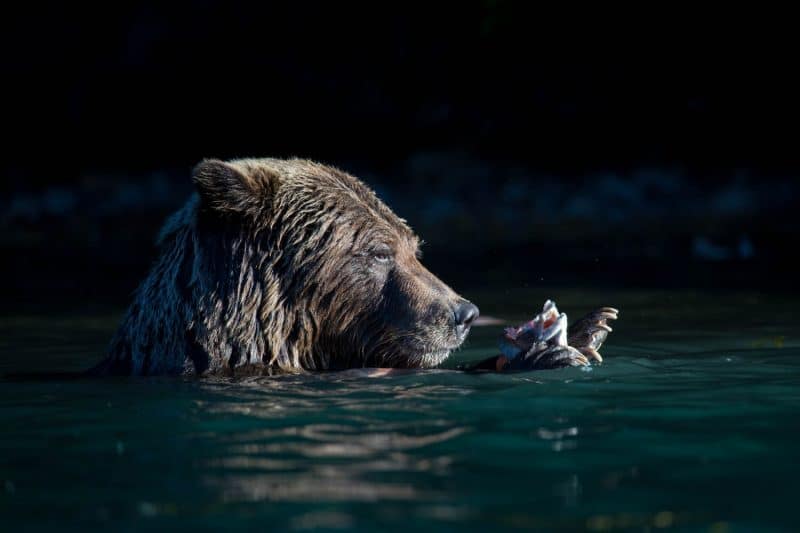
Ever since I began dipping my toes into the wildlife photography waters, I have been using a kayak to gain a more unique perspective on waterfowl, raptors and even grizzly bears. Whenever I post a photo of my kayak setup, I receive many questions about the equipment that I’m using, so I decided to write this post to detail my setup.
Kayak #1 – Wilderness Systems Commander 120

The Commander is a fishing kayak, and that means that it’s designed to be stable enough to stand up in and cast a rod. Of course, this also makes it an excellent and very stable photography platform which is why I chose it.
The back section of the kayak is also sized to hold a cooler and fishing gear and comes with elastic webbing to secure everything. Again, this suits photographic purposes very well as I can use that storage space for a watertight Pelican case.
The seat is also reasonably comfortable for several hours of paddling, and whilst the large tripod and camera setup looks precarious to some people, I assure you that I’ve never once been worried about capsizing this kayak. The only downside to this particular boat is that the open-top design does make it susceptible to water intake on days when strong winds are lashing up the water. It’s also not a boat you’d want to take into any kind of white water or waves.
RRS TFC-24L Mk2

You can read a bit more about why I own the Really Right Stuff TFC-24L Mk2 in the tripod section of the main gear page. While I have a few tripods, this is always the one I put into the kayak because I need something extremely sturdy so that I can strap it down with a lot of tension in the webbing and not be fearful of breaking the tripod. I have always trusted Really Right Stuff gear, and it has never let me down.
Once my setup is installed and tied into the kayak, it is absolutely rock solid. Other sturdy tripods can work as well, but it must have a very strong metal hook, or something similar, on the underside of the tripod plate. This is where the webbing gets attached and allows me to be pulling the tripod downwards towards the kayak’s base.


It’s also quite important to have a tripod which doesn’t have a centre column as this will interfere with your legs and take up valuable storage space. When the camera isn’t mounted to the tripod, it’s stored between my legs in a watertight bag, and if there was a protruding centre column coming down from the tripod, that wouldn’t work.
RRS PG-02 Gimbal Head

The RRS PG-02 Mk2 gimbal head is also a crucial piece of the puzzle. A gimbal lets me quickly reposition the big camera and lens setups with minimal effort. Unlike a ball head, I don’t need to worry about keeping a hand on the ball head locking knob to lock and release it constantly. When you’re trying to steady a long lens on a moving platform, the last thing you want is to do it with only one hand on the camera.
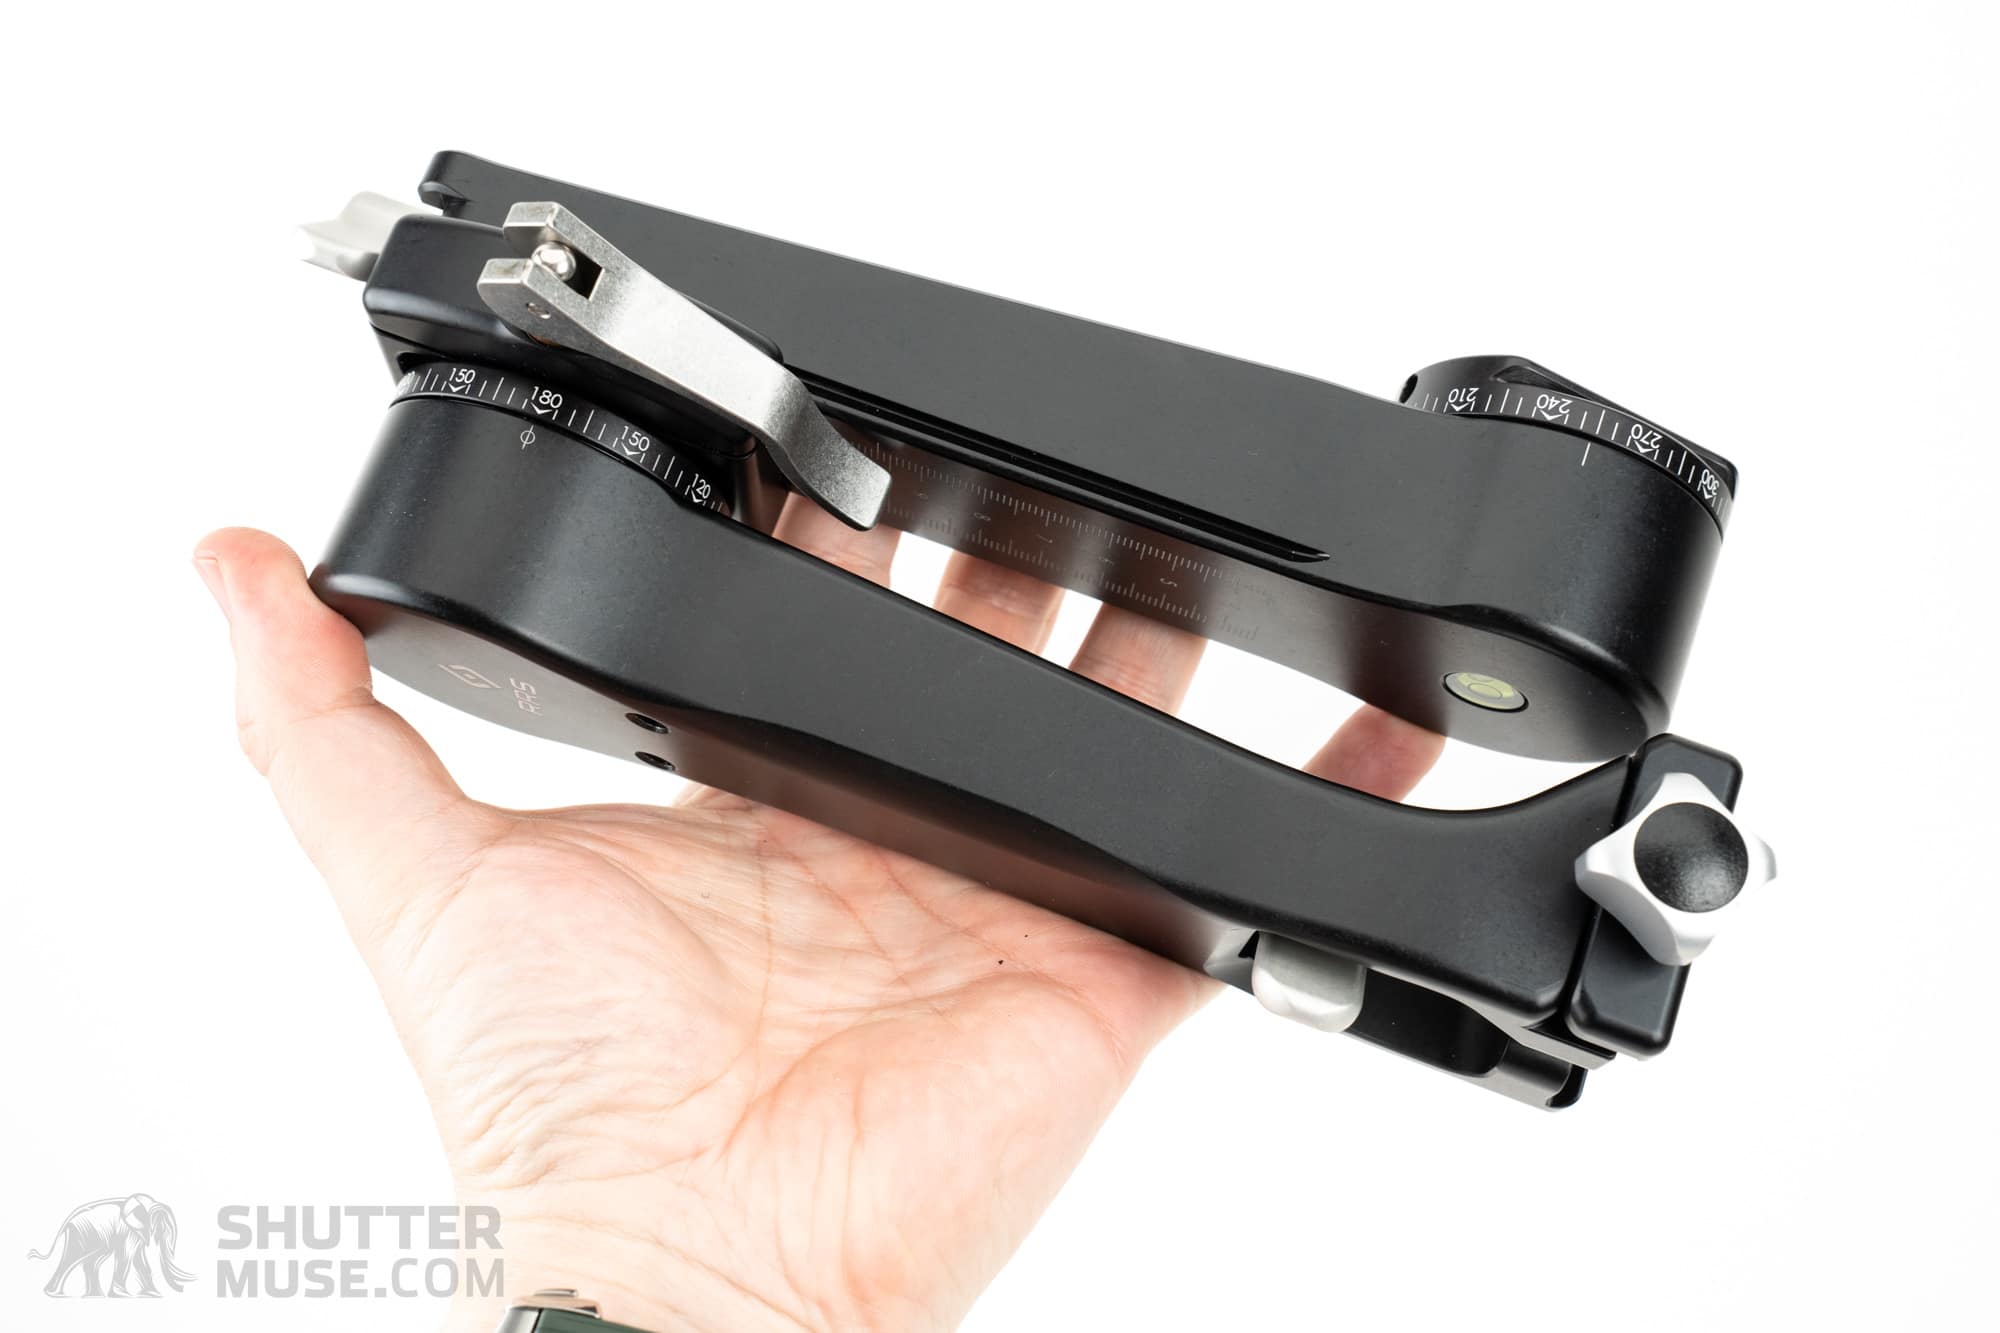
The best gimbal heads on the market have all been detailed in our gear guide. I like the RRS one because it comes apart for easy packing and doubles up as a multi-row panoramic head. If I have to do various types of photography on a trip, I can pack this one head and get it all done. A few years ago I made a little video about it:
Tie Downs With Cam Locks
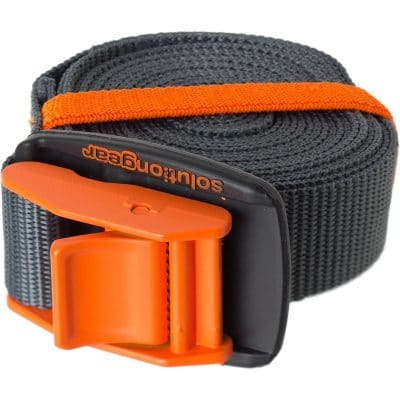
I use a couple of cam lock tie-downs to secure my tripod setup into the kayak. One runs to the front of the boat and pulls the tripod in the forward direction, and another run from the base plate of the tripod down and backwards. This opposes the forward pull of the first tie-down and pulls the tripod feet tight into the bottom of the boat. When these two straps are cranked tight, you can’t budge it even an eighth of an inch!
Every kayak is going to be different. When choosing your’s, pay close attention to where you will have a solid attachment loop to pass tie-downs around. The Commander 120 has a metal bar across the front as you see in the photos, and it also has metal bars inside for the seat rails which act as the second anchor point.
Dry Bags
Dry bags are definitely your friend when you’re working on the water. It doesn’t matter if you don’t plan on capsizing, you will end up with water in the boat at some point. Whether it’s from wind spray or drips from your paddles.
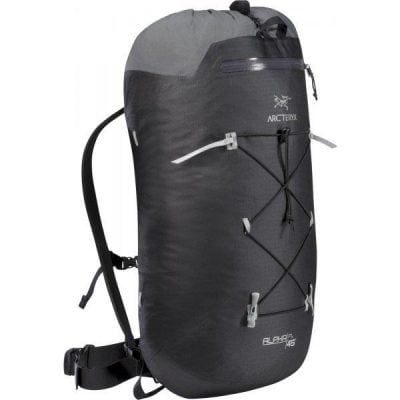
Always pack a variety of different dry bag sizes! After many trips, I’ve settled on using the Arcteryx Alpha FL45 backpack as a solution for keeping my camera dry when it’s not on the tripod. I like having the backpack straps for carrying the camera to and from the water, and the straps are low profile enough that you don’t notice them getting in the way when it’s in the boat.
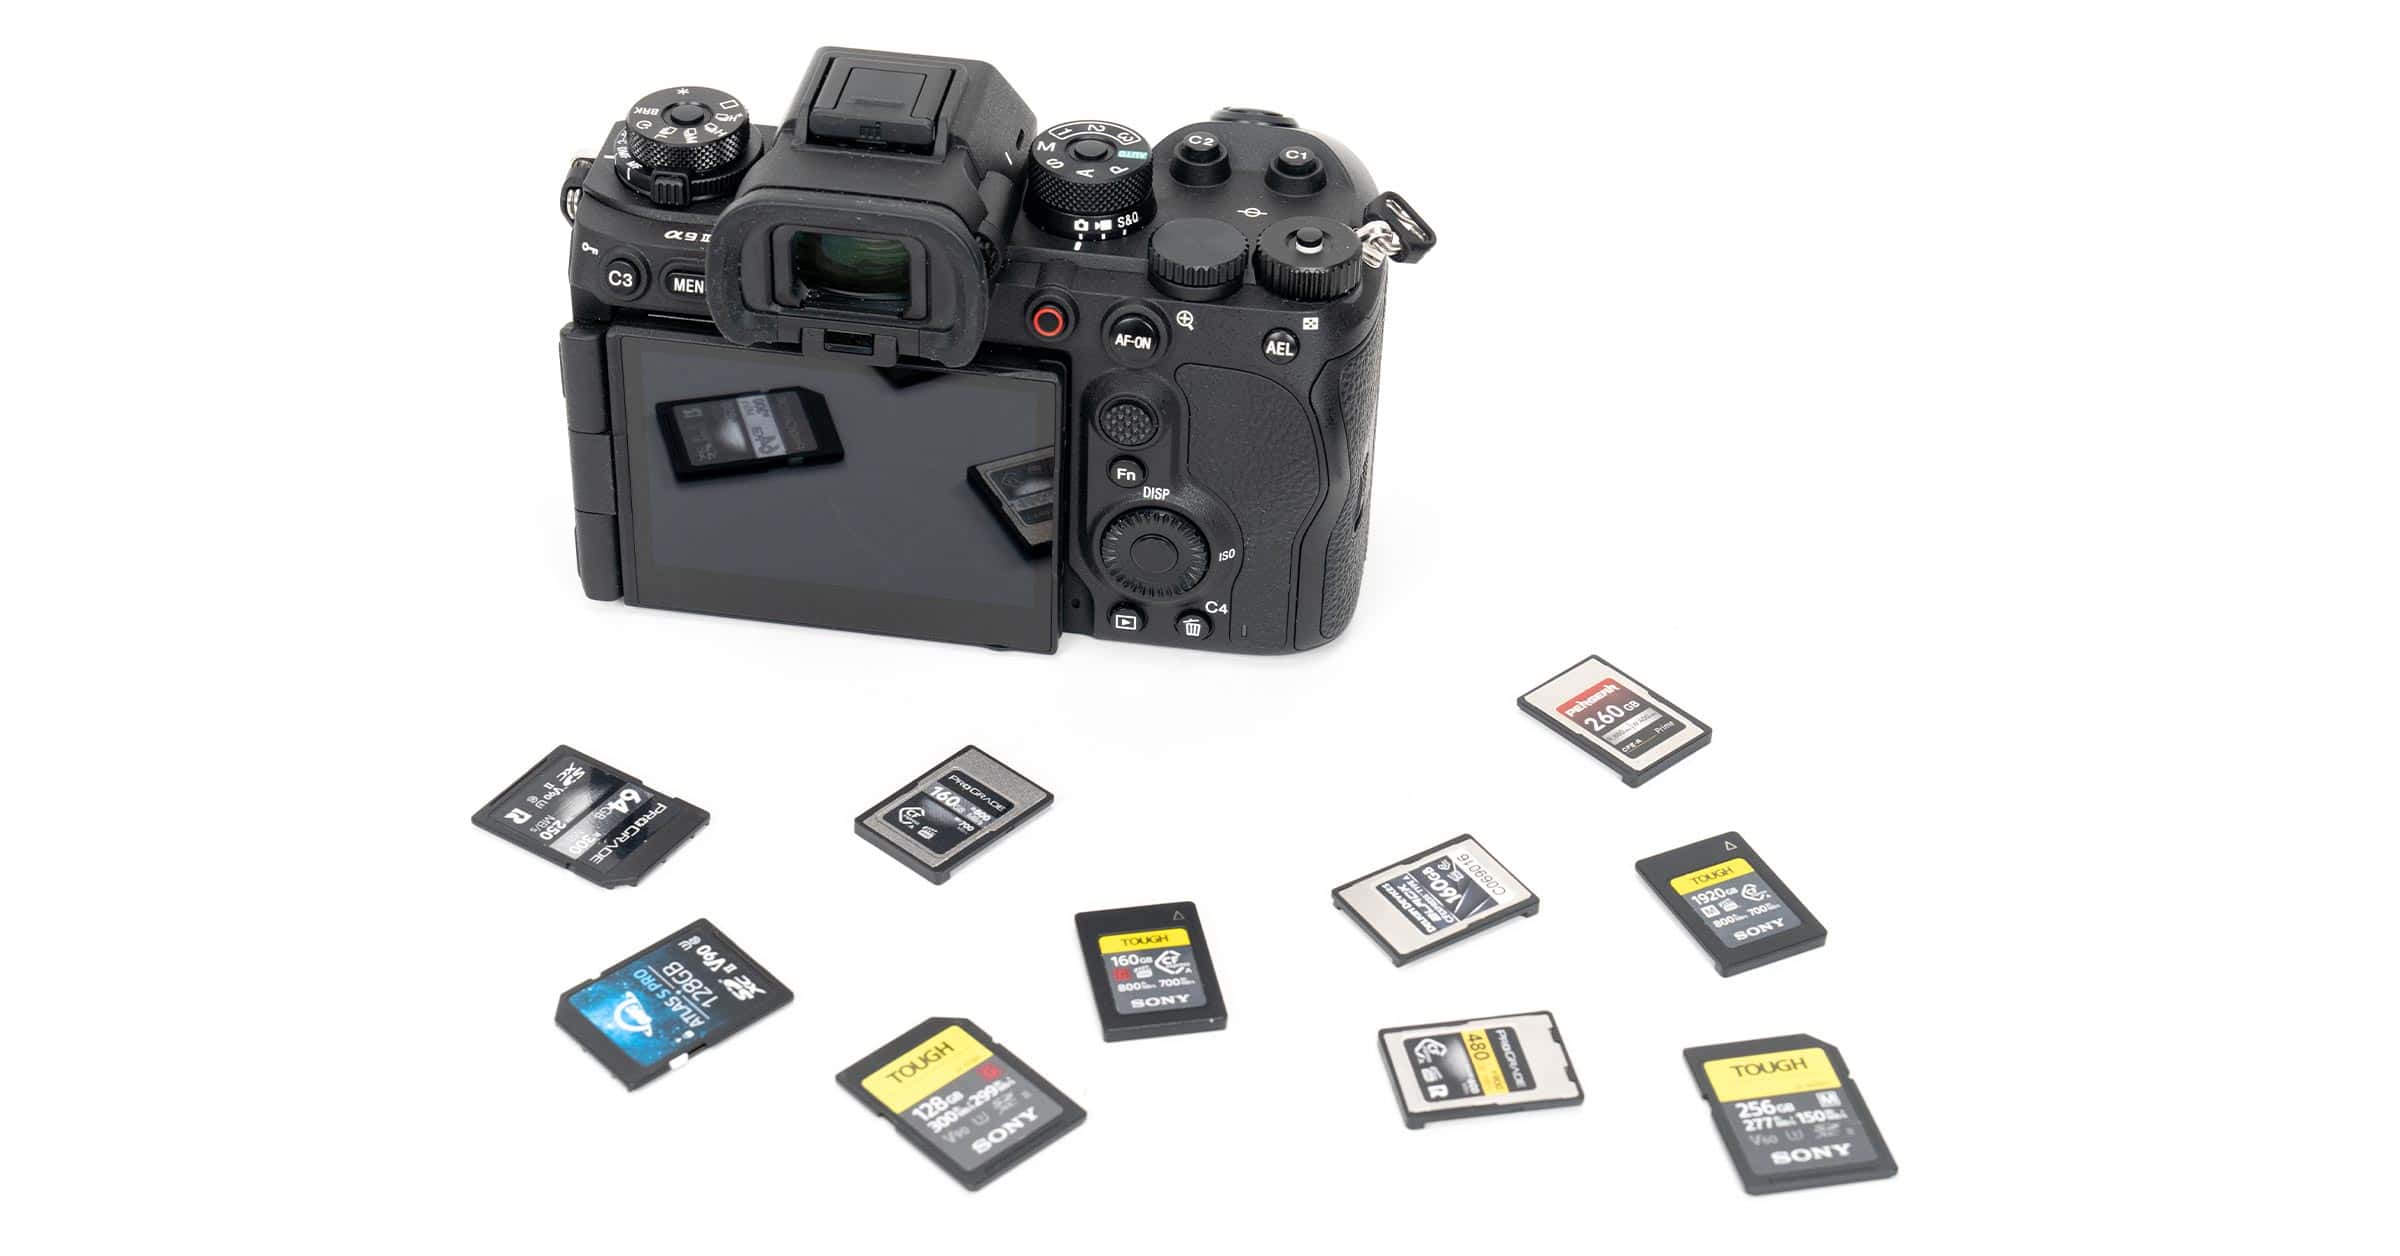
I also use a small generic brand dry bag that I hang from the hook of my tripod. In this one, I store my memory card holder and spare camera batteries. It’s all very well having lots of storage space in the kayak, but it’s tricky to access all of it when you’re actually out on the water, especially when you have the tripod strapped in place. That means I need to have these small items easily to hand at all times.
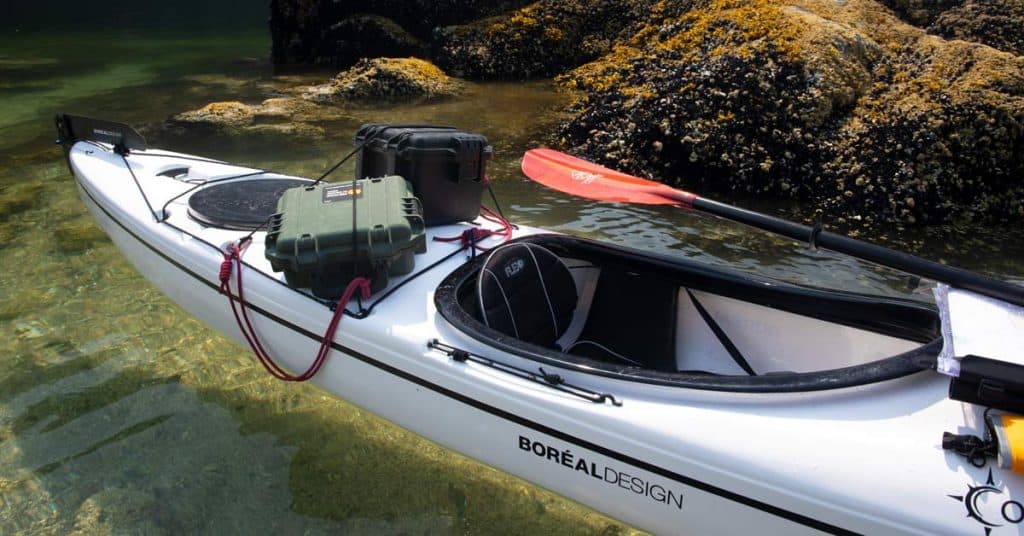
Kayak #2 – Boréal Design Compass 140 Ultralight
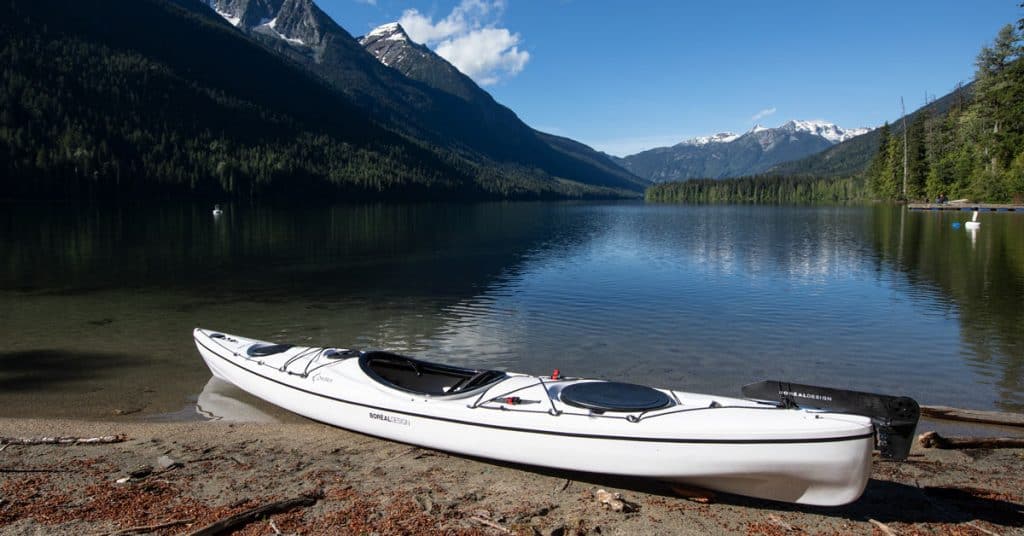
I purchased this second kayak for two reasons: Firstly it’s light enough that I can easily load it on my car on my own, something that is a struggle with the heavier fishing kayak. Secondly, I wanted something that I could take in the ocean and paddle for multi-day camping trips.
The Compass 140 was a perfect choice. It is stable enough for a photographic platform and has a large cockpit. The large cockpit was important for me because I needed to be able to store a super-telephoto lens between my legs. Many kayaks that I tried simply didn’t have enough room to get the lens and camera down there once I was already sitting in it.
Obviously, you have to forgo the gimbal setup for this scenario, but it does give you some additional options for places to explore, and this style of touring kayak is considerably faster and more nimble than the big heavy fishing kayak.