
When I teach my photography workshops, it’s always fun to see a student’s face when they try out a macro lens for the first time. Invariably, all their shots for the rest of the day are explorations of the tiny world around us. It’s a fascinating perspective, but it’s a challenging form of photography to perfect. I’ve put together a list of macro photography gear tips for you to consider. Surprisingly, a dedicated macro lens is NOT on this essential macro photography gear list: There are several ways to shoot macro photos without needing to spend a ton of money on a new lens.
Quick Reference List
For those who like things short and sweet, I’ll kick things off with a simplified version of the list. For more information, and my reflections on each item, please scroll down and keep reading.
- Pocket collapsible 12″ diffuser
- Reversing Ring
- Extension tubes
- Close-up lenses
- Flash/LED lighting
- Shooting Table
- Focus Stacking Software
- Focus Rails
Honorary mention due to its incredibly short MFD –>> Canon 100-400 f/4.5-5.6 L IS II
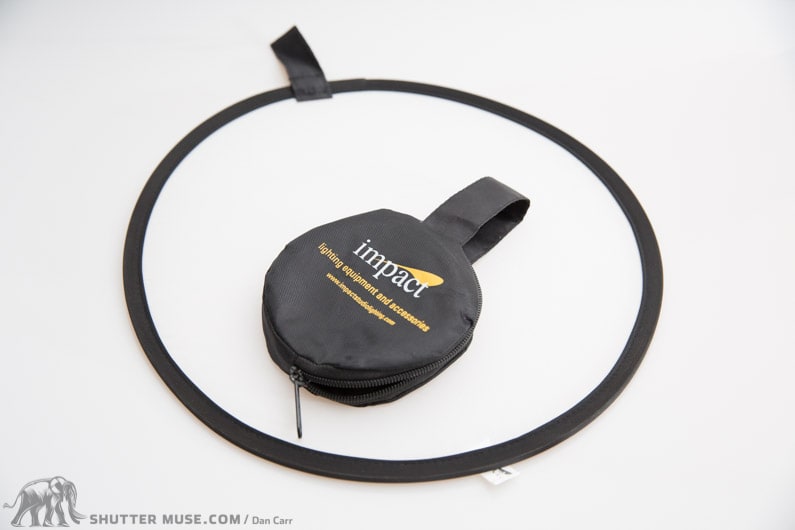
1. Impact Pocket Collapsible 12″ Diffuser
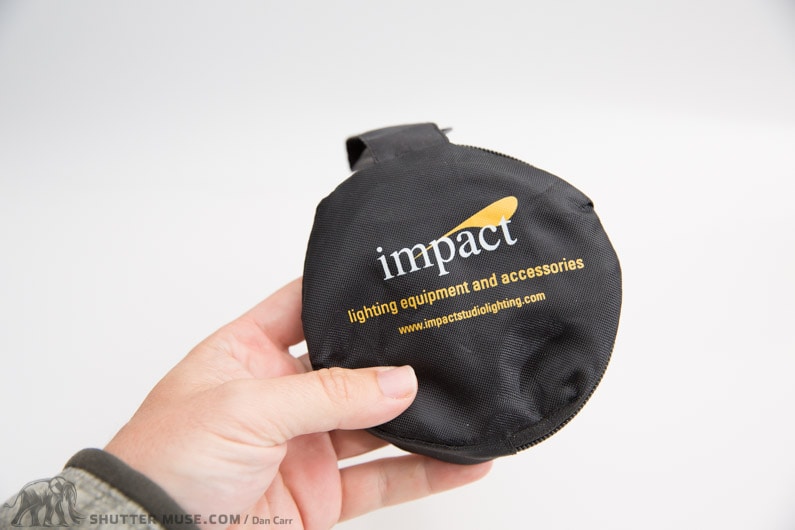
This is a great little product that I recently found and added to my everyday camera kit for under $10. Shooting macro photos in harsh, direct sunlight isn’t a great idea. It’s best to shoot in open shade so that you have high light levels, but also nice, even lighting. The collapsible diffuser allows you to carry around an open shade wherever you need it, and it’s small enough to fit unnoticed into a pocket!
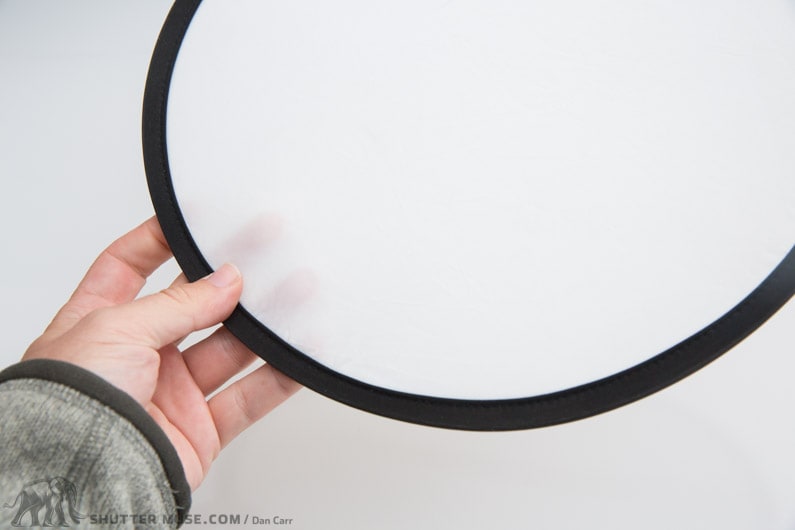
As a diffuser, it’s translucent, which lets some of the light through. This feature makes it preferable to simply standing between your subject and the sun because it gives just a hint of directionality to the light, and also provides you with increased light levels for greater depth of field and lower ISO settings.
With a sub-$10 price-point on B&H Photo, this diffuser makes an amazing stocking stuffer gift for any photographer.
2. Reversing Ring
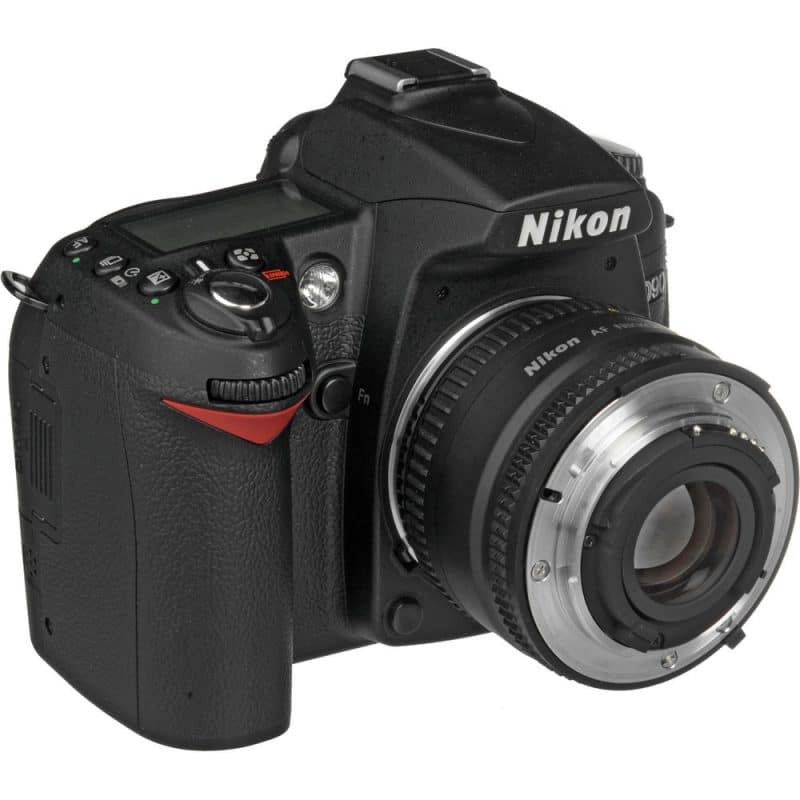
This is a fun little tool that transforms existing lenses into macro lenses, and can be purchased for as as little as $10 if you get a fully manual one. These adapters lets you mount your lens backwards on your camera body, and whilst you lose autofocus and aperture control with the cheaper ones, it’s a handy way to get into the macro world on a tight budget.
50mm prime lenses tend to partner well with a reversing ring, which is great because it’s often the first prime lens that people buy with their DSLRs. There’s no better way to get started with macro photography than with a cheap 50mm prime like the ubiquitous Canon 50mm f/1.8 “nifty fifty” or Nikon, Sony, Fuji equivalent – and a simple reversing ring.
If you’re confident that you will enjoy macro photography then you might consider jumping a little higher up the pricing scale ($99) and getting a reversing ring that has electronic contacts. Called the Macrofier, and produced by Vello, these are much newer to the marketplace and allow you to control the aperture of the lens the camera in the regular way. It also gives you contrast-detect autofocus if you’re using live view. Unfortunately at the moment this appears to be available for Canon EF/EF-S mount only.
NOTE: You can also pair reversing rings with extension tubes (explained in #3), to give you even more control over the magnification of your macro setup.
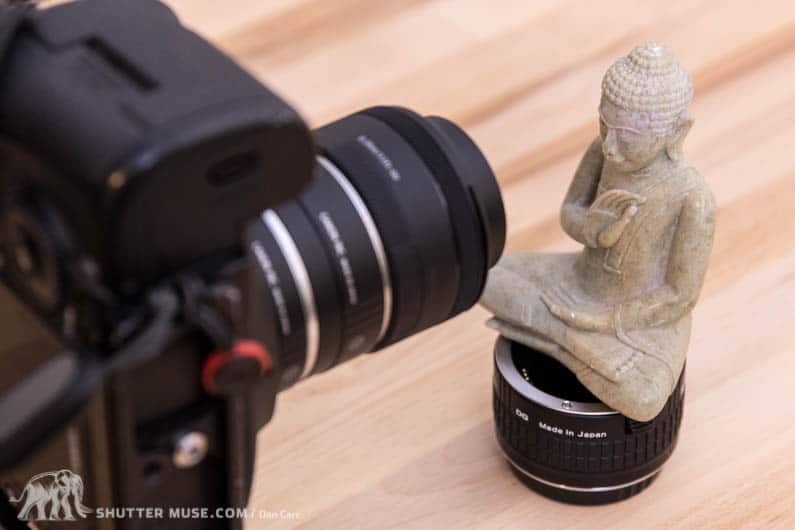
3. Extension Tubes
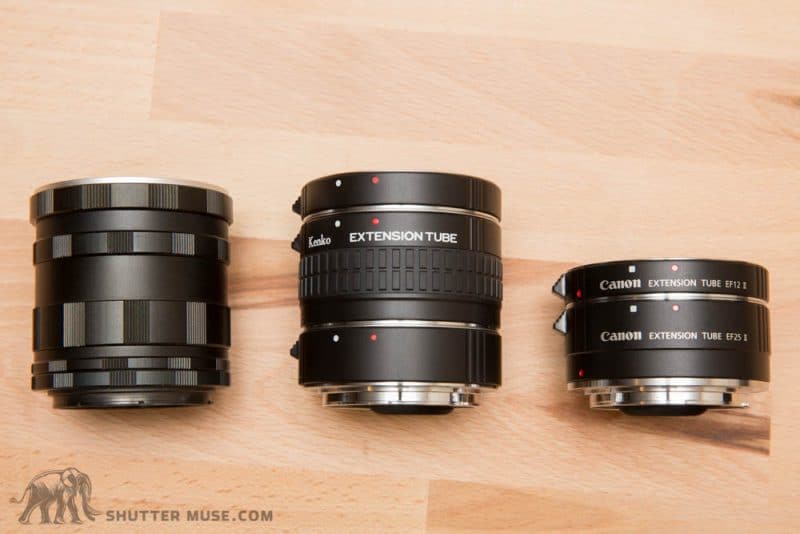
Even with a dedicated macro lens in your kit, it’s not always practical to carry all your lenses wherever you go. Similar to reversing rings, extension tubes are a cheap and lightweight solution that allow you to get macro images using a regular lens. This, of course, also makes them handy if you can’t afford a dedicated macro lens in the first place.
An extension tube is simply a spacer that goes between the camera and the lens and changes the Minimum Focus Distance (MFD), allowing you to get closer to your subject. Extension tubes come in different thicknesses to create a variety of altered MFDs for your lens. If you are nerdy like me, and want to see some of the math behind the change in MFD, I’ve previously written a tutorial about calculating the new MFD with extension tubes.
- I’ve also written a huge guide to extension tubes: The Ultimate Guide To Extension Tubes.
Whilst an extension tube does not contain any optics, it can very slightly degrade image quality because the centre of the image is being magnified, and thus any optical faults also get magnified. Since lenses are at their best in the centre, this generally isn’t too much of an issue, but you will be focusing the lens closer than it was designed to be. There’s also loss of light as the extension tube increases the effective f-stop of the lens. Having said that, the same thing also happens with dedicated macro lenses when focused at their MFD.
Extension tubes can either be active or passive. Passive tubes have no electronic contacts to pass information through from the lens to the camera, and vice versa. This means that autofocus is not possible, and the camera cannot control the aperture of the lens. These passive tubes are, however, much cheaper. Active extension tubes allow you to use your lens in the way that you would normally, but the autofocus will perform a bit more slowly. Personally I think that manual extension tubes are a waste of time because adjusting your aperture is a huge pain in the ass. Third-party extension active tubes, like the excellent Vello ones, are well-priced anyway. For Canon shooters, I’ve previously compared the Canon and Kenko extension tubes. Kenko make them for other brands as well though, and since there are no optics in them, anyone can learn from that post.
Popular Extension Tubes
4. Close-up Lenses
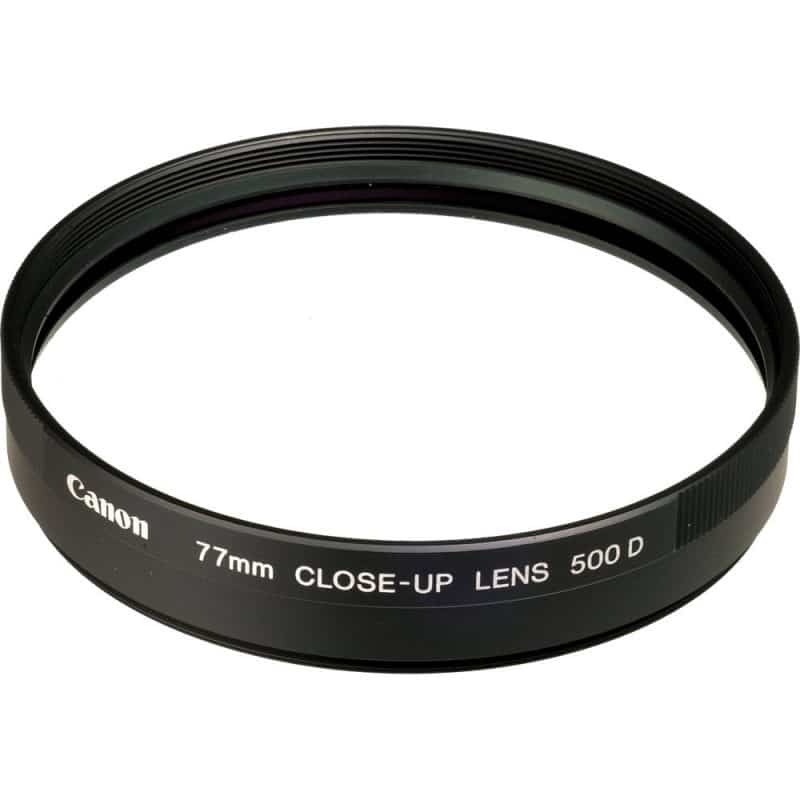
Extension tubes work well on wide-angle or standard lenses, but MFD is less affected on longer lenses. If you want to add macro capabilities to a longer lens, a close-up lens is a better option. This is an optical filter that screws onto the front of your lens and allows you to focus at a closer distance. Both Canon and Nikon make very good close-up lenses that cause only minimal degradation in image quality. Third-party options from filter manufacturers like Tiffen and Hoya are also available. In many ways, close-up lenses are much easier to use than extension tubes because you don’t need to remove the lens to put them on. They also don’t affect the lens’ autofocus speed or aperture control. Close-up lenses are popular to use with zoom lenses like a 70-200, or a 100-400/80-400.
Note that because these are simply threaded filters for the front of a lens, you don’t necessarily need to use a Canon branded one on Canon lenses. You should have no issues using a Canon close-up lens on a Nikon 70-200, for example.
Popular Close-up Lenses
Note: A close-up “lens” is the same thing as a close-up “filter”. Different brands choose to use different names.
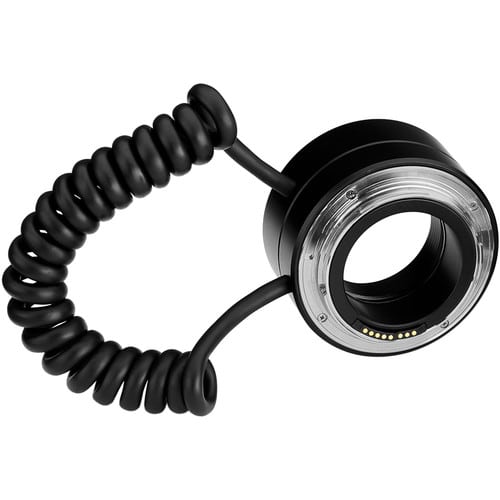
5. Macro Flash Solution

As a macro photographer there will be two things you’re always fighting for: Greater depth of field, and faster shutter speeds. Both of these things require more light unless you’re willing to push your ISO higher and higher. A flash is often the easiest answer to this problem, so you’ll often find some kind of flash in the bag of an avid macro shooter.
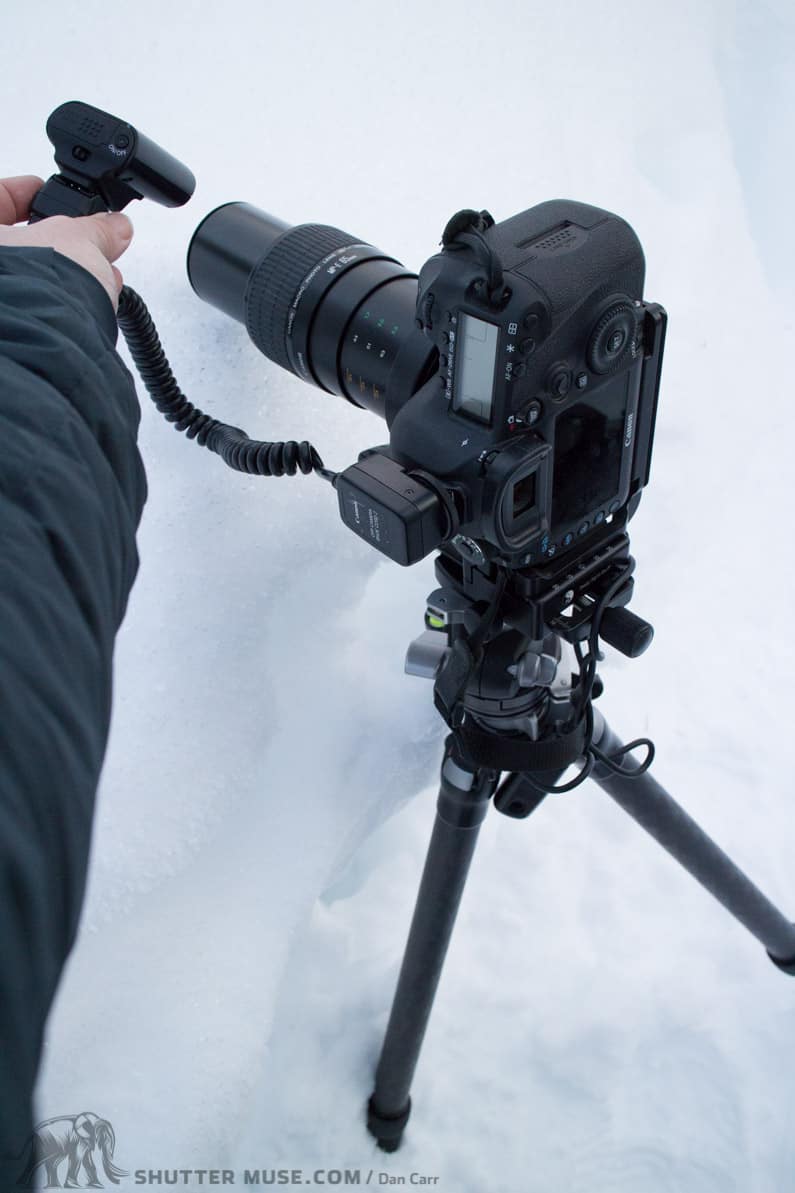
Using a simple extension cord to reposition the flash for optimal contrast.
If you’re looking to shoot outdoors, particular with moving creatures, I’d definitely recommend going for some sort of flash. Achieving enough depth of field can be really tough with macro shooting, and the necessary small apertures really soak up all the light. Without a flash, shutter speeds can quickly fall dangerously low, but with a flash, we can use the action-freezing “pop” to stop our subject’s motion. In addition to that, we get to control the light, instead of merely accepting what Mother Nature has given us.
Macro flash solutions can vary from a single flash, to complex multi-headed units that allow remote positioning of individual light sources. A single flash with a small softbox is a great start; a two-light setup is even better as you can control the background light and potentially add a rim light to your subject. A flash extension cord is a cheap way to get the flash off your camera body, which results in a ten-fold improvement in the look of the image.Ring flashes are a popular solution for macro flash as well. These circular flashes fit around the end of your lens, but are typically composed of two flash elements that allow you to independently control the brightness of each side of the ring.
Ring flashes provide nice, even light, and are certainly much quicker to work with than multi-headed solutions. If you’re chasing tiny, fast-moving bugs around a forest floor, a macro ring flash might be your best solution. If you can get your subject to sit relatively still for a few seconds, you could consider one of the multi-headed solutions, or a single flash with a softbox on a re-positionable arm.
Cost effective continuous lighting solutions
Popular Macro Flash Rigs @ B&H Photo
- Canon MT16EX-RT
- Venus Optics KX-800 Flexible Macro Twin Flash (Great value!)
- Nikon R1C1
- Sigma EM-140 DG
- Yongnuo YN-14EX-C
6. Macro Shooting Table
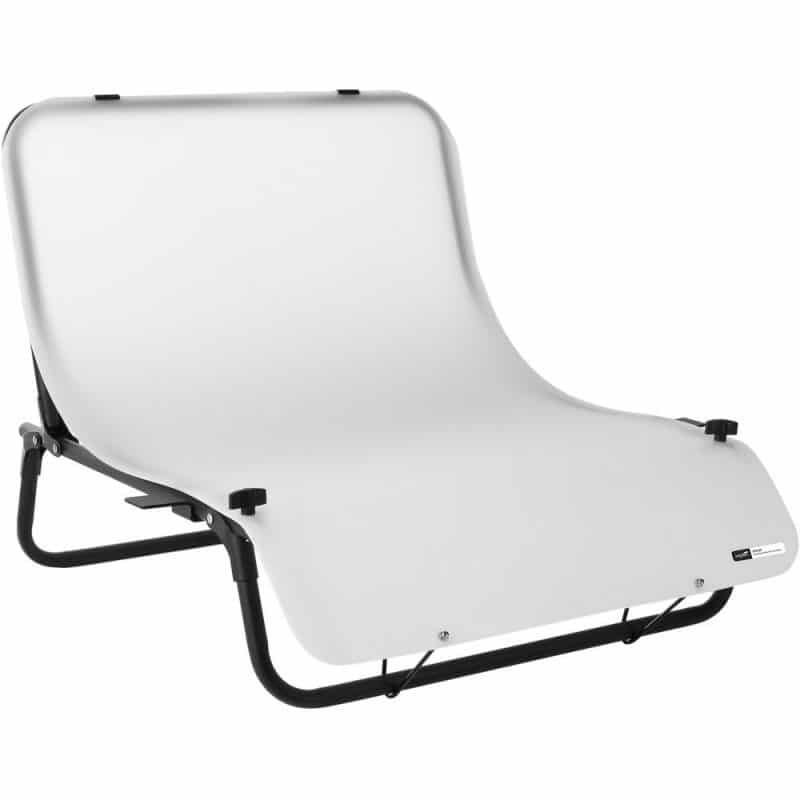
When the weather’s bad, it’s nice to be able to practice your macro photography indoors. As we’re working with relatively small subjects, it’s easy to set up a mini “studio” on a table. Rather than messing around trying to hang up your bed sheets (yes, we’ve all done that…), you can get relatively inexpensive shooting tables that set up in just a few seconds.
They make excellent backdrops for shooting items like flowers, jewellery and perhaps the occasional cooperative insect if you provide something for them to sit on. There are some expensive versions of these tables from Manfrotto, but personally I just use the much cheaper version from Impact Lighting Solutions. At under $90, it’s a great way to give yourself a controlled shooting environment to work on your macro techniques, such as focus stacking. The Impact table isn’t the only affordable option, so I’ve listed a few more below.
Affordable macro tables
- Impact 24×36 table
- Impact Mastertop table (this one is a bit bigger but only $10 more expensive)
- Cloud Dome Infinity Board (under $40!)
- Lastolite Light Table
7. Focus Stacking Software
It’s often tough to get enough depth of focus when your subject is close to the lens element. We can stop a lens right down to its smallest aperture, but diffraction causes sharpness to degrade as that minimum aperture is approached. In order to produce the absolute highest quality image, focus stacking is the answer.
Focus stacking is the process of taking multiple photos of your subject at varying focus points, and then combining all the images together to achieve great depth of focus through the subject. These “slices” of focus are actually relatively easy to combine into a final image if you use the right software.
The first option is Photoshop, and thankfully these days it doesn’t cost an arm and a leg to get it. I use the Creative Cloud Photography Program which gives me Photoshop and Lightroom for about $10/month and I think it’s well worth it for even just one of those two programs. Photoshop has a built-in focus stacking mode which will load all your images and then automatically mask out the parts you don’t need, leaving you with the “stacked” image. In general, it does a very good job as long as you have used a tripod to shoot your stack.
There’s a number of dedicated stacking programs available as well, with Zerene Stacker being the most prevalent. Prices start at $89 for a license, and go all the way up to $289 for the professional version. There is a 30-day trial if you want to check it out and see what you get for the money.
Personally, for most people, I think Photoshop is a far better investment as it can do much more for your photography as a whole. After a while, if you really find that macro is your favourite niche, then you could consider a dedicated solution. Another consideration is that most people will want to do final edits to an image after they have been stacked, so even if you did have a dedicated stacking program, you’d probably still want Lightroom or Photoshop as well.
If Zerene Stacker doesn’t work for you, the other popular option is Helicon Focus. Although the pricing is fairly similar to Zerene, Helicon allows Raw files to be used to create a brand new stacked DNG file. That’s a great feature that would swing my vote if I was in the market for either option. Both Zerene and Helicon are available for Mac or PC.
8. Focus Rails
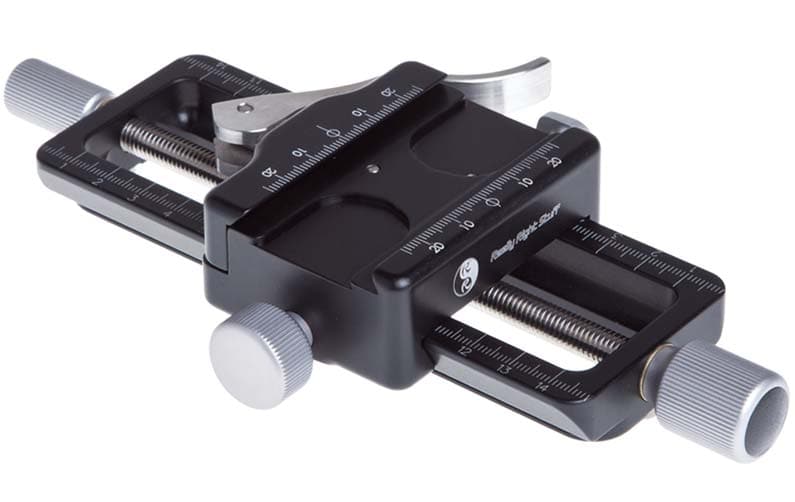
If your exploration of macro photography takes you as far as the above-mentioned focus stacking methods, I highly recommend using a focusing rail as well. A rail such as the one pictured above helps to make incremental movements of your camera by using a gear mechanism that can be turned between each exposure. Without a focus rail, it’s all too easy to miss a slice from your focus stack, and you’ll be left with a small area in your image that’s out of focus. A rail gives you a way to repeat things, and a way to calculate your movements precisely.
I use the Really Right Stuff rail ($345) that is pictured above, but there are many similar options available from the likes of Kirk and Novoflex as well. If you want to get extreme, the StackShot is a computer-controlled electronic rail that will make each incremental movement for you!
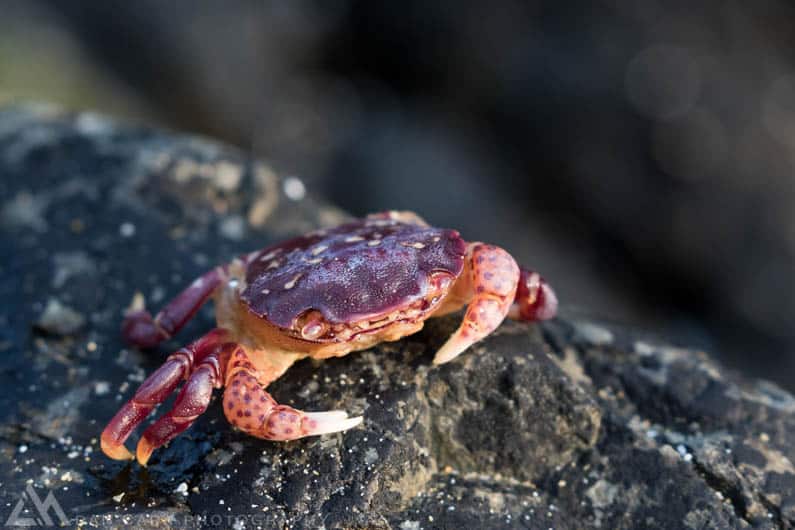
Honorary Mention – Canon 100-400 f/4.5-5.6 L IS II
This lens deserves a special mention on my list because I know that a lot of you are Canon shooters and this lens has proven itself time and time again. We tend to think of needing dedicated macro lenses for serious macro photography work, but that is not always the case. If a lens has a long enough focal length and a short enough minimum focus distance (MFD), you can actually get near-macro images very easily. The original version of this lens had an MFD of 70.9 inches, which isn’t bad when you consider the possibilities at a 400mm focal length. However, the Mark II makes an almost astonishingly big improvement on this and is now able to focus as close as 38.4 inches. Being able to shoot something that is 3 feet away from the sensor, at 400mm, is pretty impressive! Put the lens on an APS-C camera and you’ll be at over 600mm.
Whilst it isn’t a true macro with a 1:1 reproduction ratio, it’s an excellent lens for “macro” flower photography. In fact it’s probably the best lens in the Canon lineup for flower photography, since the zoom allows easy recomposition of background flowers. It’s pretty rare that I take a dedicated macro lens out with me so I love the versatility of being able to use this lens for tight detail shots when I suddenly find the right opportunity.


Great write up Dan.
I have taken a few macro shots along the way but have become focused on landscapes.
I thoroughly enjoy macro images and in my geographical location it would be a more abundant topic, so I guess it doesn’t make sense that I give it more effort.
The information you share here is great! I think I’ll have to add a few low dollar tools to my kit. 🙂
I’m glad you enjoyed it, and also picked up on the cheapness of some items. The pop up diffuser and a set of extension tubes can get you a very long way!
Nice article on macro photography , I liked your tips I am a beginner in macro photography ..I recently purchased CANON 100m L IS USM and on my first day at home I was able to capture some nice shots..I had captured some BC landscapes using my zeiss lens. the one thing you missed ..what is that product which can hold the subjects steady..kindly add that too.
I’m not sure I know what you mean? DO you mean the bendy arms with the clamps on the end of them?
Congrats on your new lens 🙂
Very interesting read. As i am a beginner in macro photography, i was also wondering how far should i go in the search for the perfect compromise in buying a body for my Canon MP-E 65mm lens. Would be enough to buy a Canon 5D MII or a 6D or should i look for more expensive models as 5DsR or 5D MIV? What are the main most important specs that a camera must have for macro photography? Is a high fps important (for focus stacking)? Is a 4-5fps enough? Also how important is the shutter speed? 1/4000 would be enough? Thank you!
Frame rate makes no difference for macro unless you are shooting tiny fast moving creatures, and you can’t do that with focus stacking anyway, so it’s a moot point. Actually a 6D or 6D II would be great for you. The MP-E lens is so old that the 5DsR probably out resolves it anyway. The flip out screen on the new 6D Mark II would be VERY useful for macro composition. That would be my choice. 6D Mark II: https://www.bhphotovideo.com/c/buy/items/ci/36261/N/3519299574/BI/7152/KBID/7700/KWID/EZ
Roadeavour is one too
Is one what?
I have been away from photography for nearly 20 years but finally have the time to enjoy it. With new equipment including Sony A7RII body and lenses I am very interested in expanding my macro photography skills. I have a Sony 90mm macro lens but want to know your recommendation going forward as to the best options in focusing rails, reversing rings and tubes. I’ve done some research on the Novoflex systems and have heard good things about Kirk and RRS. I ‘m looking for a quality system that will last me a long time. Your thoughts would be much appreciated. Thanks.
To be honest it’s hard to go wrong with all three of those brands. I use the RRS one myself, and what I like is that that RRS brand are so accessible. You can just call them up and have a chat, or if you live nearby you can go and see them and they’ll help you out. They are such a wonderful bunch of people to deal with, and that’s a good differentiator in my book! As for the tubes, I have only tested the Canon ones and the Vello ones, see here: http://shuttermuse.com/ultimate-guide-to-extension-tubes/
I’ve never used a reversing ring myself, and honestly if you have a macro lens and some rings, I’m not sure why you’d need one either.
Hi Dan,
Thanks for the news letter and interesting articles. Re: focus stacking, I use DSLR Controller (Canon only I believe at present). This let’s you focus step between two points of your subject by controlling the lens focus stepping without touching the setup. Obviously you need a tripod. It acts as a “sofwre focussing rail”. My copy was 10 GBP form playstore (Android only). Great little product. I use it with an Android tablet and it looks up to the camera via the USB port.
Regards
Great article! In the Canon line, at least, a teleconverter can also be added to the 100-400 to increase focal length even more without changing minimum focusing distance.
That’s a great point. I actually love using the 100-400 Mark II for close-to-macro shooting. Very impressive minimum focus distance on that lens!!
Great article. I currently have a Canon 60D and a 60mm macro lens. I have just purchased the lens and love taking macro photos around my garden as I love growing veggies and fruit trees. I want to upgrade my camera but not sure which way to go. I was thinking of a full frame like the 6D but would then have to buy another macro lens. I have a a few pro lenses already so the jump to full frame should be O.K But I like shooting birds as well. The cropped sensor works well for this. Dilemma…….
If you are shooting static macro subjects from a tripod then a full frame camera is going to give you very few benefits because you can shoot at a nice low ISO anyway. Something to think about…