
Adventure photographer Chris Burkhard has worked with Mountainsmith to create a series of outdoor photography packs and carry solutions. I’ve previously reviewed the Mountainsmith TAN Kit Cubes which are designed to fit inside most of these bags, and today we’re looking at the larger of two camera lumbar packs that are also offered as part of this adventure photography lineup.
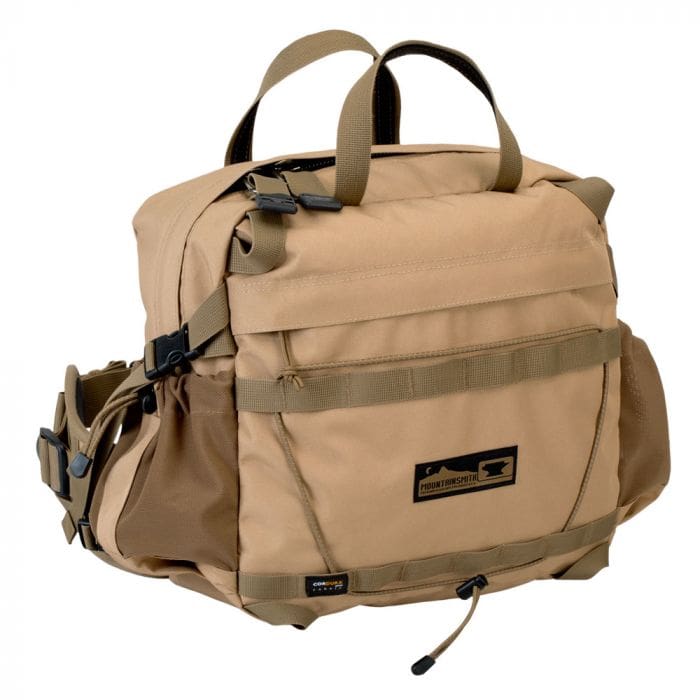
Firstly it should be noted that the Tanack 10L lumbar pack is designed to work with either the small or medium TAN (Tough As Nails) Kit Cube, but it does not come with either of them for the $99 price point (price possibly lower). In more than a couple of places online, I noticed that this was an important detail that was a little hard to distinguish since some product photos do show it with one of the Kit Cubes inside it. On top of the price point for the bag itself, the Kit Cubes are $59,99 and $49.99 for the medium and small respectively. Oddly if you purchase through Amazon where it appears to be cheapest, they don’t sell the Kit Cubes at all so you’ll have to try B&H Photo for those. I’ll discuss the price point and value once we’ve got to the meat of the review, but I wanted to make sure we all start on the same page. As you’ll see when I discuss the Kit Cubes though, you don’t necessarily have to purchase them at all to make this bag useful.
Ok, with that little bit of housekeeping out of the way, let’s get into it!
Kit Cubes
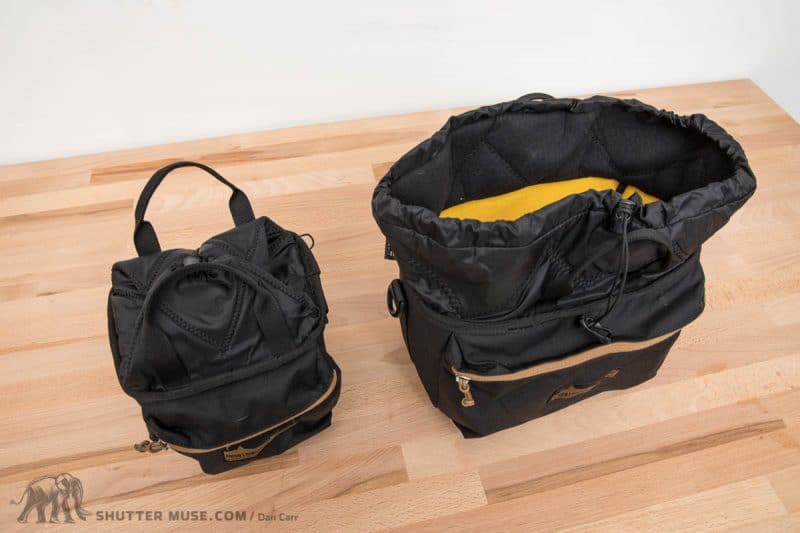
As I mentioned, I have done a separate review of the of the Kit Cubes before because they are just as useful on their own as they might be when paired with one of the Mountainsmith photo packs. When I tested them on their own I just shoved them into regular hiking packs and they did an excellent job of protecting my camera gear. In fact, they were almost too good. The Kit Cubes offer a lot of protection – far more than any other similar product I’ve used in the past from people like Lowepro, F-Stop or MindShift Gear. If you’re taking part in potentially rough activities then this is great, but I found them to be overkill if you’re just out hiking for some landscape photos, where something lighter and less rigid would do the job just fine.
When the Kit Cubes are used with the Tanack 10L the same can be said. The fact that they are so rigid means they’ll protect a camera from a nasty fall, but it makes wearing the Tanack slightly uncomfortable because they don’t conform to your body or the load in your bag at all. Over a three month period of on/off testing for the lumbar pack, I stuffed all kinds of loads into it and I never really enjoyed using the medium Kit Cube in there. It’s a tight squeeze to get it into the bag which leaves the Cube’s front pocket essentially inaccessible, and the hard flat back to the cube pushed the seam of the lumbar padding awkwardly into my back. Very noticeable if you’re just wearing a single thin layer like a t-shirt.

I preferred using the small kit cube for a mirrorless camera in the Tanack, and then use up the additional space in the bag by wrapping an extra lens or two in something simple and soft, like a neoprene lens wrap. This also left plenty of room for some extra clothing and snacks for a hike.
Secret option number three is simply to use the Tanack without a Kit Cube at all, and I was surprised by how many times I ended up doing this. With the Lumbar design you can spin the bag around to your front when you’re shooting, so there’s often no need for the bag to leave your person. If that’s the case, and you’re confident that you’re not going to actually fall over, then I don’t see a problem with having a one camera, one lens kit in the bag on its own with extremely minimal protection. You obviously can’t put multiple lenses loose in there as they would clatter around, but a simple one-lens kit, a hat, gloves, a couple of snacks and a water bottle make for an easy load.


Carrying Options
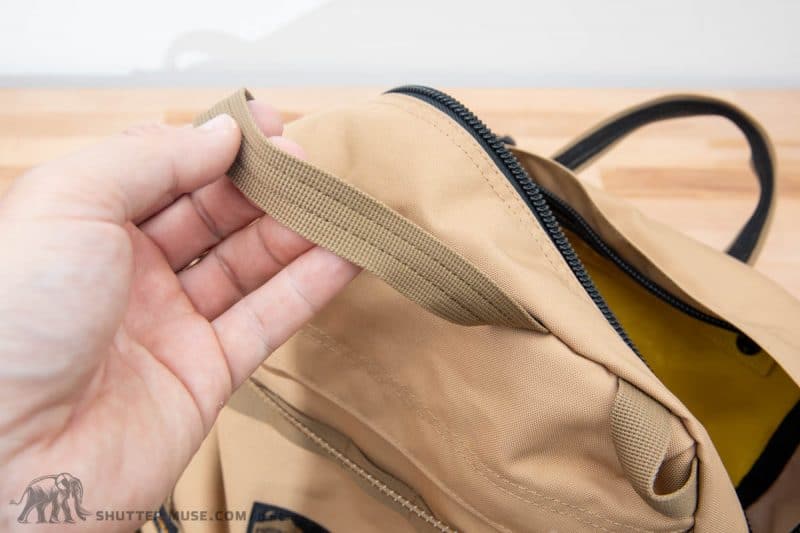
I don’t think that calling the Tanack a lumbar pack really does it justice. One of the things I liked most about it was the variety of ways you can carry it. The bag has two big grab handles on top of it which come in very handy if you’re already wearing a big camera bag on your back are using the Tanack to haul a little extra gear. On one occasion I actually put a Canon 400mm f/4 super telephoto lens in it and carried it onto a plan as my “personal item”.
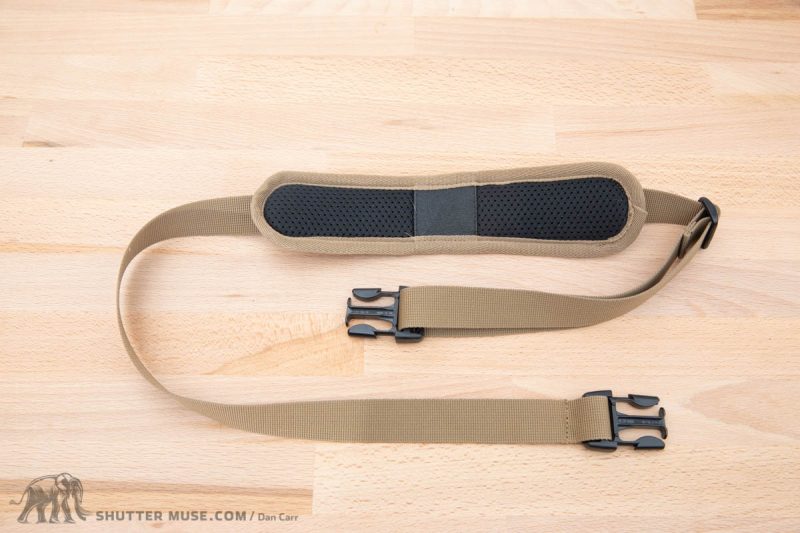
There’s also a shoulder strap which can be used to offer additional support while the bag is around your waist, or you can remove the waist belt and just use the shoulder strap to carry the Tanack like a shoulder bag – something which I found myself doing just as much as I used it as a lumbar pack.
Whilst this is a nice option to have, I think it could be improved slightly. The shoulder strap is attached using big black quick release clips. I would much rather see smaller metal d-rings on the bag, and then a shoulder strap with some sort of spring loaded clip on the end. In this way you would be able to use a different shoulder strap if you wanted to upgrade to something that offered more padding, and you also wouldn’t have the big plastic buckles on the bag when the shoulder strap isn’t in use. I also would have liked to see a secondary attachment point for “shoulder bag mode”. The current attachment point is placed well for using the shoulder strap as a support for lumbar usage, but it’s somewhat less ideal when you use it just on your shoulder as it lets the bag fall forward away from your body the whole time. A second set of attachment points, one on each end of the bag, would be a nice option to allow someone a bit more carry customization. On the plus side, the shoulder strap they give you is just right for the job. It’s a great balance of size and comfort, with a nice little non-slip pad in the middle to prevent it moving around too much.
When using the bag as a lumbar pack I found that the shoulder strap was well worth making use of. Over the course of a longer hike I would sometimes let the majority of the weight sit on my hips, and sometimes give them a rest by tightening up the shoulder strap and transferring some weight to my upper body. It also allows you to make adjustments for the terrain you’re covering, and you get a really instant change in feeling when you tighten everything down.


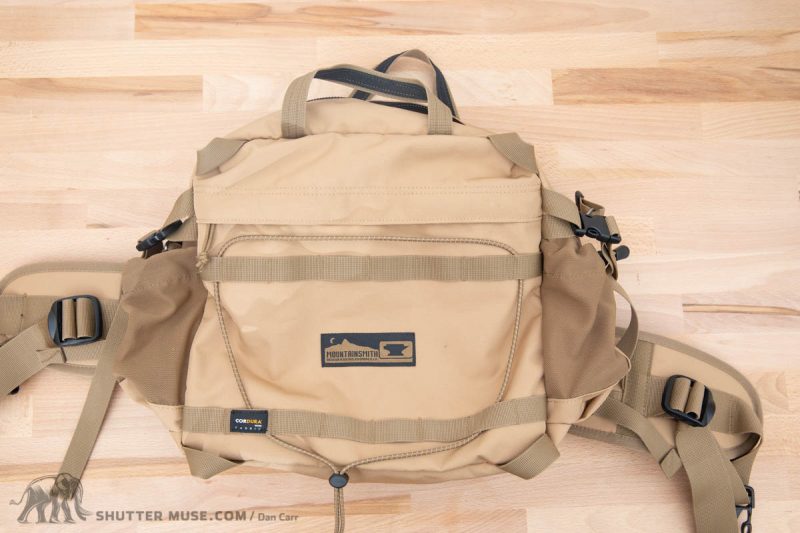
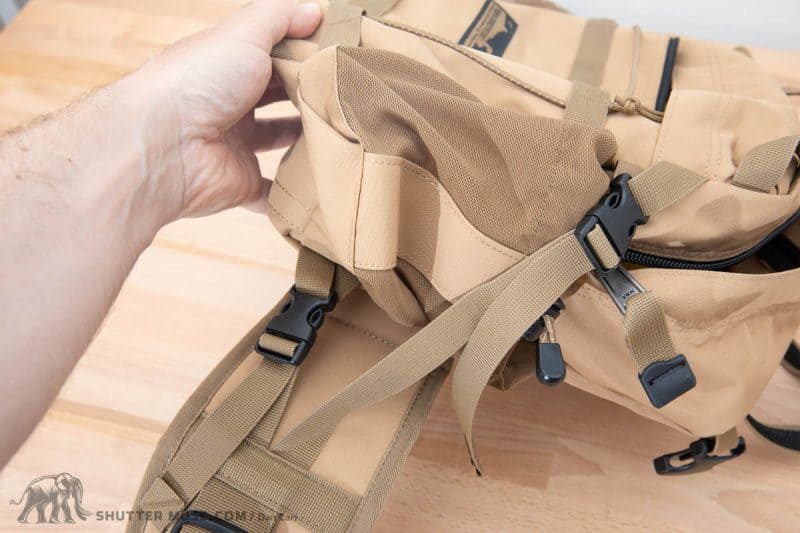
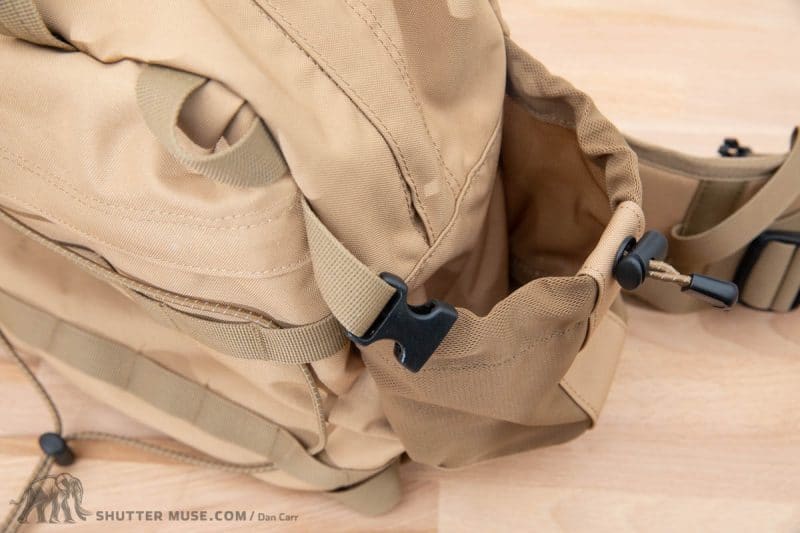
On the sides of the pack there are also straps for pulling the load in close to your body. With all loads I found it important to make use of these straps. If you have a full, heavy load, it’s important to bring the weight as close to your centre line as possible. Even with a smaller load though, if the items are loose then they tend to want to fall away from the body within the bag, so these side load lifting straps are a key feature and they add immensely to the comfort of the carry.
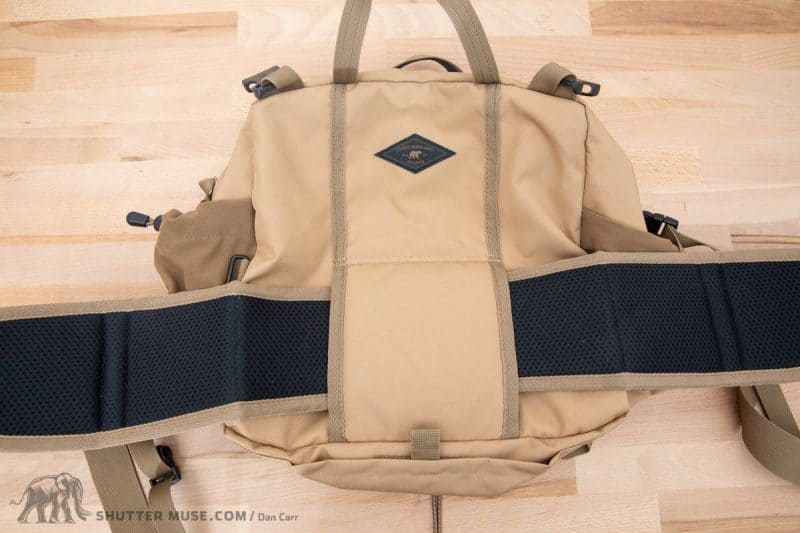
Overall, carrying comfort with the Tanack is excellent, with the one exception that you can feel the seam on the back panel padding through a thin layer of clothing if you’re using the medium Kit Cube in the bag. I was curious about this so I looked at photos of some of Mountainsmith’s other non photography lumbar packs and found that many of them had a larger padded area which would seem to alleviate this issue. Perhaps a consideration for a future iteration of the bag.


Accessories, Pockets and Organization
The Tanack comes with a small cable organizing pouch which clips into the interior of the main compartment. I took one look at it and threw it into a cupboard to gather dust. In fact that’s not quite true… first I tried to squeeze the Tanack into the small pouch because I had seen it mentioned somewhere that this was feature, that you could fold it up into its own bag, but I failed miserably to be able to do it. Not even close! I’m not sure where they got the idea that you could do that, but you should ignore that “feature” in your considerations for possibly purchasing this!
Honestly I think they should have just done away with the little organizing pouch. The zipper on it is much shorter than the horizontal width of the pouch, so it’s hard to open it up wide to fit things in or see what you’ve already got in there. If you do fill it up and affix it to the interior of the bag in the correct place, it just gets in the way of your ability to pull a camera out of the bag.


I’m not saying a small, removable pouch isn’t useful, but you’re much better off buying a Think Tank Cable Management bag which has a wider mouth and a see-through side to it. Mountainsmith could definitely improve this in the future.
On the front of the bag is a secondary pocket for organizing smaller items and inside that is a lens cloth on a quick release clip. I was unimpressed with the lens cloth though, and it actually stained the yellow interior of the pocket black in some areas. Whenever a lens cloth is able to stain another material, it doesn’t give me much confidence that this is something I want to be wiping over my precious lenses. I also don’t want to put it in my pant pocket and find out later that I now have a stain there as well, so I took it off and got rid of it.
Much like the cable organizing bag, the lens cloth felt like a cheap addition to the bag that was really just there so that the feature list of the bag has another bullet point on it. What Mountainsmith should do is scrap the crappy lens cloth and the cable bag, and sink that cost saving into adding some organizational pockets into the front pocket of the bag. Within this front pocket there is nothing at all, and I definitely would have appreciated another couple of sleeves or pockets to organize batteries, notebook, pen, SD card case etc. Currently, organization of gear is the Tanack’s weak spot.


On either side of the bag you’ll find mesh pockets that have an elastic drawstring on them for closure. These are an excellent addition to the bag, and work well for a water bottle on one side and a hat and gloves on the other. The mesh on the pockets has a very tight weave so it doesn’t get easily snagged on things when you’re outdoors, and the bottom of those pockets is reinforced with nylon to prevent issues when putting the bag on the ground.
Conclusion
I really like the Tanack 10L, but I’m definitely a lot less fond of the Kit Cubes that are designed to go with it. I often test camera bags for a few months before I sit down to write the review because I don’t like to really force their usage in a situation that doesn’t make sense. I like to put them in my kit and see when I pick that solution above the other bags that are there, and after a few photo missions I usually figure out when the bag would work best
What I found increasingly with the Tanack was that I left the Kit Cubes at home and took the the bag on its own, often wrapping a camera in one of the Mindshift Gear Ultralight Camera Covers to give it a little scratch protection from other things in the bag. When I did pack the Tanack for a photographic trip, it was always alongside one of my bigger backpacks. I would then use the Tanack on that trip when I didn’t need a huge pack, but just needed something light to sling over a shoulder or around my waist. Without the Kit Cubes, the Tanack is incredibly packable and you can easily stash it in a clothing duffle to give you a lightweight bag when you need it. I know the Tanack is primarily designed to be a waist pack, but I actually found myself using it as a shoulder bag about 50-70% of the time and it was that versatility that had me grabbing it from the bag pile on many occasions.
If you’re contemplating a waist pack of this kind then I don’t think you’ll be disappointed with the Tanack and for under $100 I think they hit a great price point with it. If you want to add Kit Cubes, pay close attention to what I have said about those because they might not be quite as necessary as first it seems. There’s a few areas where I think it could be improved, such as adding some better organizational options to the front pocket, but the problem with adding more features is that it also bumps the price up. Right now the sub-$100 tag is going to get you a versatile and extremely rugged carrying solution that will nicely compliment a much larger backpack for those times when you need to go fast and light.
Where to Buy
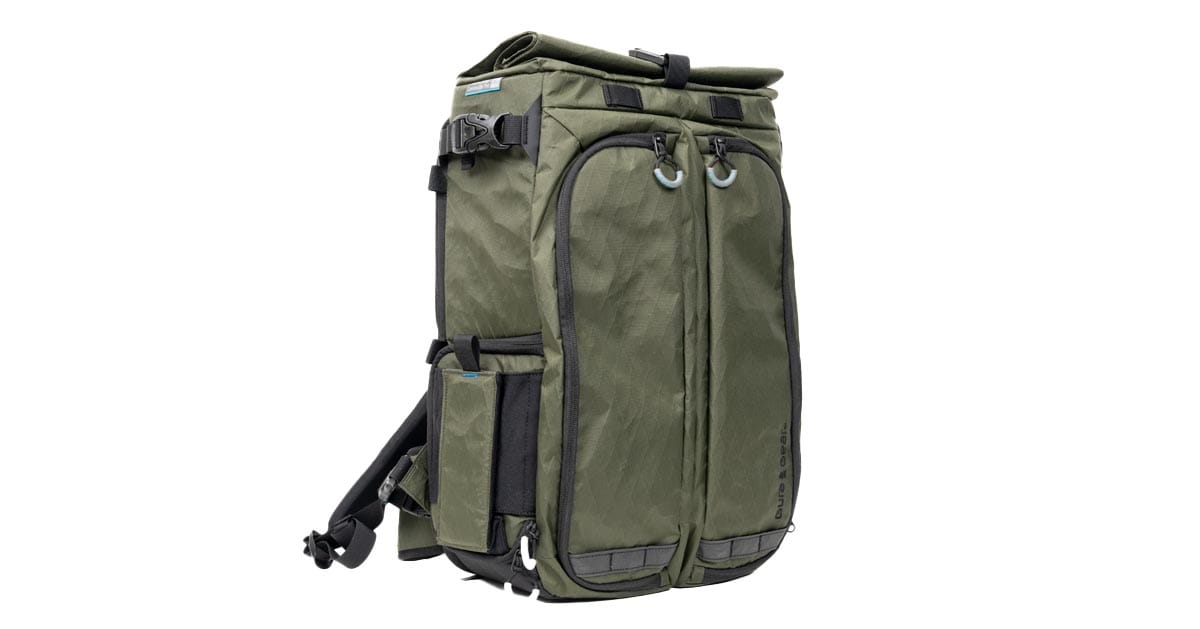
Unfortunately, the Tanack 10L has been discontinued. The closest current camera bag in terms of functionality and sizing is the largest of Think Tank’s PressPass bags. It’s a great bag that’s worth checking out if you like the idea of the Tanack.


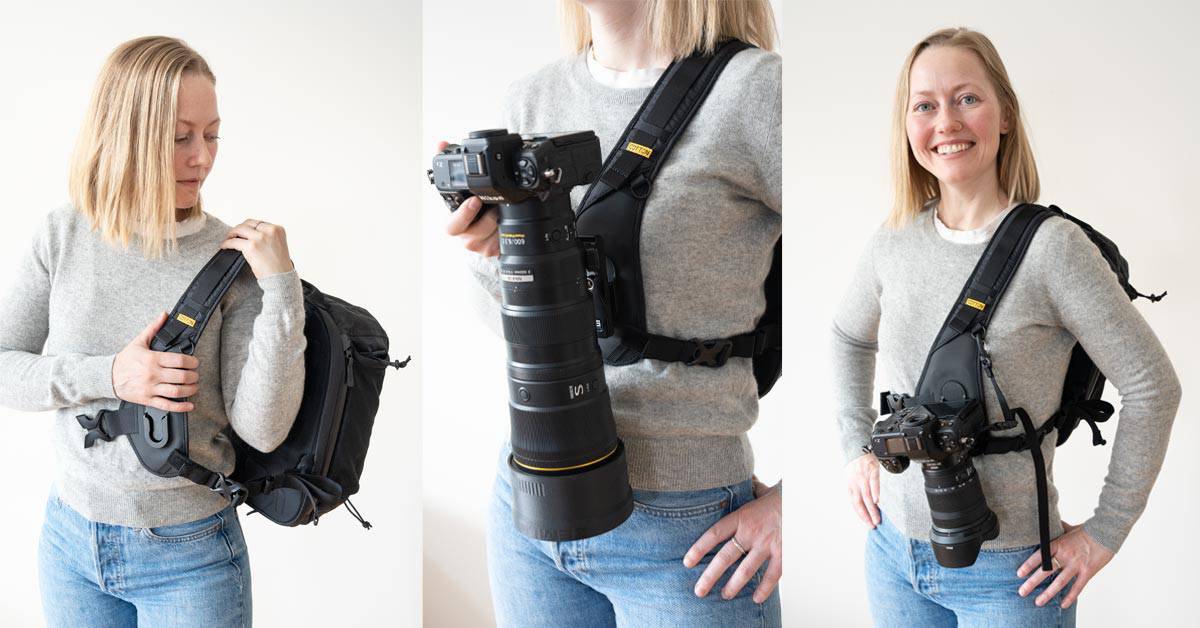

Any photos of this item wearing a human?
You’re right, I should add one or two. I’ll try and get that done later today.
James I have added a couple of photos of me wearing this.