Apologies to subscribers: On August 18, 2024, this post was inadvertently republished onto the post timeline which triggered it being posted again to social media and to those subscribed to email updates. It was a case of me clicking the wrong button. By the time I realized my error, it was too late, and the emails and posts had already gone out. Sorry!
For a photographer that enjoys shooting a wide variety of images, the Sony a1 specifications seemed almost too good to be true. For my 20-year career with digital cameras to this point, I have always been forced to make a choice between speed and resolution.
Originally, this was a choice between cameras such as the 8MP Canon 1D, or the 12MP 5D. As the years went on, the speeds and resolutions increased. Even just 12 months ago when I switched from Canon to Sony, I had to choose between the 24MP a9 II, capable of 20fps bursts, and the 61MP a7R IV which was, at best, half as fast.
And then we get the Sony a1. With a 50MP sensor and RAW shooting up to 30fps with full autofocus, this is the first camera that simultaneously satisfies my desire for something both fast, and high enough resolution to create huge prints. Despite being the most expensive camera Sony has ever offered, there was never any doubt that I would add one to my kit.
First Impressions
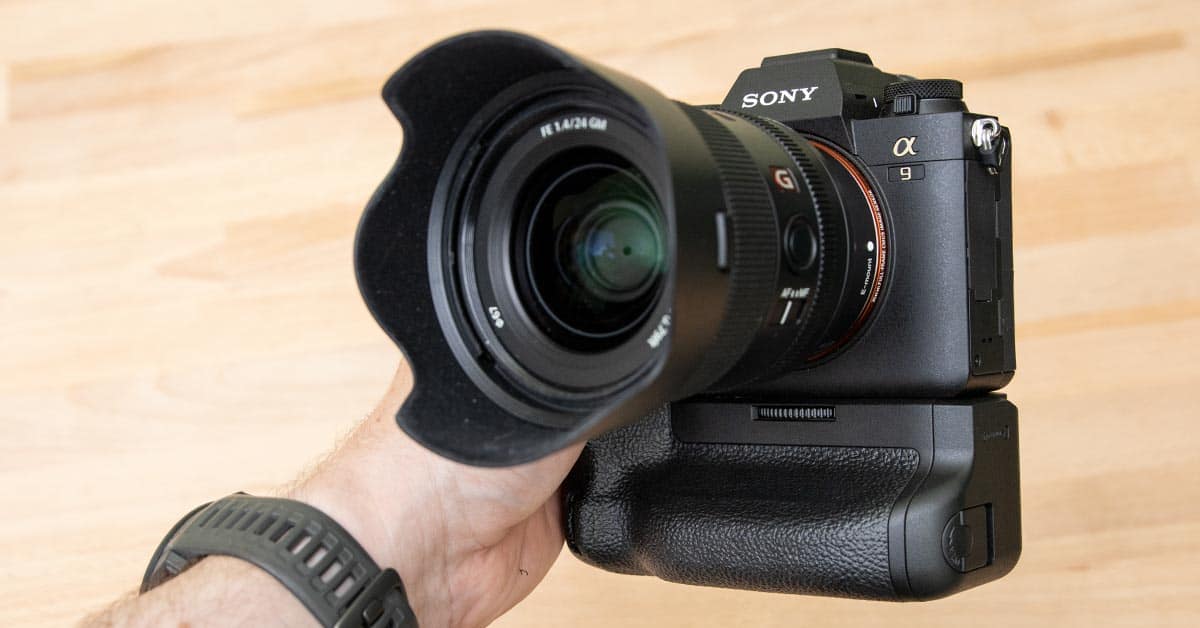
In the Hand
As an a9 II user, the a1 immediately felt familiar. The layout of the dials and buttons is the same, and if it wasn’t for a slight tweak to the shape of the video record button or a different style of knurling on the AF mode dial, you’d be hard pushed to tell the difference.
By the numbers, the grip on the a1 is every so slightly larger than that of the a9 II/a7S III/a7R IV. I saw some early testers report this as “noticeable”, but I disagree, and can’t explain their assertions. I have held an a9 II in my hands almost every day for the last 18 months, and if I was blindfolded, I couldn’t tell you whether I was holding my a9 II or my a1.
The only way I can definitely see the slight size increase is by trying to put the Really Right Stuff L bracket from my a9 II onto the a1. Sadly, due to the tight tolerances by which RRS make their plates, it doesn’t fit. I guess I’ll be ordering a new one from them for the a1 ASAP.
Menu Upgrades
Sony made huge changes to their menu system with the a7S III, and the a1 is the second camera in the Alpha lineup to benefit from this change. As an a7S III user myself, I was not happy switching between the different menu layouts of that camera and the a9 II. My a9 II will be going now, so I’ll have a pair of cameras that now share the same menu layout. Much better.
Although I do not think the menu system is perfect, it is a hug step up from the older system. Generally speaking, most items are now where you would expect to find them, and you can now use the touchscreen to operate most menu actions.
That Viewfinder
The a1 uses the same 9.44m-dot resolution OLED viewfinder as the a7S III. It’s stunning. For the a1, the additional processing power of the camera has allowed Sony to double the refresh rate to 240fps. This increase is definitely noticeable when compared side-by-side with the a7S III viewfinder. It’s as close to an optical viewfinder as anyone has ever gotten, and of course, it’s a huge step up from the 3.69m-dot resolution of the a9 II viewfinder.
The combination of the viewfinder’s physical size and magnification gives you an immersive experience. You have to really move your eye around to see the edges of the frame. In some situations, this larger view is very useful. Allowing you to really explore a landscape scene in great detail to make sure there’s nothing you are missing.
On the flip side, when shooting incredibly fast action, the viewfinder magnification is almost too large. When people or wildlife are coming towards you at speed, you don’t have time to scan the edges of the frame. Thankfully, Sony have thought of this. There is now a viewfinder magnification option in the menu that basically puts black bars around the edge of the image and shrinks everything into the middle of the EVF. What you’re left with is an image that can be more easily taken in, from left to right, without the need to actually move your eyeballs around. I’m finding that this is a useful option for accurate frame while following a fast-moving subject, and I have added it to my function menu for faster access during shooting.
CFexpress Type-A
I picked up a pair of 160GB Sony Tough CFexpress Type-A cards to use in the a1. While you can use SD cards and still get a significant buffer size, the real difference comes when you are waiting for the buffer to clear. With CFexpress, the clearing happens at an incredible pace. The numbers on the screen that indicates photos in the buffer, tumble downwards. When using an SD card, the buffer clearance is painfully slow. The file size of uncompressed 50MP images is not small, and when when you are shooting 20-30fps bursts, you quickly find yourself needing to take a pause.
In my mind, if you’re going to buy the fastest camera Sony has ever made, you owe it to yourself to buy CFexpress cards for it. Yes, they are expensive. Yes, that sucks. But if you don’t buy them, and you shoot sports or wildlife with this camera, you’re eventually going to miss a shot because you’re waiting for the buffer to clear to your SD card. That might suck even more.
Initial Image Tests

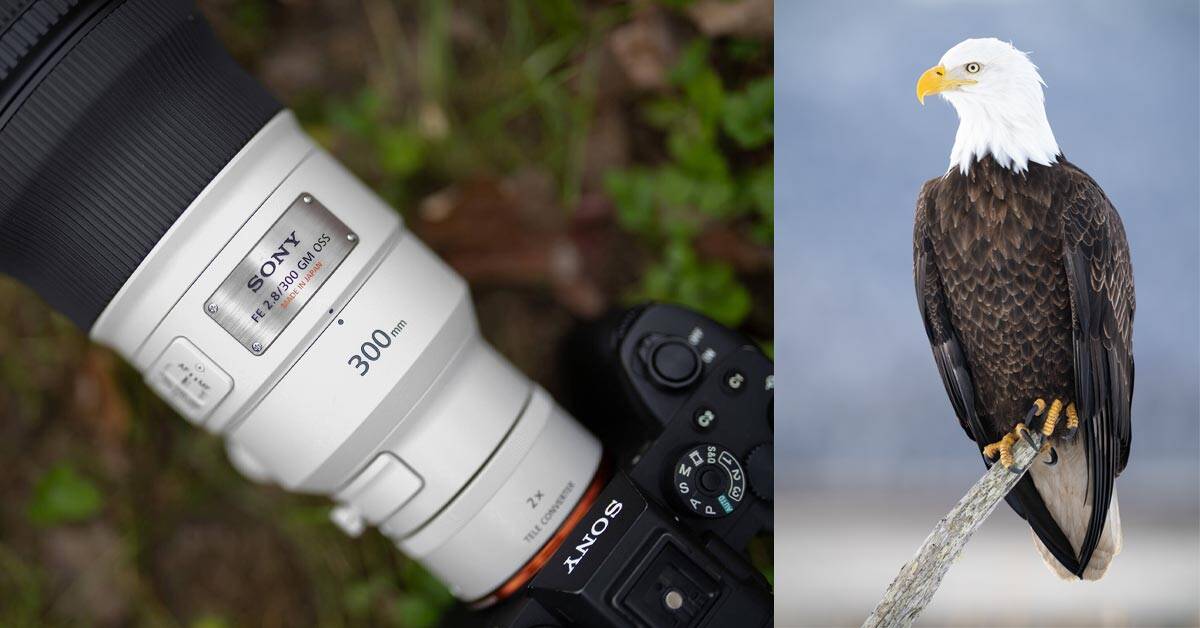
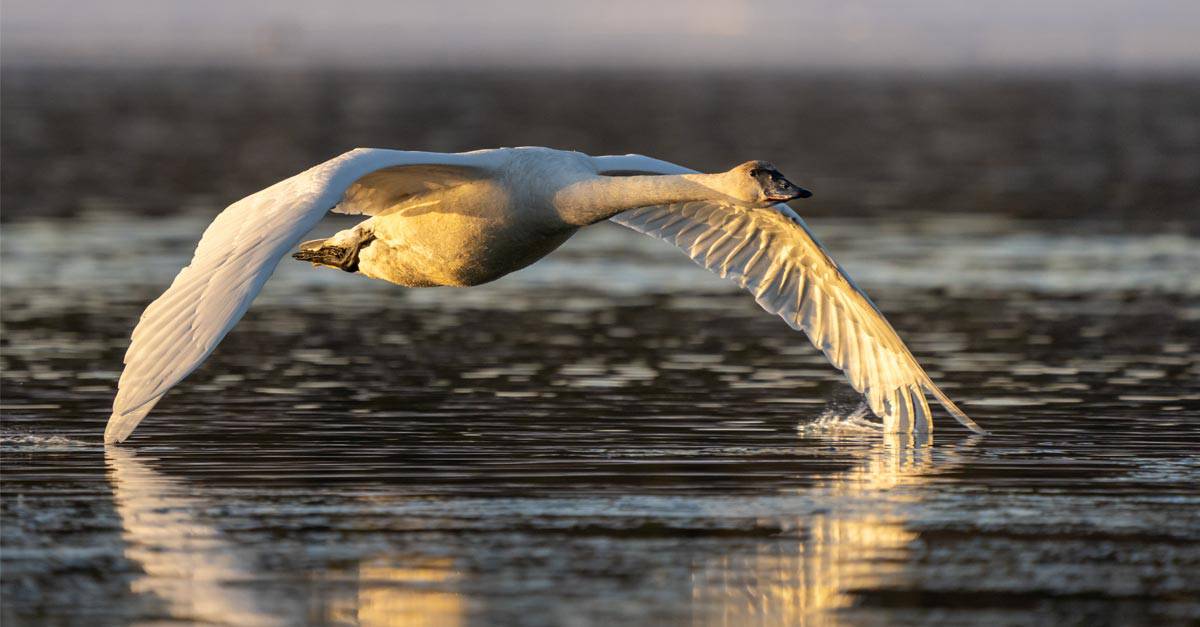
Spring is just around the corner up here in the Yukon and there are plenty of birds returning to the area. This made my first day of testing the camera very easy. I simply set up my Tragopan photo blind in the garden and spend a blissful few hours in silence, watching things come to life and dialling in all the settings for my new camera.
I’m going to talk in more detail about the a1 autofocus settings in the coming weeks, as well as sharing some more in-depth tests of image quality. For now, I’m going to keep it simple, and fairly general. The focus acquisition speed is noticeably faster than the already speedy a9 II. I wasn’t sure if this was going to be the case. After all, the a9 II is but 18-months old and was already generally considered to be king of the AF hill. It is noticeable, though. There’s a new king in town.


Opening the first few images in Lightroom showed incredible fine details in these images, and I’m already drooling at the thought of creating some large prints from this camera. Heck, I might even make some from this very first set of images that I shot!
Something that is hard to be specific about, is colour response. To my eye, I’m seeing better colours from the a1, with less magenta popping up in strange places. Perhaps it’s too early to say this, but that is certainly my first impression, and that’s what this post is all about.

When I made my move to Sony, I loved everything about the system, apart from the colours I was getting. It always seemed to me that I need to spend a little more time finessing the colours in Lightroom than I ever had to do with my Canon cameras. Sure, I could always get to the same final product eventually, but felt that it did take some extra effort with my Sony gear.
After looking through my first images from the a1, I don’t think this is the case anymore. Whether this is Adobe doing a better job at creating a RAW profile for the camera, or whether Sony is using updated colour science, I can’t yet say. What I can say, is that after quickly processing a few images from day 1, I didn’t find the need to tweak the colours at all. They are naturally far more pleasing.
I’ll leave it there for now. You can expect some additional a1 content in the coming weeks. Stay tuned!