
Since switching to Sony, the Sony 200-600mm G lens has rapidly become one of my favourites. I can’t wrap my head around how this lens is so affordable! If you’re a budding wildlife photographer, I honestly can’t think of a better lens, although I probably don’t need to tell you all of this… If you’re looking at this article, then there’s a good chance you have already ordered this lens.
As soon as I get a lens like this, which I’m sure will be a part of my kit for a very long time, I like to accessorize it a little to help protect it and to help me maximize its potential in the field. In this article, I’ll show you the things I got for my 200-600mm G that have been most useful to me.
Table of Contents
Wimberley MH-100 Monogimbal Head
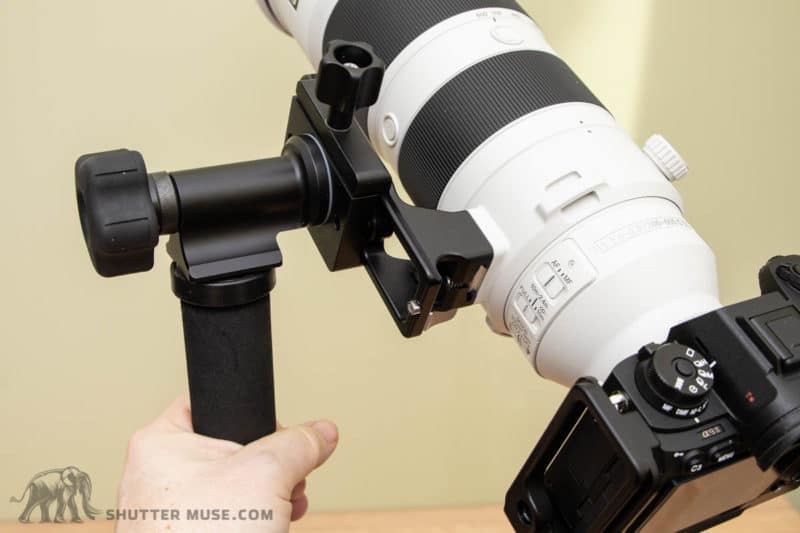
“Whoa! What the heck is this?!” I hear you cry. This, my photography-loving friends, is the MonoGimbal from Wimberley. Yes, it’s a mini gimbal head for your monopod, and you want one!
The Sony 200-600mm G isn’t a lightweight lens if you’re going to be swinging it around all day. I like to have a monopod to stabilize the lens for more static subjects, allowing me to use a slower shutter speed. Even when I’m waiting and not shooting, it takes the weight off my arms or shoulders.
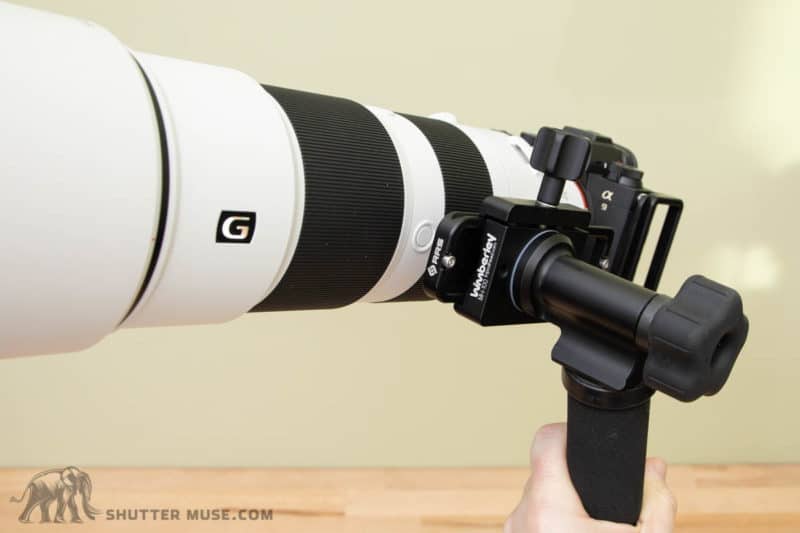
The MonoGimbal fits the top of your monopod using a 3/8″ thread or an Arca-Swiss clamp. Then you connect your lens foot to the gimbal clamp using the screw-knob Acra-Swiss clamp. By sliding the lens back and forth in the clamp, you can balance it so that the lens doesn’t immediately swing forwards or backwards when you let go of it with one hand. Of course, you still need to hold the monopod with the other hand to avoid a complete disaster, but the setup is just so smooth and fun to use!
Sony 1.4x Extender
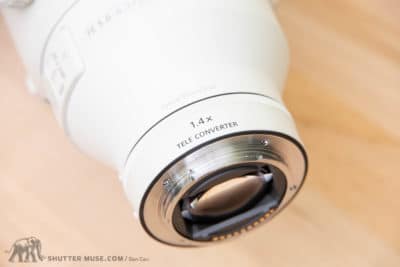
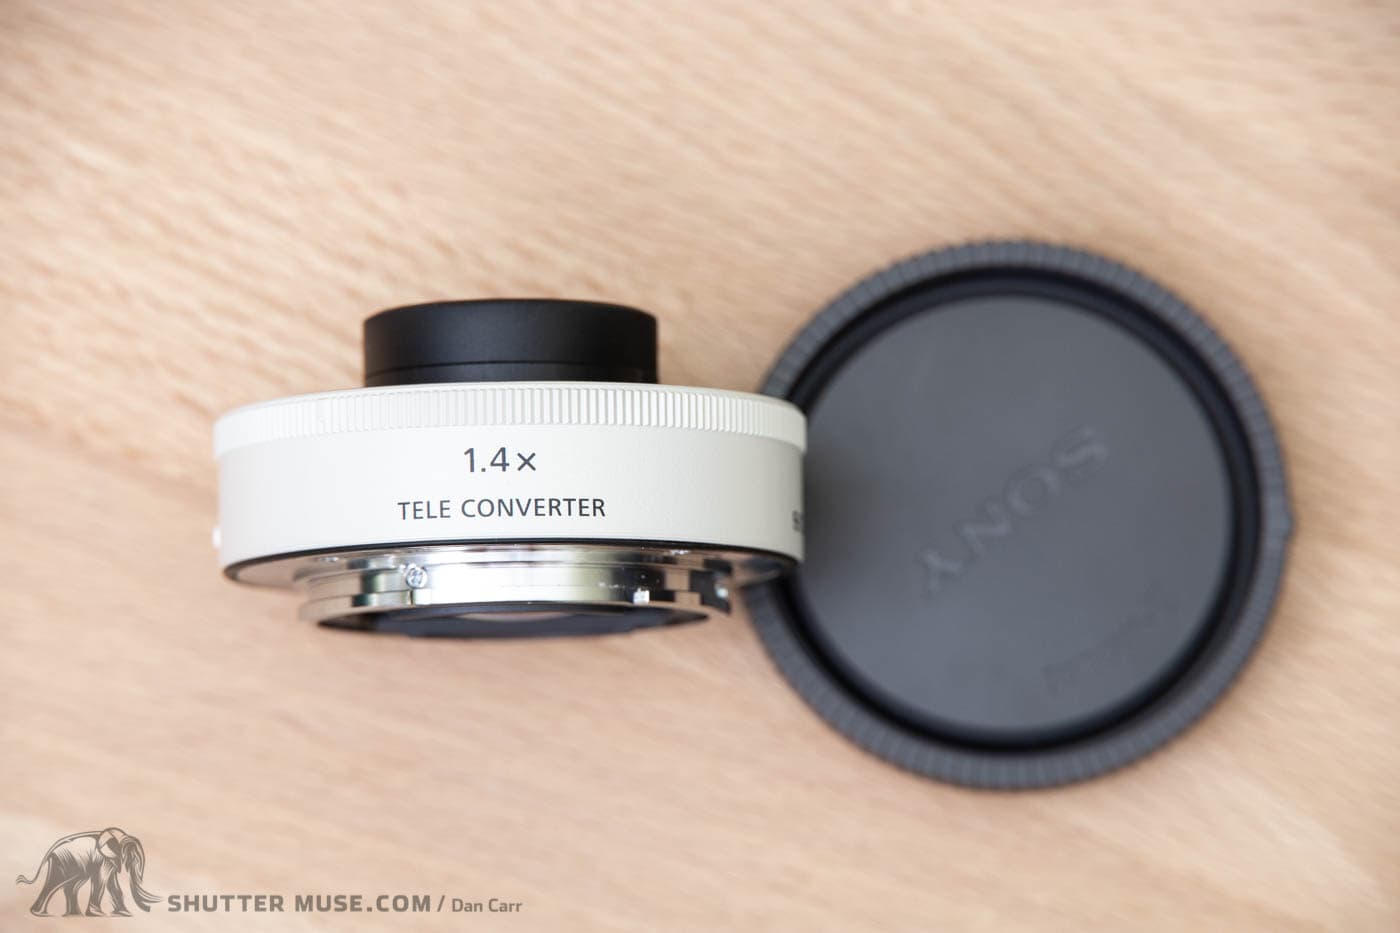
I certainly wouldn’t recommend a 1.4x extender for all zoom lenses of this range and aperture, but in my testing, I have been very impressed by the quality of the 200-600mm G lens when paired with the Sony 1.4x extender.
This combination produces useably sharp images, and indeed, when paired with newer cameras like the A1, A9 II and A7 IV, the autofocus speed remains pretty good. In fact, with the A9 II or A1, I would class it as very good and still capable of tracking things like birds in flight. Of course, to get sharp images you should still use best extender practices as outlined in this extender guide.


LensCoat Lens Cover
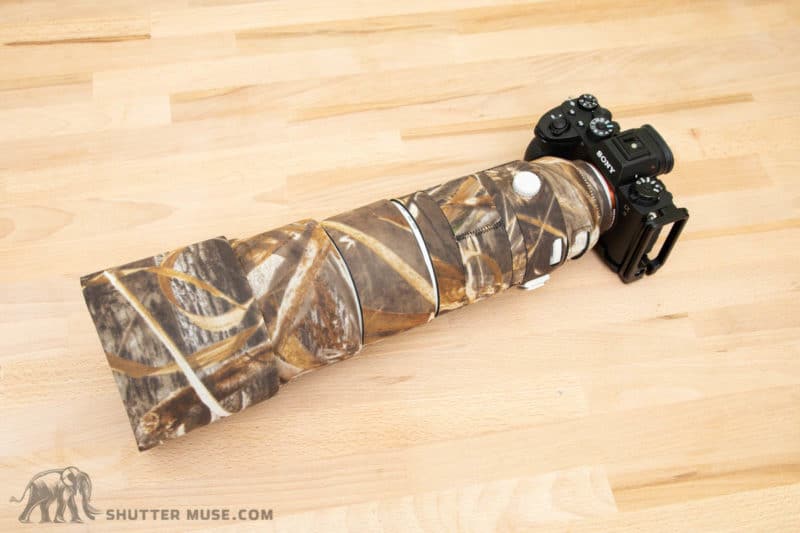
I’m sure you’ll have seen LensCoat Lens Covers on the telephoto lenses of many wildlife photographers. They offer added concealment when photographing wildlife in the field – especially for big white lenses like the 200-600 – and protection to your precious lens while you’re crawling around in the dirt for that perfect low-angle shot. Or… when you smack the lens on your door while exiting the car—yep, been there, done that.
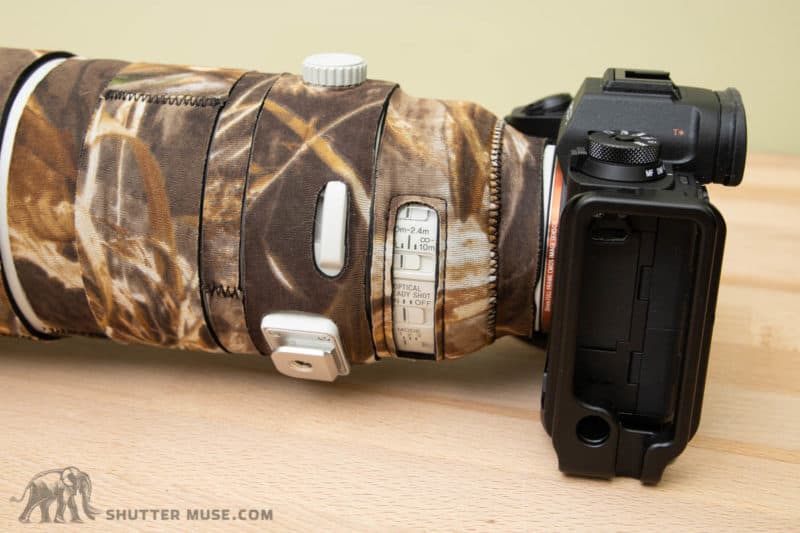
LensCoat makes all its products in various colours and camo patterns to suit your needs or the current season. I usually go for the Max5 pattern for general usage, but take a look at the options and make sure you get the one that suits the plans you have for your lens. I never use a long lens without a LensCoat Lens Cover!
LensCoat TravelCoat
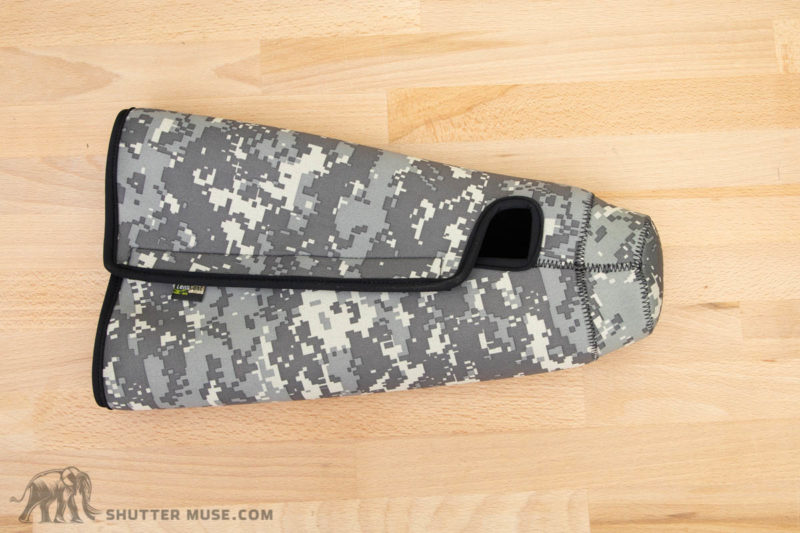
The TravelCoat is a neoprene sleeve that protects the lens when it’s in your bag. I like to use these because it means you can stack other items around the lens when it’s packed into your pack for travel. Cylindrical lenses don’t usually make great use of the cubic internal shape of a bag, but with the lens protected by a TravelCoat, I can jam extra items all around it and take much more with me in my carry-on bag.
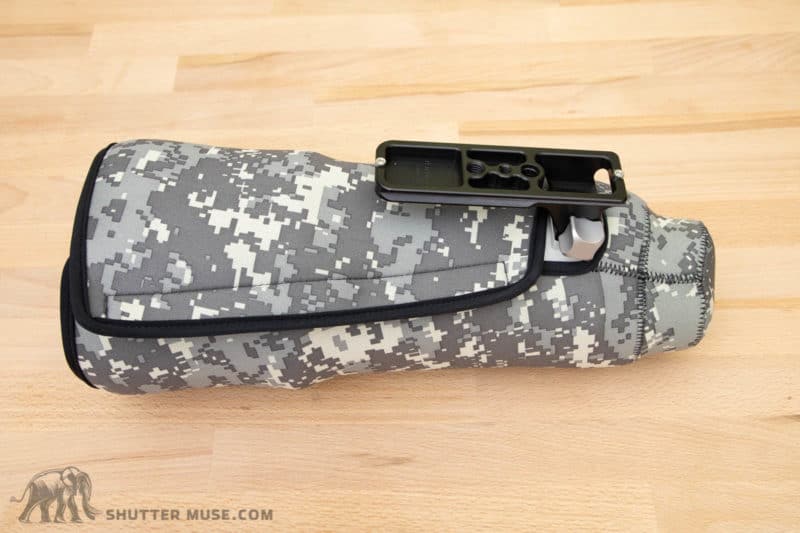
Of course, being a LensCoat product, it’s available in many different patterns and colours. I have a bit of a system going with my LensCoat gear. I like to use Digital Camo for all my Travel Coats and Max5 camo for the actual Lens Covers that get used in the field.
Think Tank Photo Emergency Rain Cover – Medium
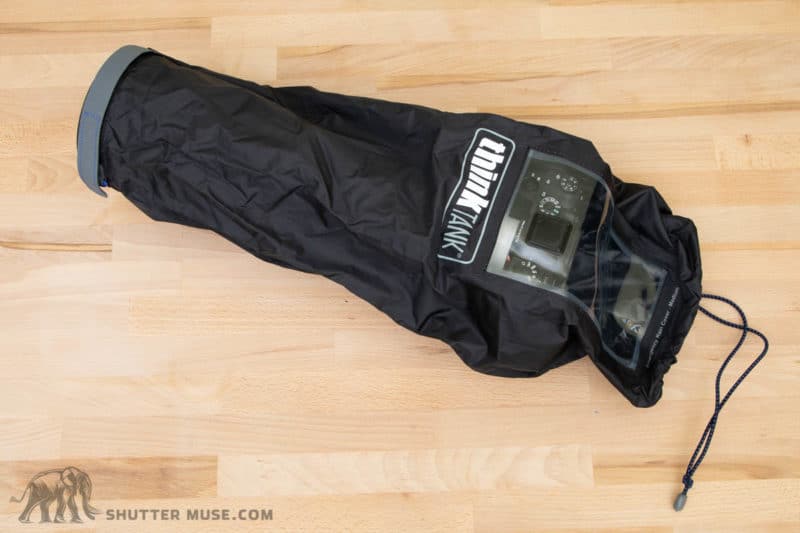
The Sony 200-600mm is weather-sealed but that doesn’t mean waterproof. If you have to shoot in prolonged rain or snow, you’re going to want a good rain cover. The Emergency Rain Cover (Medium) from Think Tank Photo is a great choice. There’s a clear back to allow you to see the screen and controls, and a clever attachment method that utilizes the hot shoe on the camera. At under $60 I think this is a no-brainer, and 100 times better than trying to use a garbage bag on your $4000 camera+lens setup.
One thing to be aware of is that the Medium size of the cover does not have an opening for a tripod head or gimbal on the bottom. If you think you will be using it with either of those, you should opt for the Large size of the cover which has a full-length zipper on the underside to open it up for placement on a tripod or monopod. I actually have both covers, and the Medium is a slightly better fit on the 200-600mm, but the Large one has that extra feature.
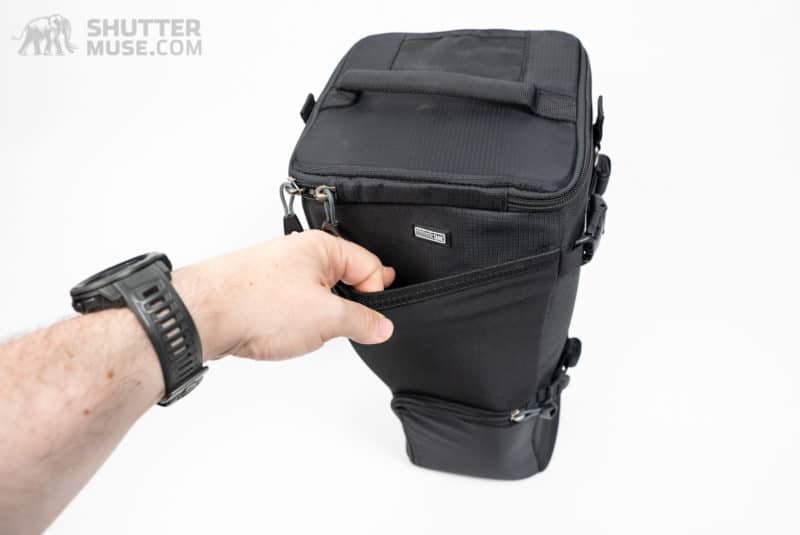
Think Tank Photo Digital Holster 150
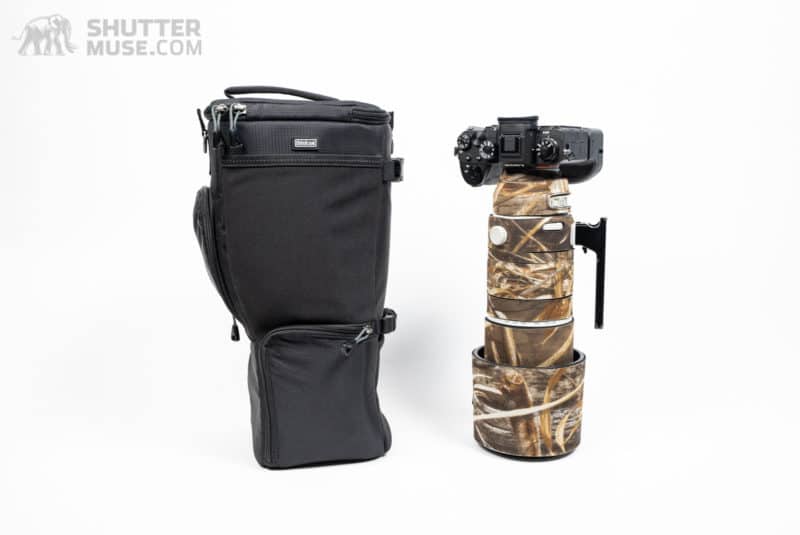
The Digital Holster series from Think Tank Photo is a helpful bag that can be used as a shoulder bag for a camera and lens combination and mounted to a belt or backpack. The most recent addition to this lineup is the Digital Holster 150, which happens to be the perfect size for the Sony 200-600mm G with a camera body attached. If you’re out on a nature walk, this might be all you need!
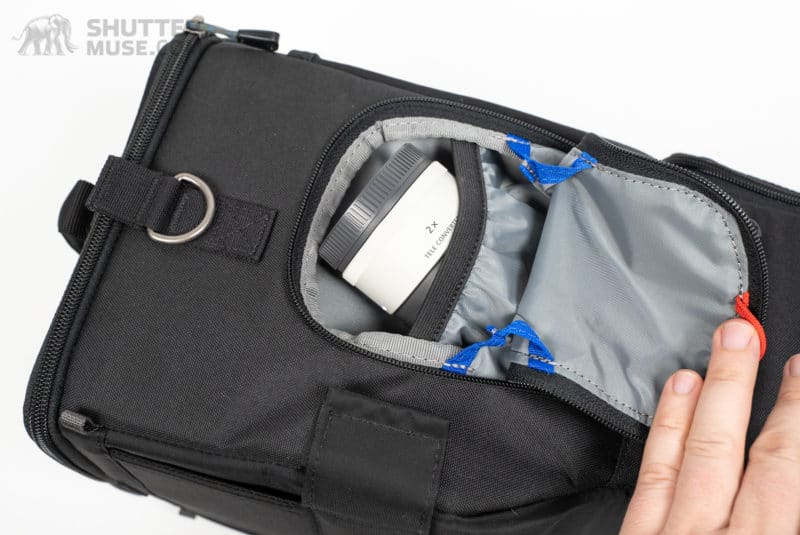
A zippered pocket in the lid is large enough for spare batteries and a memory card wallet, while the side pocket is designed explicitly for extenders. With the Sony extenders being so small, you can fit the 1.4x and 2x extenders in there if you want to.


Really Right Stuff LCF-102 Replacement Foot
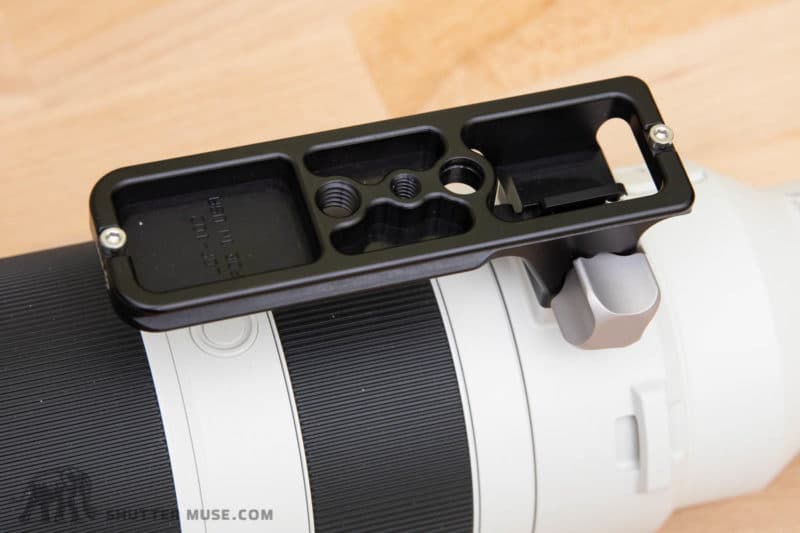
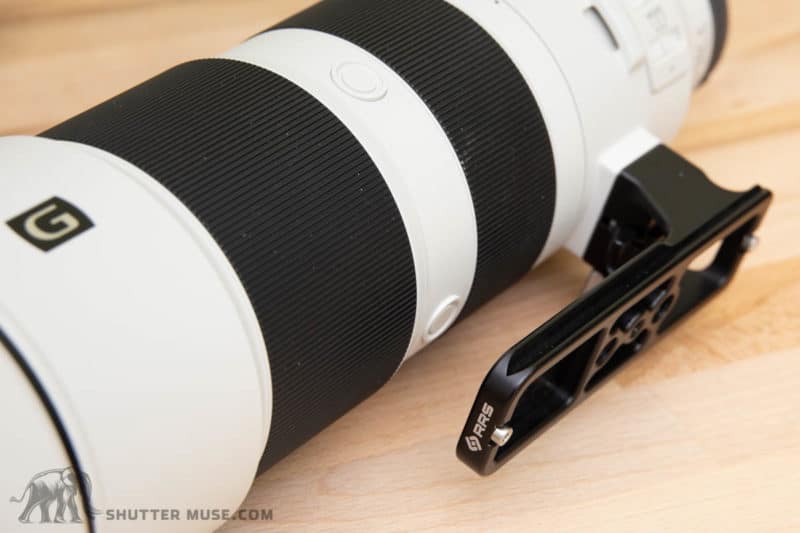
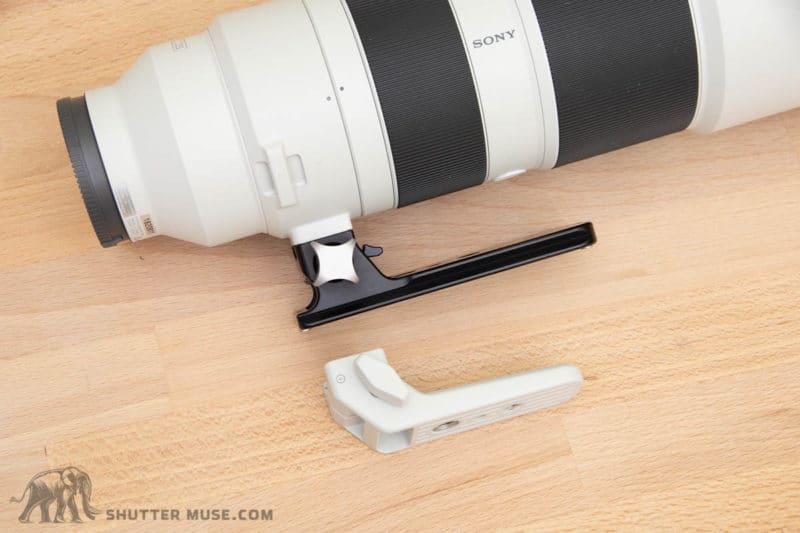
At some point, you will want to mount this lens on a tripod or monopod, which will mean making it compatible with an Arca-Swiss clamp. You can get plates that screw onto the existing lens foot, but I prefer to use one of the replacement feet from RRS. For the Sony 200-600 G, the foot you need is the LCF-102.
This is a lighter setup because you aren’t using both a foot and a plate, and it acts as a sacrificial base for the lens. Let me explain… Over the years, I have found that taking care of your gear will get you a lot more money when you decide to sell it. The lens foot is usually the thing that goes on the ground first when you put your camera down, so naturally, it gets most of the scratches.
Breakthrough Photography Circular Polarizer
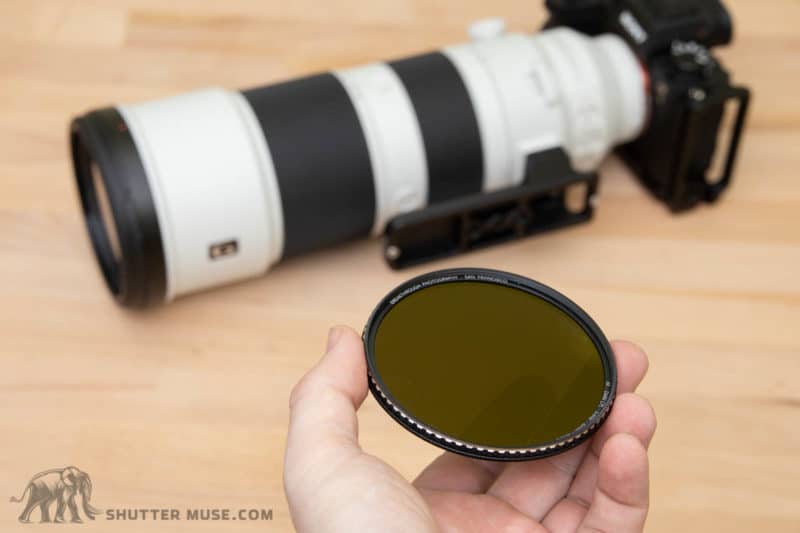
One of the great things about the 200-600 G is that you can put screw-on filters on the front, unlike many other large telephoto lenses. Although you need a rather large 95mm filter, you can still get these from a few different companies.
My favourite screw-on filters are from Breakthrough Photography, and I never go out shooting without one of their X4 circular polarizer filters. For wide landscapes, I might take some ND filters as well, but these are of little use on a longer lens like the Sony 200-600 G.
If you’re using this lens for wildlife on the water, such as whales or gators, the CPL filter will be beneficial for removing foreground highlights in out-of-focus areas. If bird photography is more your thing, it can do wonders for making background blue skies pop behind a perched bird or enhancing feather colours when the sun is causing highlights on the shiniest areas. If you need a reminder about the amazing ways in which a circular polarizer can help your photos, check out this previous article on the subject.


Thanks, Dan – this is great and very helpful! My lens just arrived and this is just the info I needed.
When I looked at Breakthrough’s site, I saw that they offer several options of their X4 CPL product, ranging from 39mm through 112mm.
I’m new at shooting, and I’ve never used a lens the size of the Sony before, so I’m not sure which Breakthrough option I should buy. Can you offer me guidance, please?
FYI – the camera I’m using is a Sony a7s iii and I’ll be primarily shooting boat races… don’t know if that info will impact your recommendation.
I really appreciate any direction you can provide; thanks so much!
All best,
Anthony
The different sizing options refer to the filter thread diameter of the lens. On the 200-600, the thread is 95mm so that is the one you’d want to order.
So, I’m really on the fence about this lens. I’m one of those cheap photographers that has to save up to purchase my lenses. I’m currently sitting at $900 and I’m trying to decide if I should continue to save up and get the $1700 Sony 200-600 or cheap out and get the $850 Sigma 100-400? Please, help me decide.
Hey Steven,
I actually had the Sigma 100-400. Rented the Sony 200-600 with a 1.4 teleconverter. After my rental was up, I put together some lens to trade in and just bought the 200-600. It’s really good. The Sigma is a good budget lens, but if you think you will want more reach, then just save for the 200-600.
The image quality is better, and the option to use teleconverters is a huge plus, plus you get an extra 200mm of reach out of the box.
The Sigma is definitely more compact and the weight is a lot less. That’s one issue with the 200-600 – it’s heavy.
Just my opinions of course.
Thanks for taking the time to share your experience, Nick!
hi
how do you overcome light loss of polarizer filter you recommend on sony 200 600
especially in cases which need high shutter speed like bird photography