Last year I published my Early 2015 Backup Routine article, which I mentioned would be the first in a continuing series. My computer and backup setup is constantly evolving with changes in available technologies, and changes to how I like to run my business. Over the years, I’ve developed backup strategies that protect my all important images and I figured that keeping track of these different setups would build a valuable resource for other people trying to get to grips with their own setup.
As I change my setup, it doesn’t necessarily mean that all previous ones are now invalid or inferior in some way. Should I make a change due to equipment failure, I’ll be sure to mention it. Otherwise, the change is more likely to be for convenience, or to make my backup routine even more robust. What I’m trying to say is that if you’ve come directly to this particular post looking for answers to your own setup, don’t ignore the previous post in the series even though it’s no longer the exact setup that I’m using, it may still be the perfect solution for you!In the previous post, I also laid out a number of important, underlying strategies that will be present in my setup, no matter what specific computer or hard drives are used. If you missed that post, I’d urge you to take a quick look now before reading the rest of this one. This is really important stuff guys and girls! I don’t ever want to get an email from anyone that starts by telling me how they lost all their photos!
Since the last post in the series, I’ve made a pretty sweeping change to my computer setup which has resulted in several knock on changes to my hard drive setup and overall routine. I noted some dissatisfaction of Drobo’s repair policies at the end of the last post, and mentioned that I’ll be looking to rotate the two Drobo 5Ds out of usage in the near future. As it stands, I haven’t done that yet as I’ve not had the time to do the research into a possible replacement. I’m almost certain it will be a Synology NAS solution, but recent workloads have prevented me from progressing further with that planned upgrade.
The major change that’s taken place is the replacement of my main computer. Up until last autumn I was using an iMac in my office, and a separate Macbook Air when I was on the road. It used to be the case that when I travelled, I never really needed to edit images immediately. The Macbook Air simply served the purpose of downloading memory cards and dealing with communications while I travelled. Recently I’ve made some changes to my overall business that’s seen me spending a lot more time on the road, and some of those trips have been long enough that editing while I’m away has become a necessity.
It became clear to me that I was going to have to replace the Macbook Air with something more powerful. At the same time, I also began to experience some general frustrations with the constant usage of two different Macs. I used Google Drive to sync most of my important documents, but on a couple of occasions where I spent time in places with no internet, some considerably sync errors occurred and left me less that certain about the location of some of my files. As I began to research the latest Macbook Pros to replace my Macbook Air, it dawned on me that perhaps there was now no longer a need for both a laptop and a desktop machine. A powerful laptop would solve the remote editing issue, and also greatly simplify portions of my backup routine by removing an entire machine from the process. A quick look at Geekbench scores for the mid-2015 Macbook Pro Retina 15” showed comparable performance to my current 27” iMac. I shouldn’t see any appreciable performance drop with my software if I switched to running everything from a laptop instead, and I could buy a 27” monitor to use in my office.
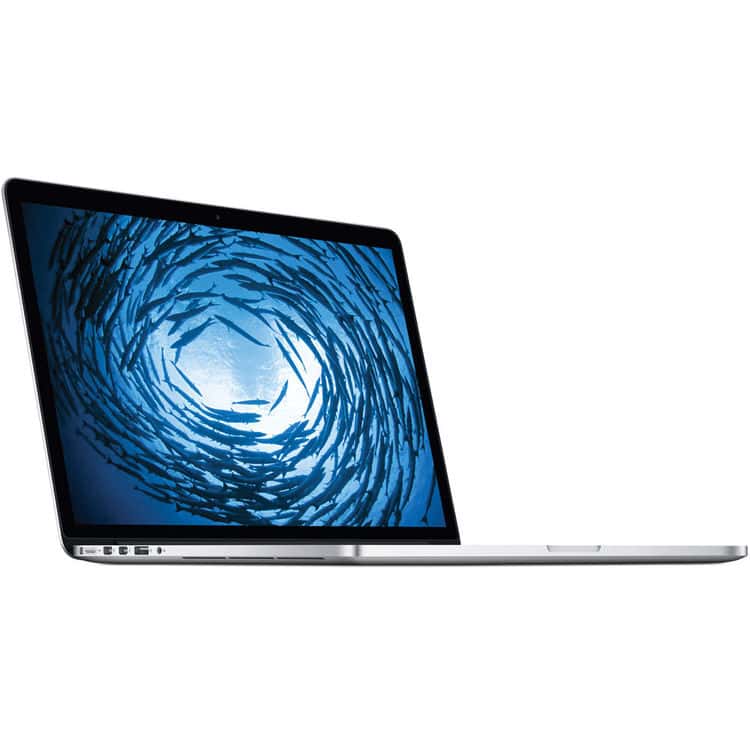
It really didn’t take long for me to see that this was going to be a much better solution for me in so many ways. I could now confidently pack my laptop at any point and know that I have all my work with me, whether it’s current photo edits, or written content for the site or clients. I placed an order for a 2.5GHz core i7 15” Retina Macbook Pro with 16GB RAM (the max), and a 1TB SSD (the max).
At this point, I knew that I wanted to take the opportunity to refresh a number of aging hard drives and also simplify my entire computer and drive setup. The first thing I bought was the CalDigit TS2 Thunderbolt 2 docking station. This turned out to be every bit as good as I hoped it would be, and much cheaper than the Logitech one. The TS2 dock allows me to connect all my USB devices, Thunderbolt devices, a monitor, my speakers and a microphone to my Laptop with just a single Thunderbolt cable. Everything runs into the TS2, which sits at the end of my desk, and then I just run one cable from the TS2 to my laptop when I bring it back to the office. It’s a brilliant simplification to the whole system!
Since the point of this whole change was to make it easier for me to run my business from the road, some of my drives were going to need to be replaced with bus-powered potable ones, instead of the big, beefy mains-powered ones that have served me well in the past. In the last post I explained why I make a clone of my boot drive every couple of days, and this used to be done to a G-Technology G-Drive. This has now been replaced by one of the great little G-Drive EV Raw drives. This is a bus-powered USB3 drive that weights very little, and comes with a rubber bumper. I already had one of these drives in my setup as the main mobile photo drive, and I’ve also added a third one to serve as Photo Drive #2. They’re so lightweight, I love them! (see photos below)
My Current Mobile / Travel Setup

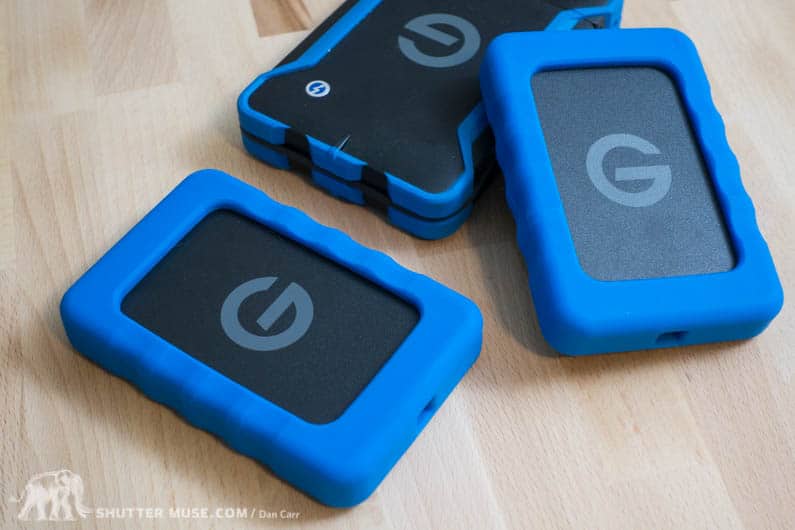
Photo Drive #1 – G-Drive ev Raw (1TB)
This is the drive that images get dumped to during a card ingest when I’m on the road. When I’m traveling, I keep this one in the G-Tech waterproof ATV case for added protection, and it also allows me to connect it to my Macbook Pro via Thunderbolt, which frees up the two USB ports for a card reader and the second photo drive.
Photo Drive #2 – G-Drive ev Raw (1TB)
This is the drive that duplicate images get dumped to during the import process, whether it’s from Lightroom or Photo Mechanic. Both programs include the option to create a duplicate at the point of ingest.

Boot Clone – G-Drive ev Raw (1TB)
Carbon Copy Cloner creates a bootable clone of my boot disk every two days, which allows me to start my computer even if the internal drive has failed.
Data Drive – LaCie Rugged Thunderbolt (2TB)
The internal drive of the laptop is only 1TB. In the office, I have the storage capacity of my Drobos, but on the road, if I need extra space to carry movies, music, or video project files, the 2TB Rugged Thunderbolt will do the job.
Time Machine – LaCie Rugged RAID (4TB)
I use this drive in RAID1 mode to provide maximum capacity in its use as my Mac’s Time Machine. Not only does it backup the contents of my Laptop’s internal drive, it also backs up the contents of the Rugged Data drive when that is plugged in.
A total of 5 mobile hard drives might seem like a lot, but actually they take up very little space in my luggage. They either travel in my Think Tank laptop bag, or they go into my camera backpack in one of the “lens” slots. One of the things you might notice about all five drives is that they are of the “rugged” variety, albeit from two different manufacturers. I’m a firm believer in using these kinds of drives because I think the relatively small cost increase is well worth the extra protection they afford. I’d guess that these kinds of drives are roughly 20-30% more expensive than what you might call standard mobile hard drives, but that only amounts to a few dollars in most cases. If you’re trying to protect images from a photographic trip that has cost thousands of dollars, I think it’s a small price to pay. On a recent trip to the Canadian Rockies, my main photo drive got accidentally drenched in water twice in two days! You just never know what’s going to happen, and I’ll gladly pay for a little extra protection. Both G-Tech and LaCie are making excellent rugged solutions right now. I just wish that G-Tech would make some with a larger capacity than 1TB, that’s really where LaCie has them beat with their 2TB and 4TB drives.
My Current Office Setup
This has remained largely unchanged since since the last post about this. I’m using a Drobo 5D with 5x4TB WD Caviar Green drives inside it as my primary storage location. Every night, Carbon Copy Cloner mirrors that Drobo to another identical Drobo 5D which serves as my primary backup. The Drobos themselves are protected from a drive failure by their proprietary Beyond Raid system, so this is a pretty secure double redundant setup which protects me from drive failure and also Drobo hardware failure.
On top of this, I have a 4TB G-Technology G-Drive which is being used with Time Machine on my Mac to keep an incremental backup of my laptop’s internal drive.
Some form of offsite storage is necessary as well, to protect against fire, flood and theft. Please make sure you do this! A friend of mine loft a lot of her work when her place burnt down recently! There’s no doubt that this is the toughest step to accomplish if you have a large archive and generate data quickly. For some people, Backblaze will be a fine option that will sync your files to the cloud in the background. For others, it’s not great if you have a poor or expensive internet connection. My setup has remained unchanged since last year: I keep a 12TB Western Digital MyBook in a pelican case at a friend’s house. After every major shoot, I pick the drive up and bring it to my office. It’s set up so that as soon as it gets plugged into the computer, Carbon Copy Cloner fires up and duplicates my primary Drobo onto the 12TB MyBook. Once it’s done after a couple of hours, I return it to its off site location.
The only slight change I have made is to simplify my Boot Clone process. Please refer to the Early 2015 version of this post to read all about why you need a clone of your boot drive. I used to have a clone in my office, and a second one as a mobile version of the clone. This was too redundant, so I removed one of them and now only keep a single clone of my boot drive on the previously mentioned G-Technology Ev Raw drive.
Changes to Come
Obviously the biggest change this time around was the total switch to a MacBook Pro for my primary computer. I anticipate that the next big change will be to phase the Drobos out one-by-one and swap them for Synology NAS drives because I’d like an easier way to remotely access my files.


Great article! I’ve upgraded my backup solution a bit since you’ve started this series, however one thing that always eludes me is, what is the best way to keep your lightroom catalog organized? Do you have multiple catalogs? or do you have one master catalog and reconnect folders when you move them from short term storage (on your laptop) to long term storage in your archive? Thanks!
I just have one single catalogue. You won’t need to reconnect anything if you move the folder from within Lightroom. So instead of doing them in your file browser (Finder if you’re on a Mac), move them within the folder tree inside your LR catalogue. It will move the files to your new drive, and it’ll update your catalogue simultaneously. It’s seamless :).
Christopher,
You can add multiple drives and/or locations to a single LR Catalog.
If you disconnect one of these drives and LR can not see it, it will be displayed with a ? over the folder icon in the Library module.
When you want to access files on that drive, just close LR, reconnect the drive, and open LR again. If LR does not find the drive, you can right click and select ‘find missing folder’ to point it at the drive.
I plug drives in and out all the time. There won’t be a problem. I’ve actually never even had to close the LR catalogue. It just finds it and all the “?” go away.
Great (and timely) article! So with the physical off-site, you don’t have any need for Backblaze or CrashPlan etc.? I’m researching those right now and trying to figure out if they’re decent for fairly large-volume photo archiving. Any experience with them or other cloud solutions?
I’m stayed away from them so far because my upload speeds are so slow with Telus. I’m thinking of using one to keep an offsite version of my Time Machine drive, though. The one problem I have with it is that I REALLY struggle with giving away control of my offsite copy. I think if I did it, I’d have to do it in addition to my current system. I’d like to experiment with it at some point.
GREAT Post Dan!
I’m not long from needing to upgrade my gear. In fact I’ve been stalling for quite a while.
I’ve spent the last two years considering the move from PC to Mac and your reasoning fits well with my thoughts.
I think that the PC is still very viable but the portable PC options, for those of us who travel often, are very poor in terms of image processing. I cannot find a satisfactory display anywhere.
The MacBooks are brilliant in these terms and your backup plan would work very well at mitigating the loss that can occur with a single machine!
I’m definitely going to give this option far more consideration now!
Thank you for the post!
You’re very welcome Tom! I’m glad you found it useful. Let me know what you decide to go for, eh?
I found a nice youtube video about the G-Tech drives.
I also have learned that Mac can read FAT32 drives. This bit of info gives me a lot of reassurance that my conversion from PC to Mac will not be a problem.
So step one is going to be 2 G-Tech drives.
I’m holding off on the Mac purchase until at least December to see if the MacBook Pro update rumors are true. If so, I’ll consider the newer version over the current Retina models.
G-Tech youtube video
https://www.youtube.com/watch?v=-YcqFBGh7YA
Thanks Tom! I’m keenly awaiting the new Macbook Pros as well.
I changed priorities a bit and started looking for a current MacBook Pro. My thought was that if I could find a used machine for significant savings, then I could wait a year for the bugs and kinks to be ironed out of the new model.
This plan would give me a machine I can use while I travel and free up some budget money for other items I want to purchase before Feb. 2017.
I found an early 2015 Retina with a 2.7 i5, 8G RAM, and a 250G SSD. It was brand new, still in the plastic wrap, not stolen, and 1/3 less than retail.
I spent some time considering my need for storage needs and moved away from the G-Tech idea.
I am strictly a hobby shooter (for now) and do not not need that much space to transfer while I’m on a shoot or long trip. Heck, I barely have 500G of data after 4 years of shooting.
I also don’t like the speed reports I’ve read on the G-Tech gear and I don’t see a scenario where I will need that level of protection in the field.
I ordered a LaCie Rugged Raid Thunderbolt 2, 2T that will serve as my main storage drive. I have a 2T My Passport Ultra that will I can use for backups.
Later I will pick up another LaCie or two and a dock.
Side note: in the process, I have learned that MAC can write to NTFS via WAN. Despite all I have read, I was able to copy a file from my MAC onto my PC shared drive.
Thanks again for this and other great articles!
Thanks for continuing the conversation, Tom! Good to read about other people’s solutions. Cheers!
Great article and love your photographs. Thank you for sharing your information on your workflow. Keep up the great work.
Dan Z
Thanks! Glad you found it useful.
Something I’ve been doing for about 10 years now is keeping an additional backup in the trunk of my car. If something like a fire or flood happens and I’m home I can just grab the backup as I leave. And in cases where I’m not home, the backup is with me in the car. One of the few cases this wouldn’t cover is a fire while I’m away on my bike, but in my case it’s extremely unlikely both would burn since I park outside. One thing I was initially concerned about was the vibration, heat, and cold the backup would be subjected to in the trunk, but it doesn’t seem to be an issue after this many years.
Nice idea! Thanks for sharing, Craig.
Thank you so much for such a comprehensive breakdown! Really enjoyed reading.
I’m curious to hear more about how you plan to integrate a NAS into your backup plan.
I currently have a NAS which I manually put all my major shoots on to access offsite if need be but I’m not sure I’m getting the most of out of it’s capabilities. I have a Western Digital EX4100.
You’re welcome, glad you found it useful. I just published the 2017 edition here: http://shuttermuse.com/photo-backup-routine-mid-2017/