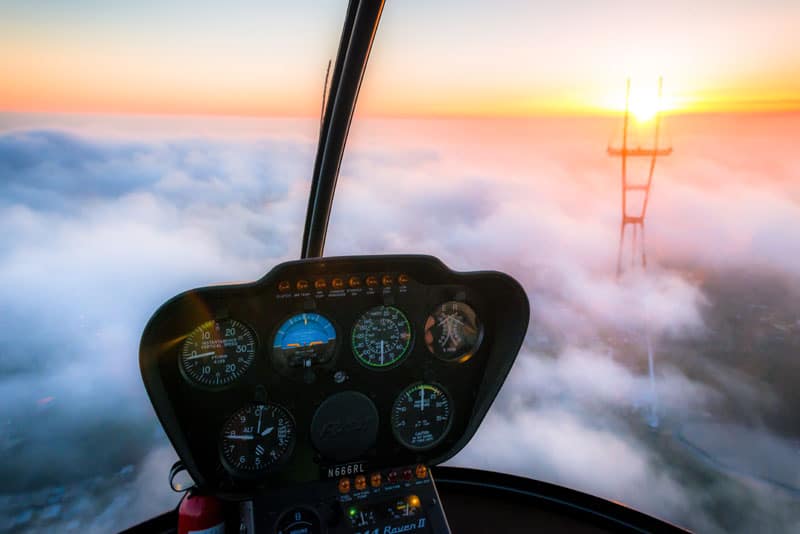
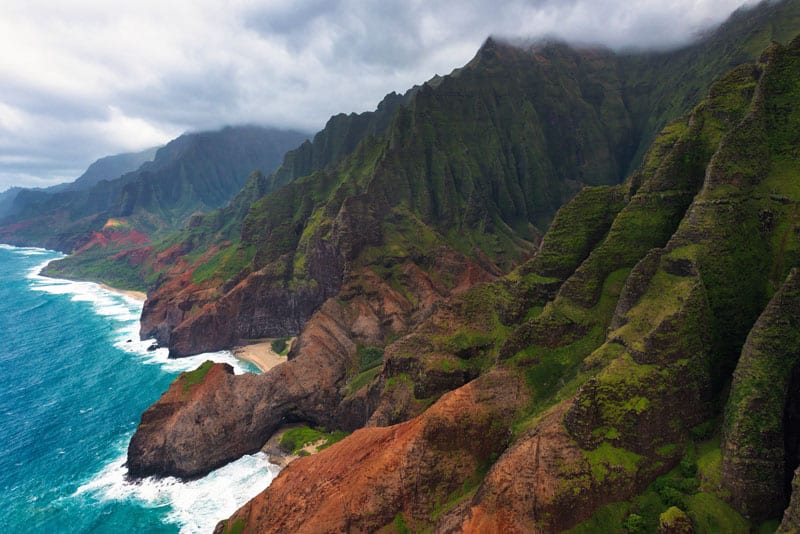
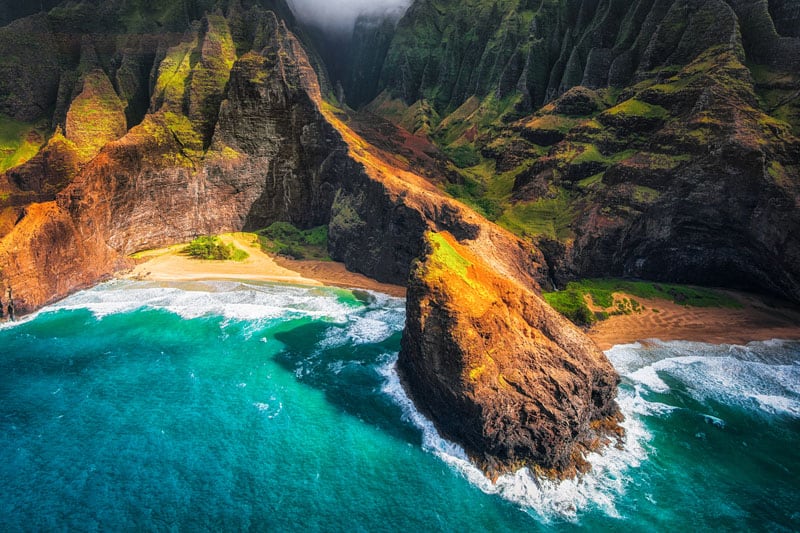
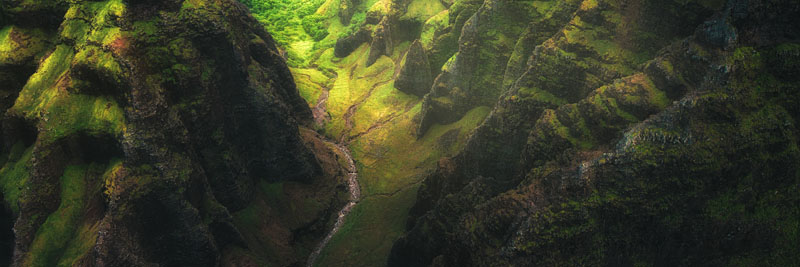
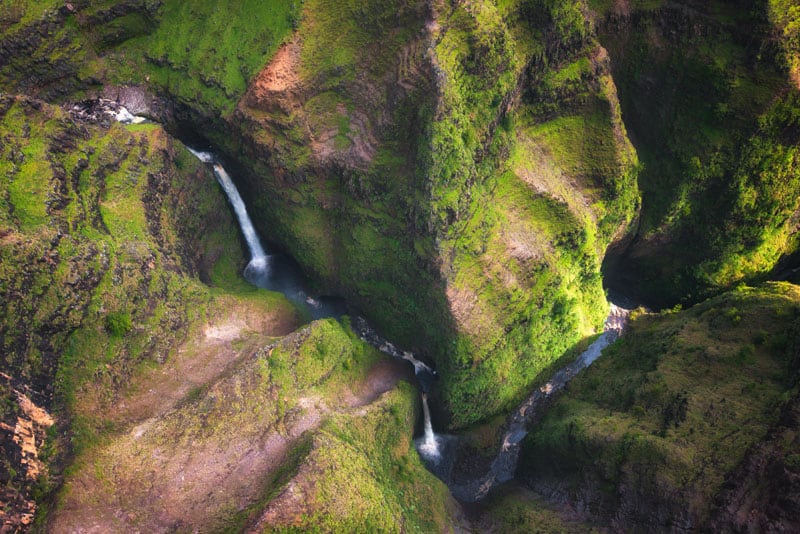
Needless to say I was beyond excited when one of photo heroes, Dan Carr, approached me to share a bit about my recent adventures in aerial photography here on Shutter Muse. Back in March I spent a week to myself, exploring Kauai and shooting non-stop. Knowing that Na Pali Coast is arguably the most spectacular stretch of coastline on the planet I wanted to see it from both a boat and from above. I also knew that meant I’d need to get in a helicopter with the doors removed to capture the shots the way I really wanted.
No big deal, right?
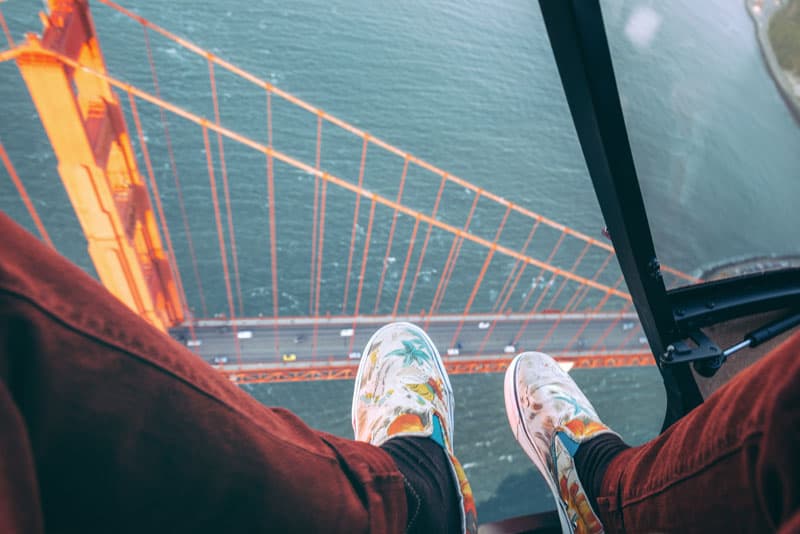
Well, as any of my old climbing buddies would ironically tell you, I used to be terrified of heights. I was the guy on the wall who would get the shaky “jimmy-leg” when only a few feet off the ground. So what better way to conquer this fear than jumping in a doors-off helicopter?!
It didn’t take much time to find the go-to for this tour of Kauai was Jack Harter Helicopters out of Lihue. The price was actually much cheaper than I’d anticipated, and since it was just me on the trip I only had to worry about getting on a tour with a single seat available (these helicopters will sit 3 plus the pilot). Roughly $250 for a solid hour was a no-brainer for me, and I ended up having so much fun I booked another flight for the following day. $500 over two days? It sounds steep, but knowing I’d be walking away with images I’d be able to sell kept me from balking at the price. A couple of print sales and I’d be out be out of the red in no time.
Now I’m obsessed.
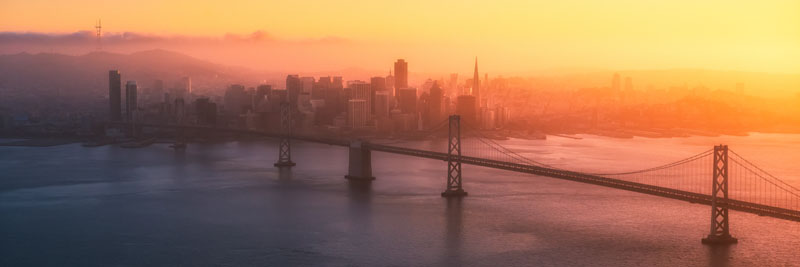
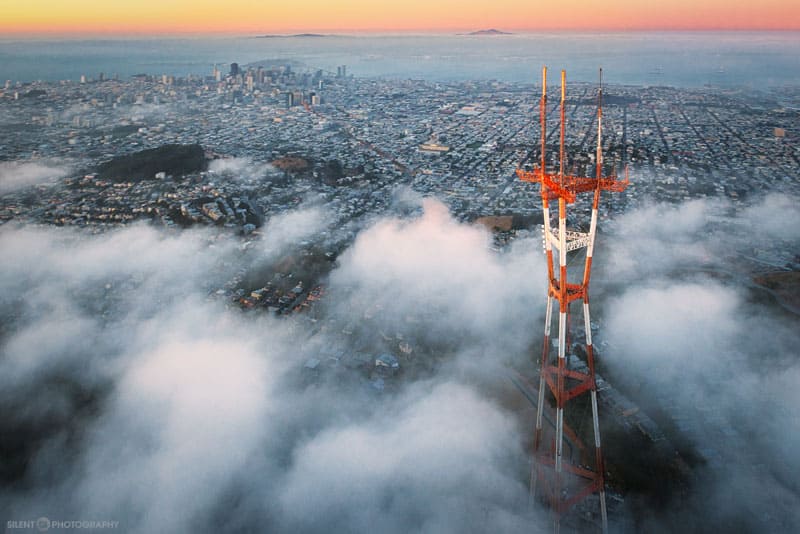
All I want to do is shoot from the air, and the thrill of flying has me much more excited than using a drone. My online audience has also been enjoying this new niche and that’s certainly helped from a business perspective. Last month I treated myself for my birthday and did two doors-off helicopter flights over San Francisco through Vertical CFI. A couple of buddies and I (again, 3 seats plus pilot) did a sunset and sunrise tour, and even flew UNDER the Golden Gate Bridge. The price-tag was similar to Jack Harter’s. Comparing the experiences from Kauai to San Francisco is apples and oranges, though. The Jack Harter pilots were fantastic, but since it was a tour (not a private photo hire) they had to stick to a strict, one hour schedule, meaning the flight was at high speeds, and if you missed the shot, you missed the shot. In contrast Vertical CFI let us essentially pay as we went.
“Hey guys, you only have 20 minutes left, where to?”
“Can we go under the Golden Gate?”
“You’ve got it!”
Gear Check – Aerial Photography Equipment
My first flight over Kauai was pretty absurd for gear:
1.) Nikon D800 with Nikkor 16-35mm/f4
2.) Nikon Df with Nikkor 24-70mm/f2.8
3.) Nikon D7000 with Nikkor 70-200mm/f2.8
I didn’t use the D7000 with telephoto once. I thought I’d like it for tight crops on the waterfalls, but I typically like slow shutter speeds for water, and should have known better than bringing that heavier rig with me. To each their own, some might be after those tighter crops but it wasn’t for me.
Since I was unable to swap lenses during the flight (hence the multiple camera bodies) I was a bit frustrated I went with the 16-35mm/f4 on my go-to landscape camera, as I truly could have shot exclusively with the 24-70mm/f2.8. I got a lot of shots I was really happy with while using the 16-35mm/f4 but SO MANY of them had the chopper blades in frame. Of course that’s simple to remove in post, but I don’t care for relying on that fact while shooting. Naturally I swapped lenses on the D800 and Df for the second flight, and left the D7000 with 70-200mm/f2.8 at home.
In San Francisco I felt more prepared. I borrowed a D800E to compliment the D800, and used 24-70mm/2.8 and 16-35mm/f4. As I’d expected the wide angle was really only used for the “vertigo” shots as we circled over San Francisco’s Financial District. It was perfect for the shots where I wanted dramatic barrel distortion, AND to have the helicopter in frame. Sometimes having the helicopter or plane in frame can add to the shot.
While shooting over Kauai I knew I’d see rainbows and the most vibrant colors I could ever imagine, so both the D800 and Df had b+w Circular Polarizers mounted to make all those colors pop. BUT those polarizers are dark and I lost roughly 0ne stop of light. This meant higher ISOs…. but I’ll discuss settings shortly. I opted to leave the polarizers at home for the San Francisco flights as we’d be cruising in lower light conditions than Kauai (the Kauai flights took place in late afternoon).
It goes without saying when you’re flying around you want to keep your gear as secure as possible. I use Camdapter hand-straps on my DSLR bodies but I can’t stand camera neck straps. I’m not coordinated enough to NOT strip my camera’s socket by using those popular shoulder straps, either. Thankfully Really Right Stuff has the B2-FABN mini-clamp which can attach directly to a ¼-20” stud on shoulder straps such as the BlackRapid, and also has 3 strap bosses to be used with neck straps, additional safety loops or in my case: multiple neck straps and webbing from my backpack. The B2-FABN will accept any Arca-Swiss compatible camera body or lens plate. I’m primarily a landscape shooter, so I use Really Right Stuff L-Plates on my cameras for tripod use. Being the type of shooter that goes from handheld to tripod mounted quite erratically quick-releasing straps off my cameras is crucial for me.
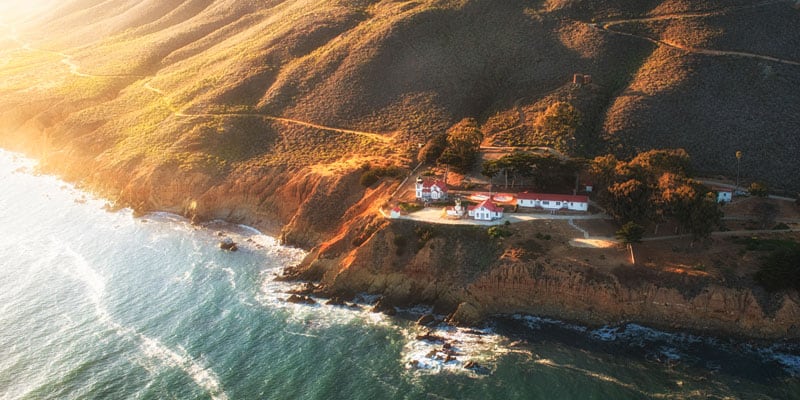
Aerial Photography Settings
Camera settings were actually rather straightforward. I ranged from f4 to f8 depending on the scene, available light and the required depth of field. In San Francisco I was able to go with slower shutter speeds than Kauai, again because the Jack Harter pilots were on a schedule and flew faster than our guy with Vertical CFI. Shutter speeds ranged from 1/200 to 1/2500 (with 1/200 at the absolute extreme slowest speed used).
ISO – it is what it is. Better to bring home some noisy shots rather than soft ones. ISOs ranged from 400 to 6400 on all the flights (of course 6400 being the extreme pre-sunrise and post-sunset). I find that I can comfortably shoot around 2500 on the D800 so higher ISOs are rarely a concern for me. Since I was shooting RAW, white balance stayed on auto the whole time and I could easily make necessary corrections to that in post. I used AF-S autofocus switching back from single to multiple point focus depending on the subject. And of course shooting with the D800 I filled cards quickly–continuous burst mode for the most frames per second is a must when shooting from a moving object.
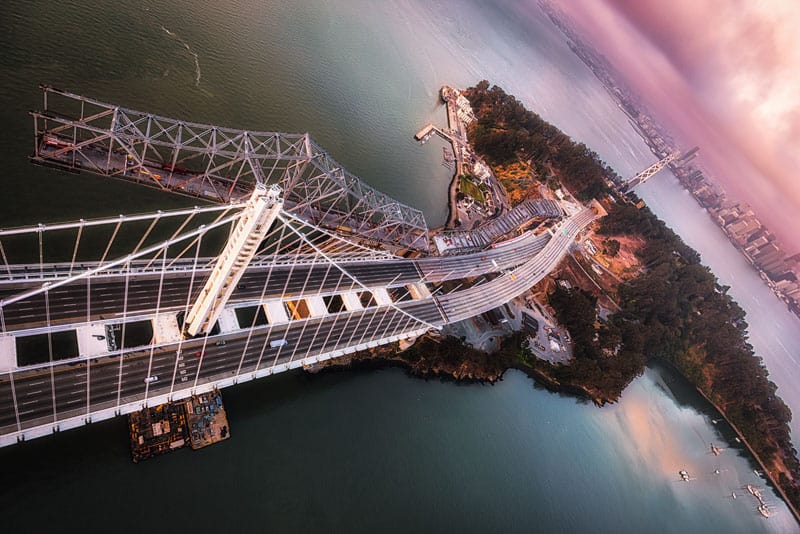
Thank you so much for taking a look at my work, and I hope this has been helpful if you’re planning a helicopter trip any time soon. All in all the last few months have been a huge stepping stone in continuing to build my landscape portfolio, and I owe a great deal of that to my new obsession with aerial photography. Stay tuned as I have a friend in San Luis Obispo who’s been flying me over Central Coast California in his PA-20 Pacer plane……. I’m also gathering all my loose change to get in a helicopter during a trip to Iceland in August and am already researching doors-off flights over Chicago for 2015!

Follow Mark
- Website and prints: www.silentgphotography.com
- Facebook: https://www.facebook.com/mark.gvazdinskas
- Instagram: http://instagram.com/silentgphoto
- 500px: http://500px.com/silentgphotography
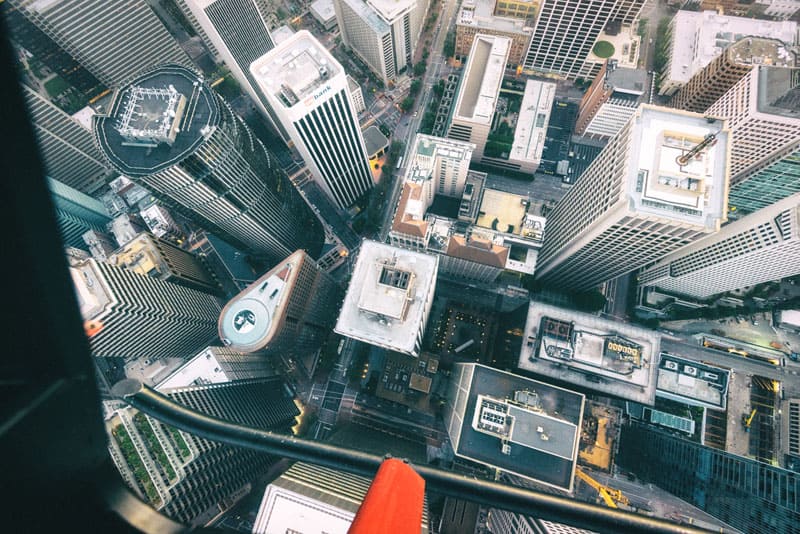


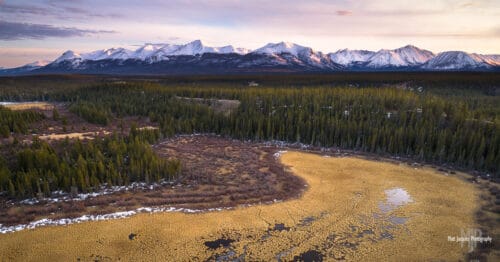
Thanks again, Dan! I’m ready for some comments about the shoes… ha!
Haha!