Pergear has been making a name for itself in recent years by offering incredibly affordable manual prime lenses for mirrorless cameras. When they reached out to me to see whether I would be interested in reviewing the new 12mm f/2 lens, I jumped at the chance to review a very different lens to the expensive professional OEM lenses I usually use for my own work.
The Pergear 12mm f/2 costs around $165 and is available with either a Sony E, Nikon Z, Fuji XF or micro Micro 4/3 mount. As the inclusion of the latter two mount types indicates, this lens is APS-C and not full frame. However, for this review, I will be using it on my full-frame Sony mirrorless cameras and using the built-in APS-C mode. Why should crop shooters have all the fun?!
In this review I’ll be examining the build and function of the lens, as well as taking an in-depth look at all of the important optical characteristic such as bokeh, vignetting and chromatic aberration. I even got out to shoot some northern lights images with the lens, allowing me to examine coma and astigmatism. Can you really get a decent ultra-wide lens for well under $200? Let’s find out!
Table of Contents
Lens Specifications
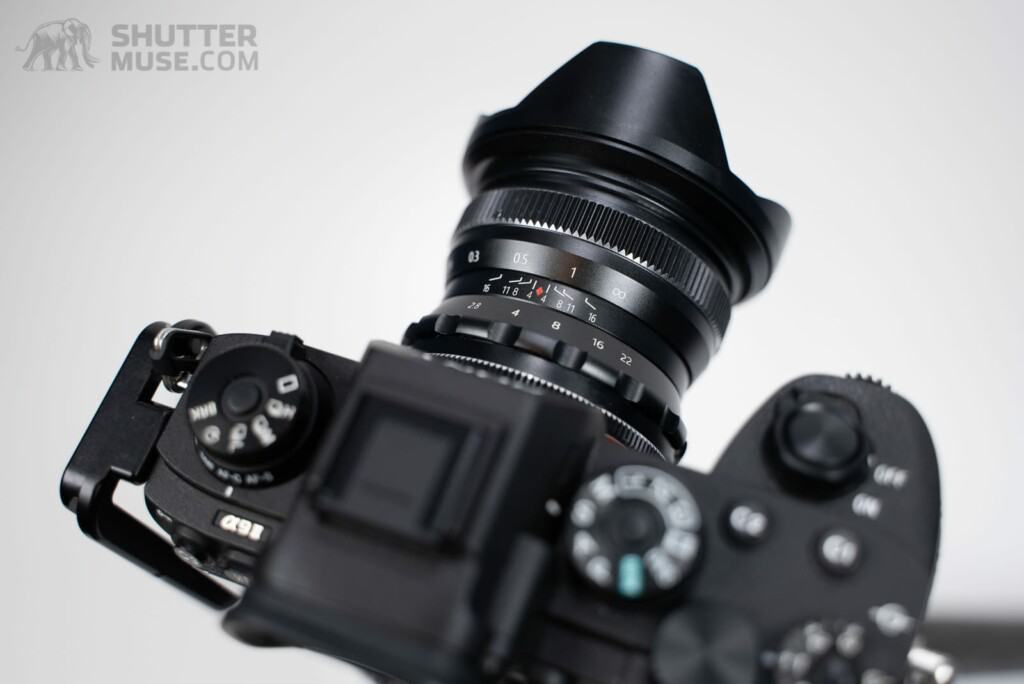
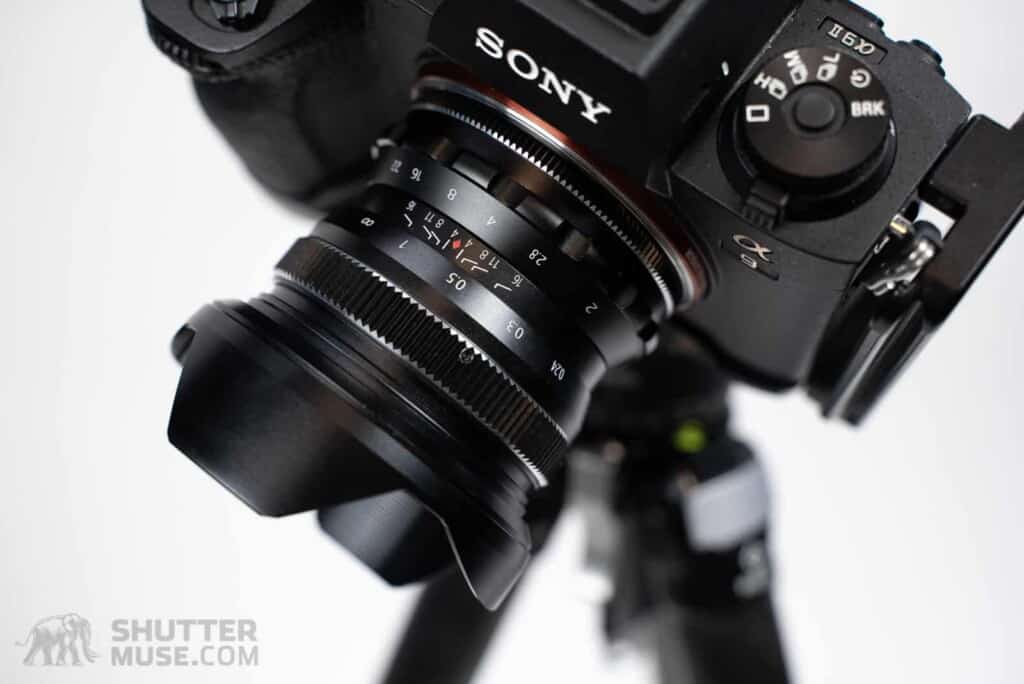
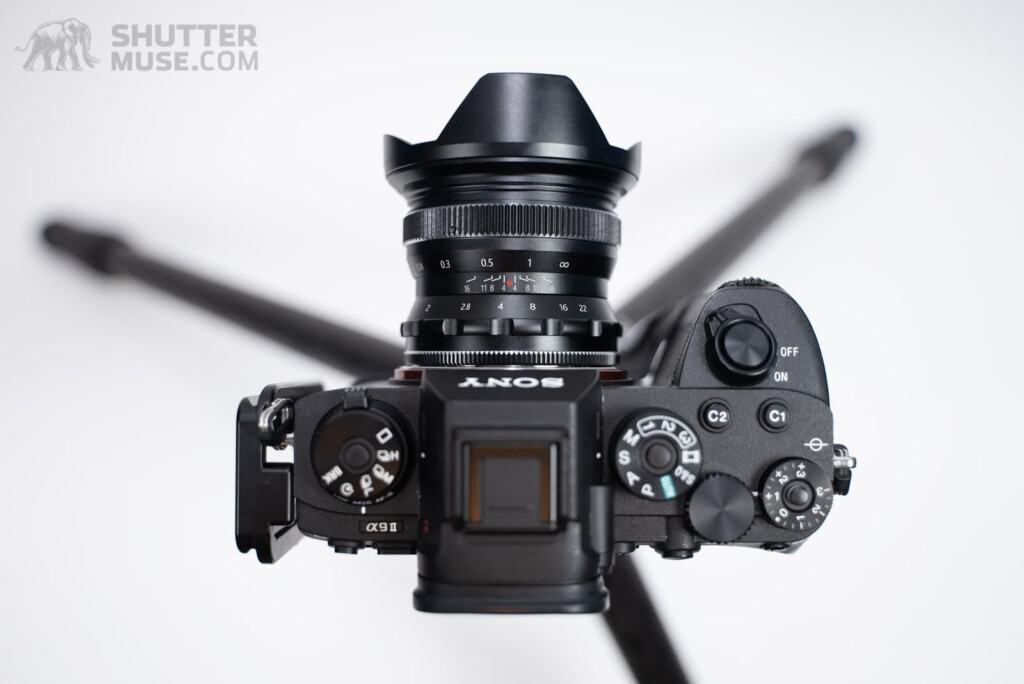
Pergear 12mm Lens Specifications
- Focal Length: 12mm
- 35mm Equivalent: 18mm
- Maximum Aperture: f/2
- Minimum Aperture: f/22
- Lens Construction: 12 elements in 9 groups
- Angle of View: 97°
- Aperture Blades: 10 (rounded)
- MFD: 20cm
- Filter Thread: 62mm
- Dimensions (diameter x length): 66mm x 59.5mm
- Weight: 300g
- Mount: Sony E-Mount, Micro 4/3, Nikon Z, Fuji XF
Design and Handling

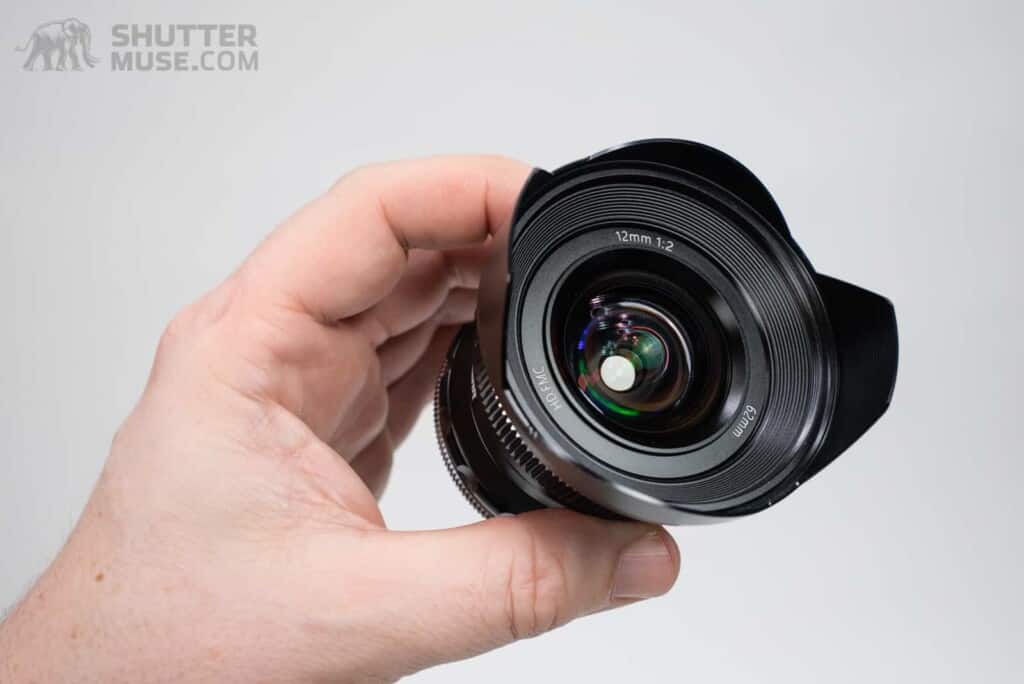
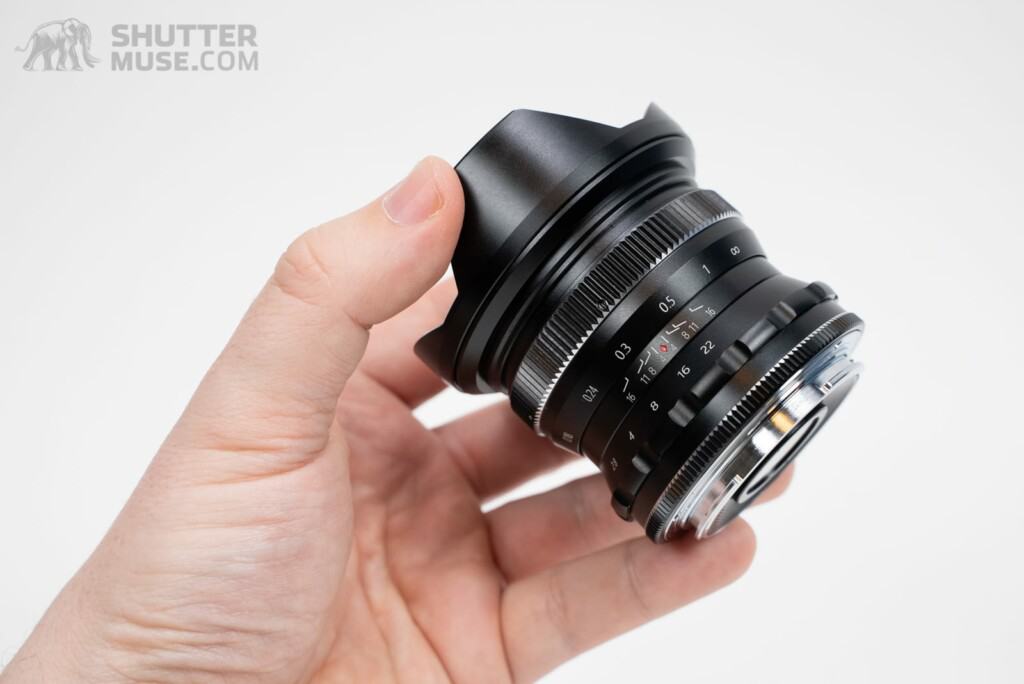

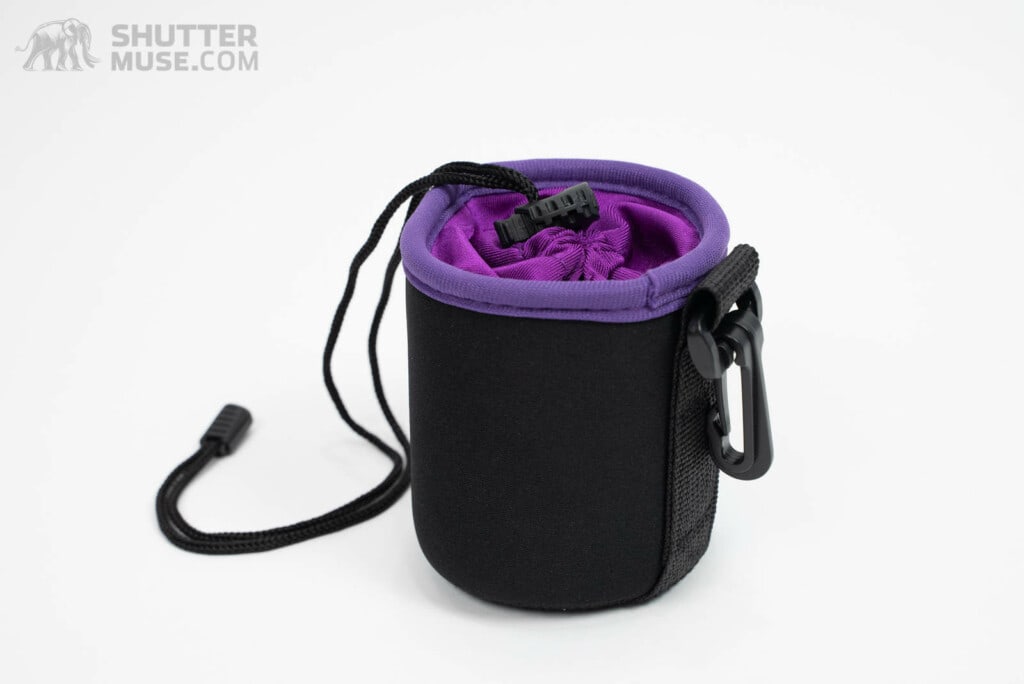
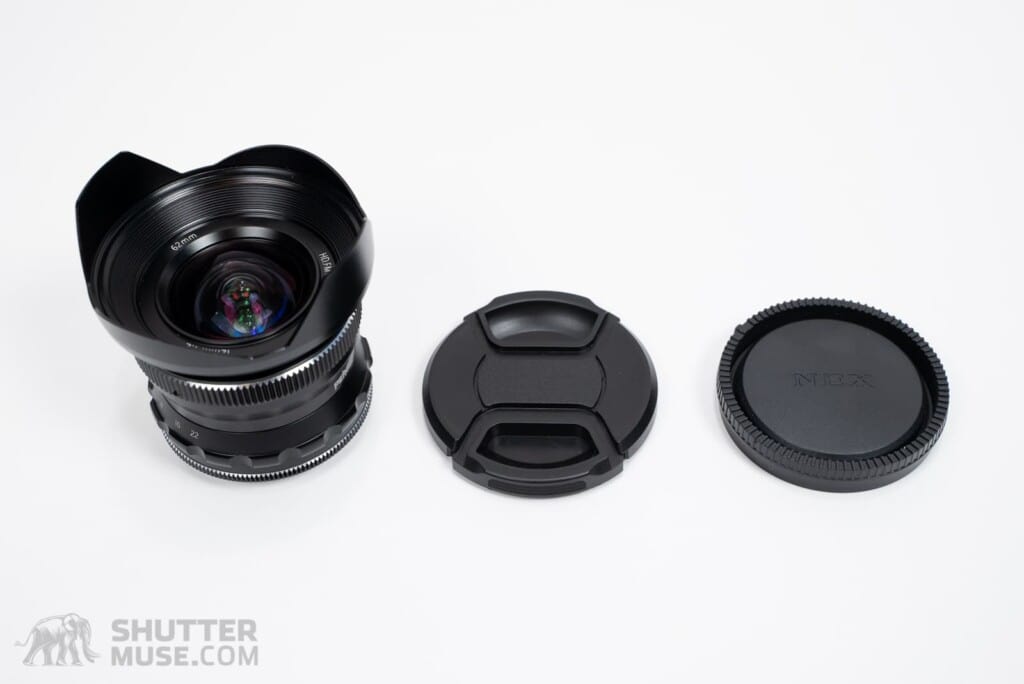
When the lens arrived from Pergear for testing, I didn’t have any great expectations for the build quality. After all, this lens costs just $165.99 and through years of buying professional lenses I have been conditioned to think that you must spend many hundreds of dollars to get anything that might feel great in the hand.
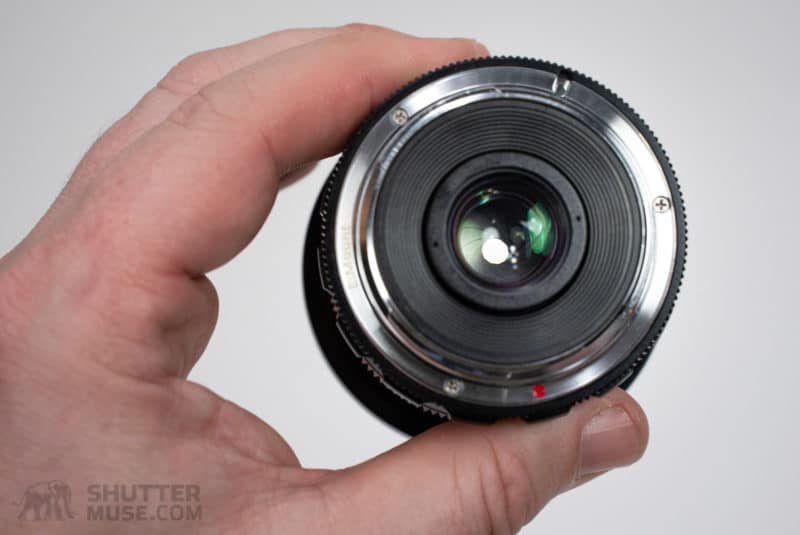
I was wrong. Upon removing the lens from the (included) softly padded lens bag, I found a solidly built lens with an all-metal casing. To my surprise, it even had a robust metal lens mount. Something which is far more preferable than the plastic mounts usually found on cheaper OEM lenses from the likes of Canon, Nikon and Sony.
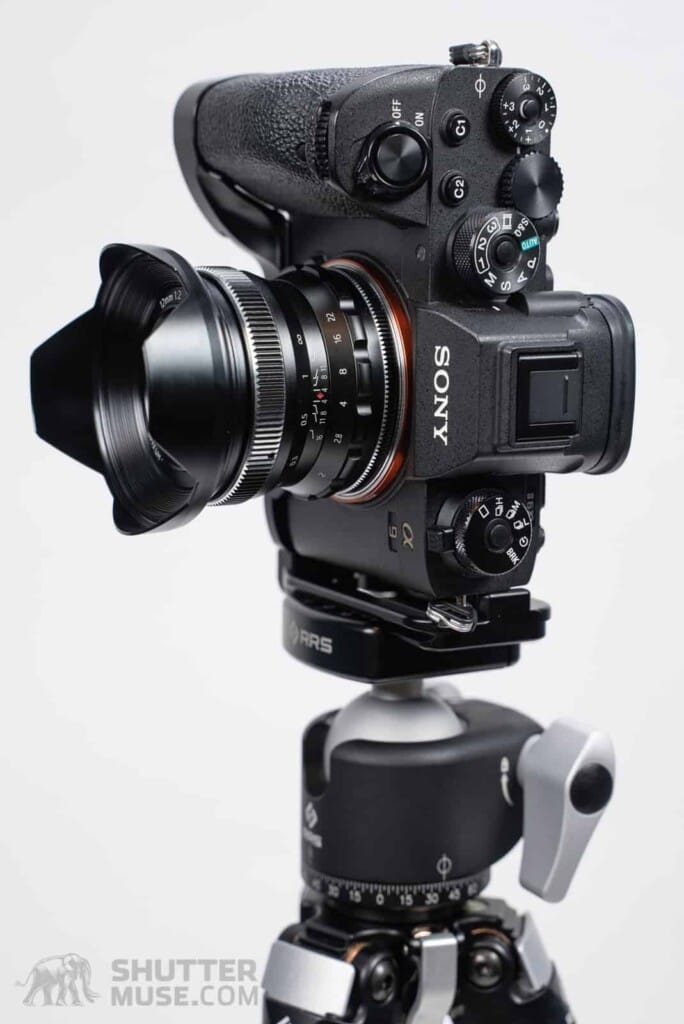
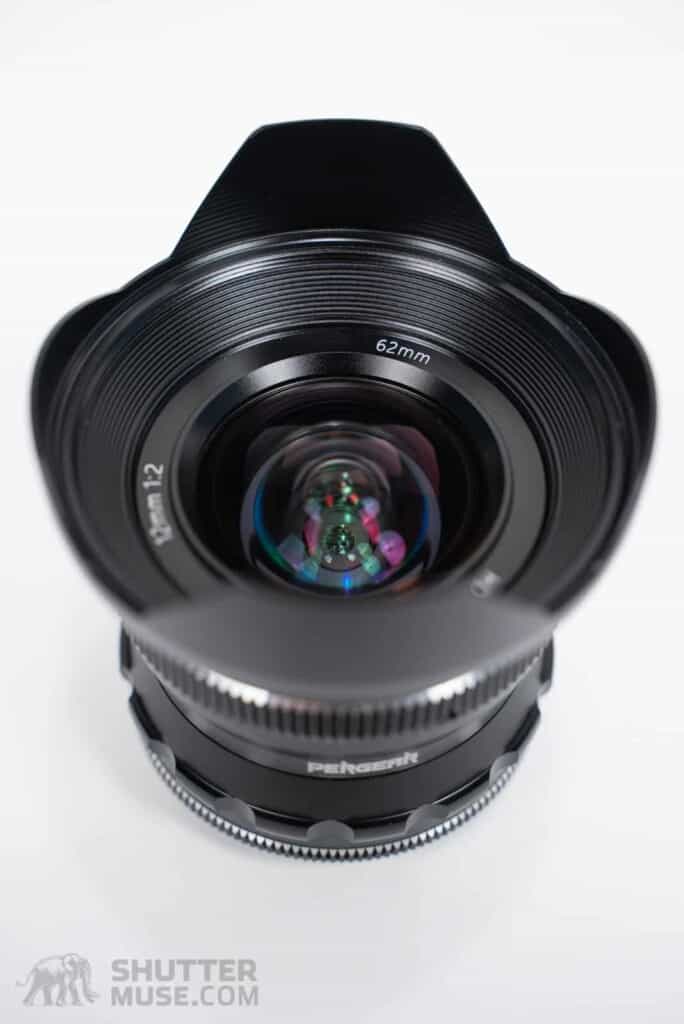
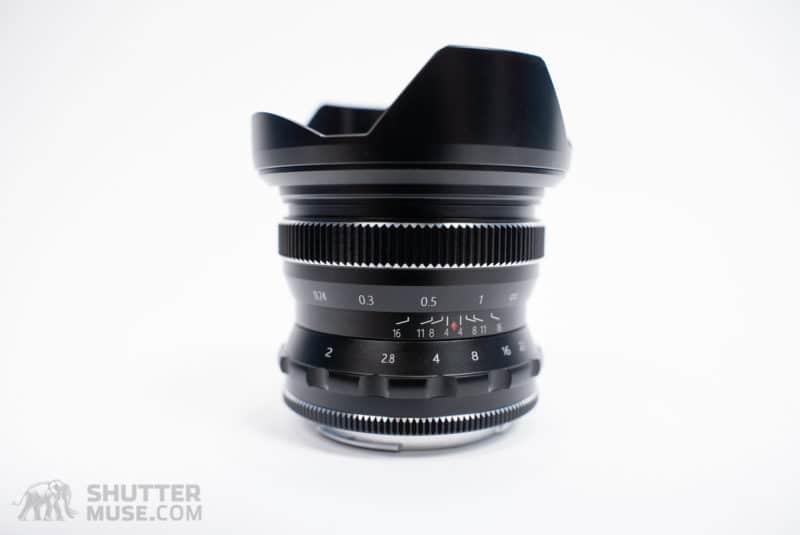
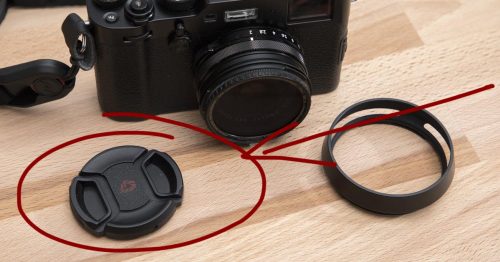
The metal lens hood is fixed to the camera and feels sturdy. This is a hood that will give ample shading to the front element, while at the same time offering considerable physical protection from bumps and dings. I like its design a lot, and I far prefer the ability to place a centre-pinch lens cap inside the metal lens petals, compared to much larger custom lens caps that encompass the entire hood.
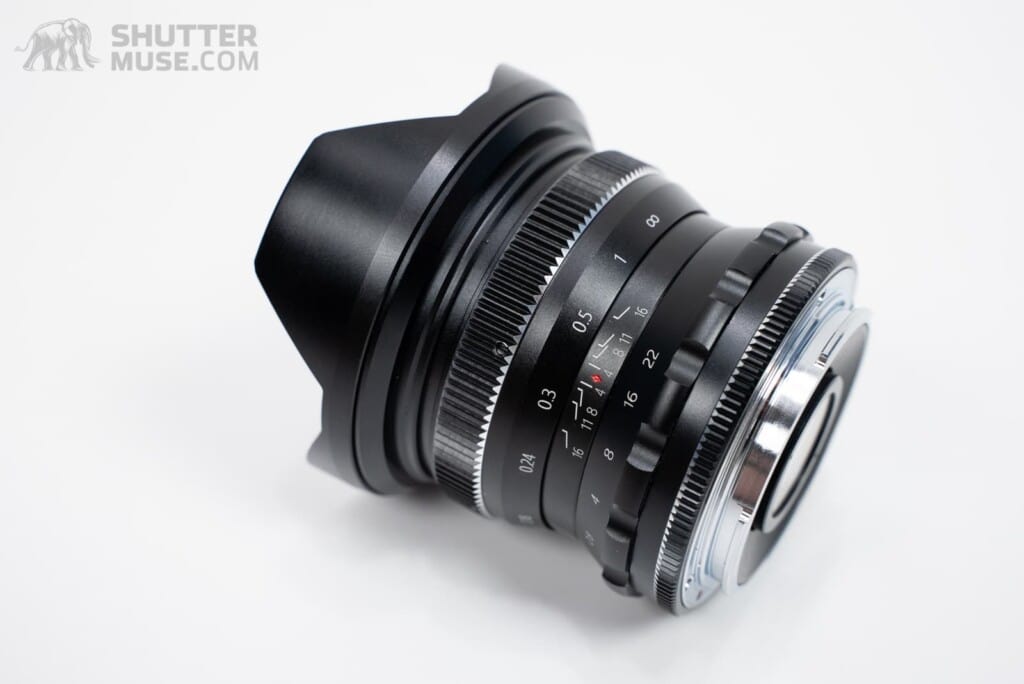
Looks are, of course, subjective. But I personally think this lens looks fantastic. In fact, I was so enamoured by its retro styling that I think I went a little overboard with the product photos in this review! Please take the time to click on some of the product shots to enlarge them on your screen and enjoy some of the lovely lines this lens creates.
Perhaps more important than the look of this lens is the feel of the manually operated focus and aperture rings. With no electronic contacts on the lens mount to communicate with the camera, you are relying on these to control the lens and create your images. Thankfully, both rings are beautifully dampened. They remind me of a lot of the old manual DSLR lenses from the pre-digital days. The focus ring, in particular, is extremely enjoyable to use, and it made me wonder why so many of the focus rings feel like crap on my much more expensive lenses.
Of course, you can’t expect perfection at this price. If you look very closely you will see minor flaws in the black paint, and the presence of a screw right in the middle of the focus ring is aesthetically unfortunate. However, you can colour me more than impressed with the quality to price ratio of this lens. It is punching well above its weight, and I can’t see anyone having anything other than a smile on their face when they first unpack this purchase and roll it around in their hands. We’re off to a good start!

Setting Up Your Camera For This Lens
Before I get stuck into the optical characteristics of the lens, I want to include some notes on setting up your camera to function correctly with a lens like this. The Pergear 12mm lens does not have any electronic contacts to enable communication with your camera. This means your camera might not be aware that there is a lens attached, and the default setting for most cameras is that you cannot take a photo without a lens.
Shutter Release Without Lens
To solve this, you’ll need to dig into the menu system to find the setting which enables you to trigger the shutter without a lens attached. Remember, while we know there is a lens attached, your camera does not.
- Canon cameras: Menu > Custom Functions > Release shutter w/o lens > ON
- Sony cameras: Menu > Camera Settings2 > Release w/o Lens > ENABLE
- Nikon: Not necessary to change any options. As far as I know, it will work.
Note: Camera manufacturers are changing their menu systems all the time. There is a chance that setting location and wording are not an exact match for the ones listed above. Hopefully, it gives you enough of a clue to find what you are looking for.
Crop Mode
The Pergear 12mm lens covers the APS-C sensor format. If you are using an APS-C camera, move on, there’s nothing to see here. If, however, you are using a full-frame camera, you will need to enable your camera’s crop mode so that you do not get severe mechanical vignetting. This will force your camera to only capture the centre portion of the sensor that is covered by this lens.
Mirrorless cameras have a massive advantage over older DSLRs in this instance, because the viewfinder image can also be cropped to show exactly what you are framing.
- Canon: Menu Page 1 > Cropping/Aspect Ratio > 1.6x
- Sony: Menu > Camera Settings1 > APS-C/Super 35 > ON
- Nikon: Photo Shooting Menu > Choose image area > DX
Note: At least on Sony cameras, crop mode results in a smaller file. Some people assume that you can go back into Lightroom and remove the crop afterwards, but that’s not the case. The crop is baked into the RAW dimensions.
Note 2: Although Sony cameras do have an “Auto” option in the APS-C/Super 35mm menu section, this only works with APS-C lenses that have electronic contacts. Leaving it in Auto will not crop the frame for the Pergear lens.
Focus Assist
This lens is manual focus only. Most people will want to use some or all of the focus assist tools that are available on modern cameras. Usually, these can be mapped to custom function buttons for quick access when using this lens.
The two most common focus assist tools are Focus Peaking and Focus Magnifier. Focus peaking highlights the edges of objects that are currently in focus. Usually there are some options to change the peaking colour in the viewfinder, as well as setting the threshold.
Focus magnification zooms in on a portion of your frame, allowing you to get a better idea of exactly which areas are in focus. There are often different zoom levels such as 5x and 10x. On some cameras, peaking can be combined with magnification.
Check the manual for your camera to find out more about the implementation of these features, and how you can assign some, or all of them to custom function buttons for quick recall.
Optical Characteristics
Sharpness
I found this lens to be surprisingly sharp in the centre of the frame, but with a significant fall-off in the corners that was strongly visible from f/2 through to f/4 and moderately visible at f/8. If you can afford to stop down this far, corner sharpness makes a significant improvement at f/16, before plummeting back down again due to diffraction once you pass that point.
At the bottom of this review, you can find a set of downloadable RAW and JPEG images from a static scene that was shot with a range of different apertures.
Distortion
Barrel distortion is present with this lens, but it altogether not too bad. This sample photo is uncorrected. What little there is, could be easily corrected in Lightroom or other similar editing applications. One thing that is worth noting, though, is that there are no lens profiles available for the Pergear 12mm. If you want to correct any distortion, you will have to use the manual sliders.


Flare

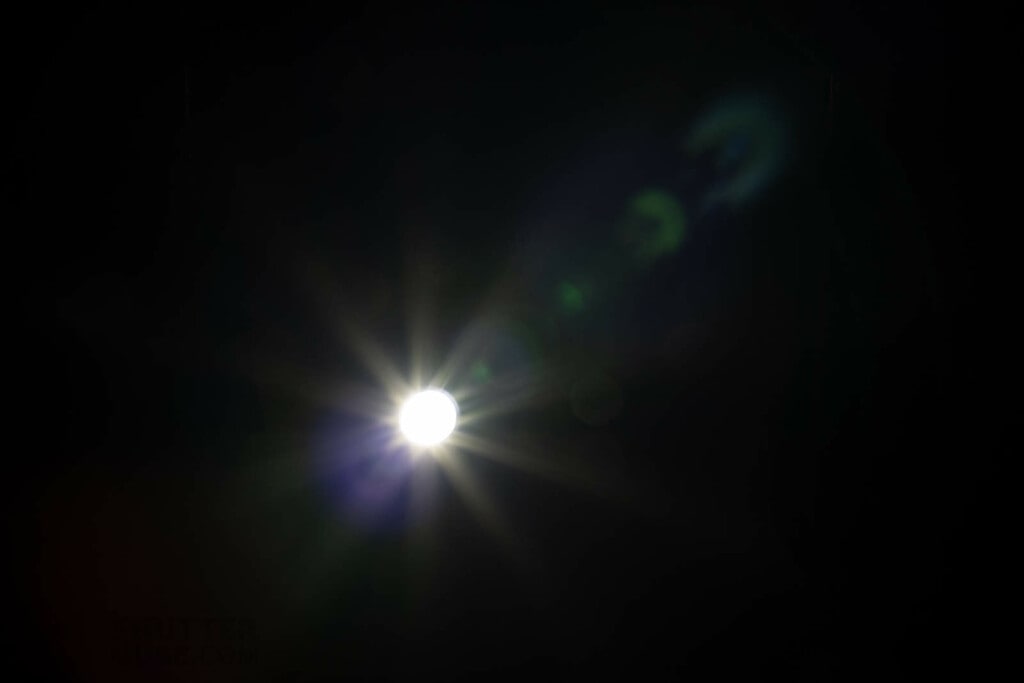

With any cheaper, uncoated lens you should expect to get heavy flaring when the light source is in certain positions within the frame. Although flare is visible, and with it comes lowered contrast, I actually find myself enjoying the rendering and colours produced by this lens. This is subjective, of course, but to me, it gives a retro vibe to the image that is fun to embrace.
This is not a lens you buy to get a high-contrast clinical result, but that doesn’t mean it can’t produce pleasing images. For a real-world example, you can also examine the next photo of a sun star which also generates some flare.
Sun Stars
The 10-blade aperture in the Pergear 12mm lens produces characterful sun stars that I find very pleasing. In fact, I would say that this was one of the biggest surprises that this lens had to offer. In recent years I have used a slew of fast, expensive glass that create either boring or indistinct sun stars that have left me wanting more.
With this lens, the protrusions of light from the star are long but have a pleasing look that often combines with the just-as-interesting flare properties. If you want a sun star to be a really eye-catching compositional feature in your photo, the Pergear 12mm is almost worth having in your kit for that purpose alone. This is another example of how sometimes, having a less clinical and optically perfect lens can lead to more interesting images.
Chromatic Aberration
Chromatic aberration is actually fairly well controlled on this lens. It is one of the better optical characteristics, alongside the lovely sun stars. Normally in a snowy scene with a bright background, I would expect to encounter some lateral CA in the trees, but in this example, there is nothing worth correcting.
In the first image below of the old gold rush buildings, a very faint amount of purple fringing can be found along the bright white snow lines where it meets the darker blue sky. However, you have to really go looking for it at 200%. In this horizontal frame, the white-against-blue area is close to the centre of the frame where you would expect CA performance to be at its best.
In the vertical frame, the white show line on the top of the roof is closer to the edge of the frame. As a result, purple fringing is much stronger. That said, compared to some of the other optical characteristics of this lens, I’d say this performance is fairly good, and this type of CA can be removed with one click of a button in Lightroom.
Field Curvature
From an optical standpoint, the biggest deficiency of the Pergear 12mm is the terrible field curvature. With an optically perfect lens, the plane of focus will run perpendicular to the front of the lens. Everything at a specific distance from the lens will be in focus when you use the focus ring to focus on that plane. If a lens exhibits field curvature, that plane of focus is curved. The areas of the image that are in (or out) of focus are not following a flat plane as you would expect.
The sample image of a tree trunk shows the field curvature of this lens. The tree was straight and vertical, and the lens was positioned so that the front was parallel with the trunk. Although the focal plane is thin, due to a wide aperture and a close subject, there’s should still be an obvious in-focus plane along the front of the tree trunk. Instead, what we see is a sharp centre with extreme softness at the top and bottom of the frame as the field of focus has curved dramatically away from the trunk instead of being a flat plane.
Depending on the placement of your subject in the frame, and the nature of that subject, this effect isn’t always visible. In some cases, it could actually be used to your advantage as it creates an interesting circle of sharp focus in the centre of the frame. Not entirely unlike a special effect lens such as a LensBaby.
Stopping down the lens will increase the depth of focus in your image, and although this isn’t technically fixing the field curvature, it does become less noticeable at a smaller aperture.
Vignetting


Vignetting performance is not a strong point for the Pergear 12mm lens. Vignetting is heavy at f/2, which is not unusual, but it remains heavy when stopped down to f/2.8 and even f/4. Things look a bit better at f/8, but as the examples demonstrate, even when stopped down all the way to f/22, vignetting is still visible.
At f/2, f/2.8 and somewhat at f/4, you simply have to embrace the vignetting of this lens and use it to highlight a more central subject. As you should be learning by now, it’s best not to try and fight all of the optical flaws in a cheap lens like this. You will have a much better time if you simply understand them and try to use them to your advantage in some way.
Bokeh
With an f/2 maximum aperture, the Pergear 12mm lens is capable of creating moderate background blur or bokeh. There is very little onion-skin bokeh to be found and very few colour artefacts. Generally speaking, the bokeh has a pleasing softness to it and I would count this as one of the stronger performing optical characteristics of the lens.
Comatic Aberration and Astigmatism for Astrophotography
Wide-angle lenses with relatively fast maximum apertures are always a candidate for astrophotography. While I had planned to test this lens by shooting some starscapes, luck was on my side and the lens was in my bag while the northern lights showed themselves one winter night.
If your lens kit is lacking another fast aperture prime lens for astrophotography, the Pergear 12mm is capable of getting some good images. There is a considerable amount of coma and sagittal astigmatism when examined at 100%, but by now it should not be a surprise that the lens has optical limitations. As with all of the other optical sub-sections in this review, the result is best describes as “full of character”.
The level of astigmatism, in particular, will not satisfy the astrophotography purists or the dedicated aurora hunters, but the wide field of view and fast aperture does deliver a viable solution to people who can’t afford to have a dedicated “astro lens” that might cost 10x the price.
Aperture Value
While experimenting with vignetting testing, I ran several tests where I manually advanced the aperture using the ring on the lens and attempted to maintain a consistent exposure by compensating for the shrinking aperture with an elongated shutter speed. This showed me that the aperture markings on the lens are somewhat rough. For example, when moving from f/16 to f/22 – what should be a 1-stop difference – the lens transmitted way less light than would be expected. Variation was seen to a lesser extent in other parts of the aperture range, but it did appear to be there.
In practical terms, it means that if you had a correct exposure set up and decided to adjust the aperture by, say, one stop on the aperture ring, you cannot blindly adjust the shutter speed by a stop in the opposite direction (or ISO) and assume you still have the same exposure. Careful consideration of your flashing highlights or histogram should be done before each shot.
It’s also worth noting that the aperture values on the lens are not marked consistently in 1-stop increments, for a reason which I could not fathom. The scale goes f/2, f/2.8, f/4, f/8, f/16, f/22. This corresponds with a stop difference between the major markings of 1-stop, 1-stop, 2-stops, 2-stops, 1-stop. Had they also included f/5.6 and f/11 on the scale, it would be a complete 1-stop scale which seems more logical to me.
Conclusion
The Pergear 12mm lens is a somewhat difficult lens to categorize. Optically, it’s far from what we would call perfect, but it somehow manages to create a look that really endears itself. It doesn’t even try to be perfect, and the character of the optical flaws somehow ends up being fun and hugely engaging if you pay attention to them while you shoot.
Instead of discovering minor flaws only when you are pixel peeping at home, the optical flaws of this lens are in your face right through the viewfinder. And the result is that you can work with them in your composition, and have fun with them to create an image that looks very different from the clinical look of most current professional lenses. I wouldn’t pick this lens for critical landscape photography where uniform sharpness is generally appreciated, but it makes a fun walkaround option for wide-angle travel and street photography.
Mechanically, I was also very impressed. This is a robust lens with a smooth focus ring that is easily capable of delivering the focus precision you need at f/2. The built-in metal lens hood helps to maintain contrast, while also providing some robust protection for that front element.
Downloadable Image Samples
Manual lenses that do not send aperture data to the camera are somewhat problematic for lens reviews. Unless I made specific notes during my testing, which I did for the aperture series further down the page, there is no way for me to know what aperture was used for the test shots.
My advice? If you want to download the full-resolution samples for a closer look, concentrate more on the overall feel of the image. I have provided a set of images that do have the aperture noted on them, so you can examine the sharpness of those ones to create a rough sense of what was probably used for some of the other samples. This is the kind of mindset you have to use with this lens anyway. It’s not about being perfect, it’s about feel and character. Having no EXIF info is actually a helpful way to get your mind away from the specific camera settings and focus in on those less precise, but equally important image properties. Download and enjoy!
Aperture Series
With the Pergear 12mm lens being totally manual, the aperture value is not included in the image file’s EXIF information. In fact, the EXIF will not reveal any information about the lens at all. Below is a series of images taken at various aperture values so that you can evaluate image sharpness yourself across the aperture range. If you choose to download the full resolution samples of this series, the corresponding aperture value has been noted in the filename to help you. RAW Files are Sony ARW files from a Sony a9 II.

| Pergear 12mm Aperture | RAW | JPEG |
| f/2 | Download | Download |
| f/2.8 | Download | Download |
| f/4 | Download | Download |
| f/8 | Download | Download |
| f/16 | Download | Download |
| f/22 | Download | Download |
Additional Downloadable Samples
Unfortunately, because no EXIF data is recorded, there will be no indication of aperture values for the following sample images. Depending on your computer system and internet browser, you might have to right-click and “save as” on the download link.







Really informative! Thanks! Something to be said for having an inexpensive lens in your bag – especially when it is not a paid gig. There’s a lot of merit to a good “kicker” lens (that’s what I like to call them). Can teach you a lot about how to work it to get the image right, in camera, first.
Dear Dan, how do you use Steady Shot (Vibration Reduction) for this Lens on the Sony Mirrorless APSC Cameras??
You should just be able to go into the menu and make sure Steadyshot is set to ON. Then go to Steadyshot Settings, and select the focal length manually.
All this technical stuff is BS. A good photographer and a cheap lens will create a masterpiece.
But a good photographer and a better lens will create a masterpiece with more resolution and fewer optical “blemishes”. It’s OK for people to want that. Good for you if you are happy with what you have.