UPDATED: Some aspects of this review have been updated in July 2020 to include information about the expanded range of Ellie L brackets. The additional products in the lineup have slightly changed my overall opinion of the product and this is now reflected in an updated conclusion.
Whatever camera I’m using, I always have an L-bracket attached to it. I’ve written in the past about the many reasons an L-bracket is an essential piece of kit for me, so I won’t repeat myself too much at the top of this review. If you aren’t familiar with the benefits of an L bracket (sometimes called an L-plate), it’s worth having a read of that article.
The short version: An L-bracket allows you to quickly switch from landscape orientation to portrait orientation without vastly altering the camera’s height or horizontal positioning on your tripod.

I’ve previously reviewed the 3 Legged Thing QR11 universal L-bracket and found it to be an excellent solution for a very good price. Because of that, and because the QR11 remains a current product in their catalogue, I was somewhat surprised to see the launch of the new Ellie L-bracket system. How do they differ? Which one should you choose?
These questions and more will be answered in this 3 Legged Thing Ellie L-bracket review.
Ellie’s Specifications
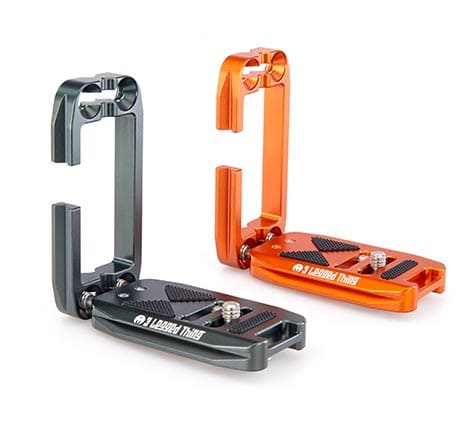
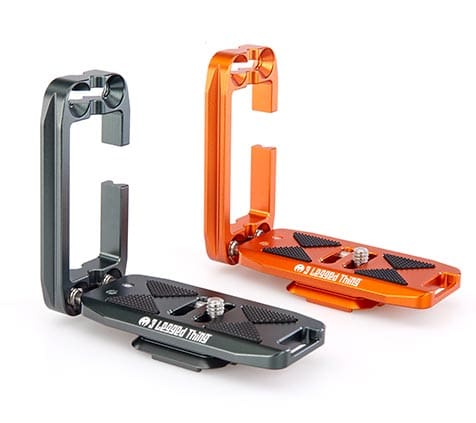
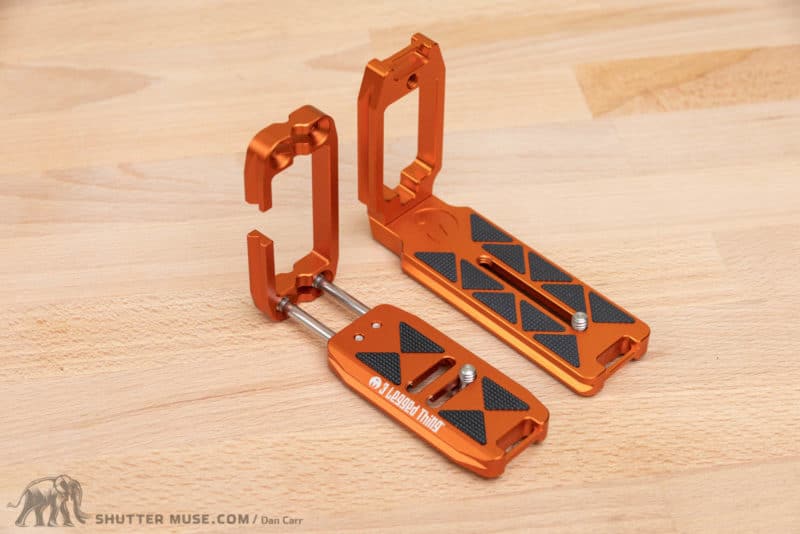
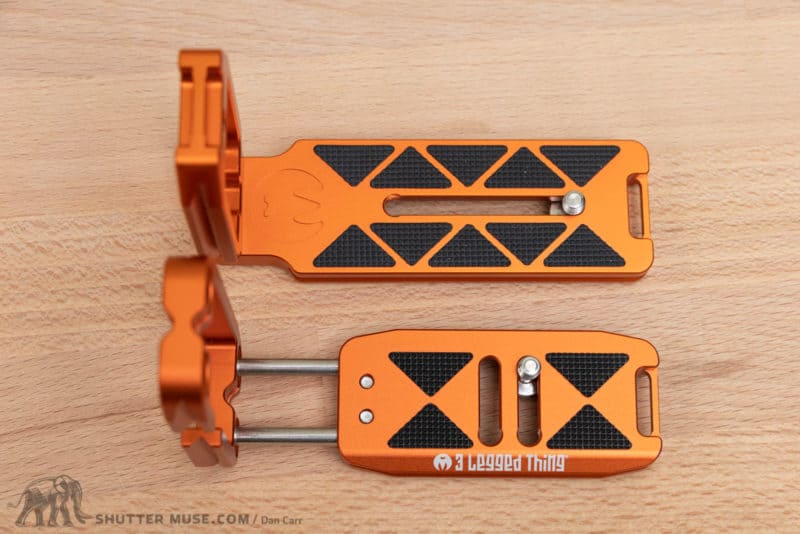
Ellie originally launched as a single model but has since been expanded into a system of four different models that offer slightly different characteristics. The model that was provided for this review was the standard Ellie model.
The expansion of the lineup adds a “Short” version of Ellie that has a shorter baseplate to accommodate a wider variety of battery door placements. A PD version of both the Short and regular Ellie were also added to the system. This PD version includes a baseplate that is compatible with the Peak Design Capture Clip V3, as well as Arca-Swiss clamps. This is a pretty cool feature that I haven’t seen before on any other tripod plates. While you could simply use the Peak Design plate that comes with the Capture Clip and attach it to either Ellie or Ellie Short, it’s nice to have the option of having it all built into a single-piece design.
The crucial measurement to determine whether you should get the regular version or the short version, it the distance between the 1/4″ 20 hole on the bottom of your camera and the edge of the battery door:
- 26mm to 39mm / 1″ to 1.4″ – Get Ellie Short
- 40mm / 1.57″ or more – Get Ellie
- Less than 25mm / 0.95″ – Either Ellie or Ellie Short will work, but the battery door will be blocked by the base plate.
When trying to choose the best version for your needs, I would recommend taking a look at the 3 Legged Thing website where they have examples of all models on various common camera setups. Very useful.
Related post: Peak Design Capture Clip V3 Review

Ellie and Ellie PD
- BASE Length: 85mm / 3.35 “
- Adjustable Width: 95 mm – 128 mm / 3.74 “ – 5.04 “
- Vertical Aspect Height: 85 mm / 3.35 “
- Base Width: 38 mm / 1.5 “
- Side Width: 38 mm / 1.5 “
- Weight: 95 g / 0.21 lb
Ellie Short and Ellie Short PD
- BASE Length: 70mm / 2.75 “
- Adjustable Width: 80 mm – 113 mm / 3.15 “ – 4.45 “
- Vertical Aspect Height: 85 mm / 3.35 “
- Base Width: 38 mm / 1.5 “
- Side Width: 38 mm / 1.5 “
- Weight: (89 g / 0.19 lb)
Pricing
Ellie’s Features
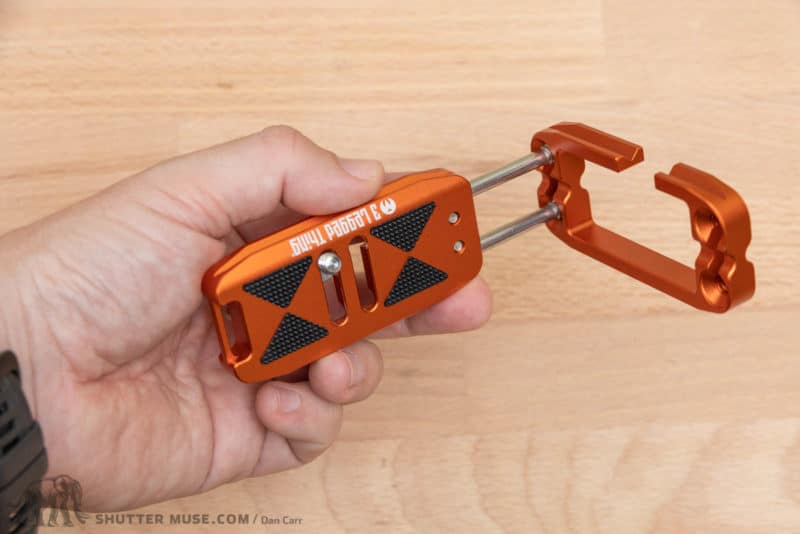

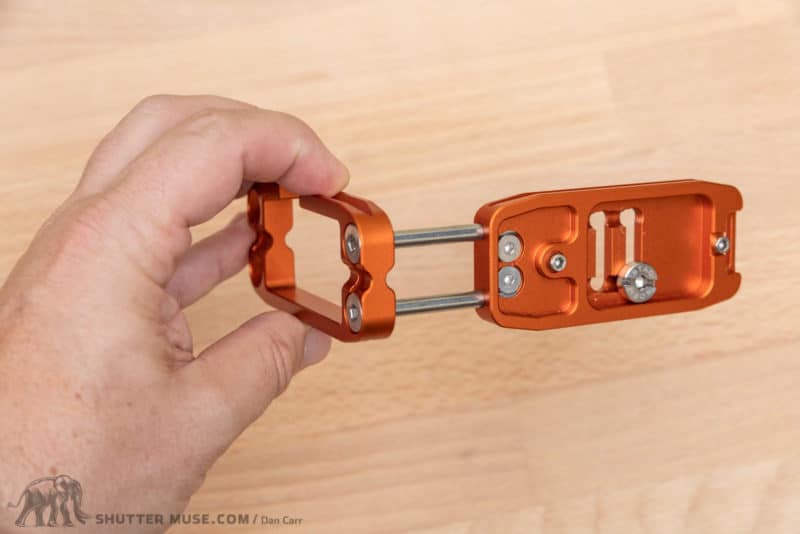

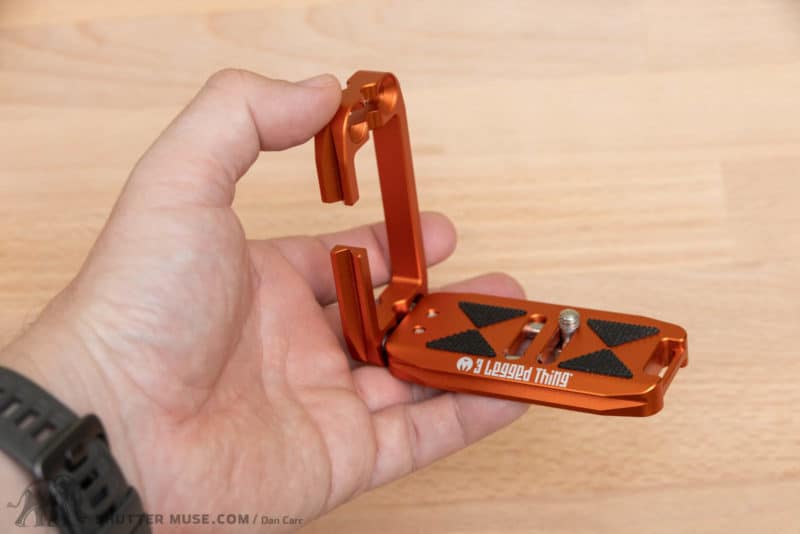
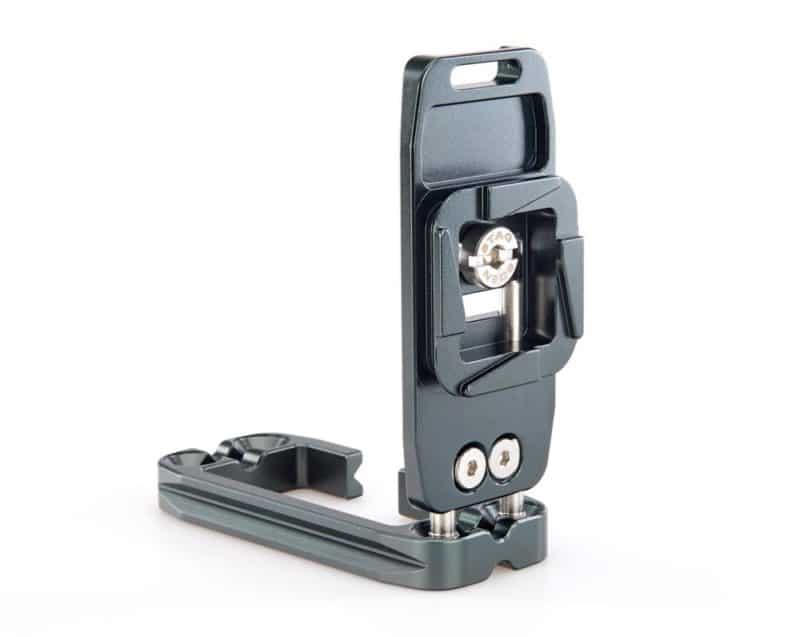
Ellie’s primary feature is the adjustable base length which is controlled by two small screws on the bottom. This adjustability serves two main purposes: Firstly it allows most people to position the base of the bracket in such a way as to not interfere with the battery compartment door. As I mentioned earlier, even more leeway for this is provided by the addition of an Ellie Short model with its smaller baseplate. Between the horizontal adjustment, the two model sizes and the dual 1/4″ 20 screw slots to choose from, most camera models from Canon, Nikon, Sony and Fujifilm will have no problems.
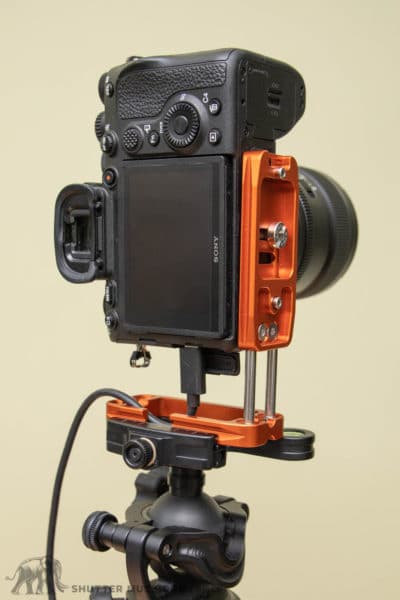
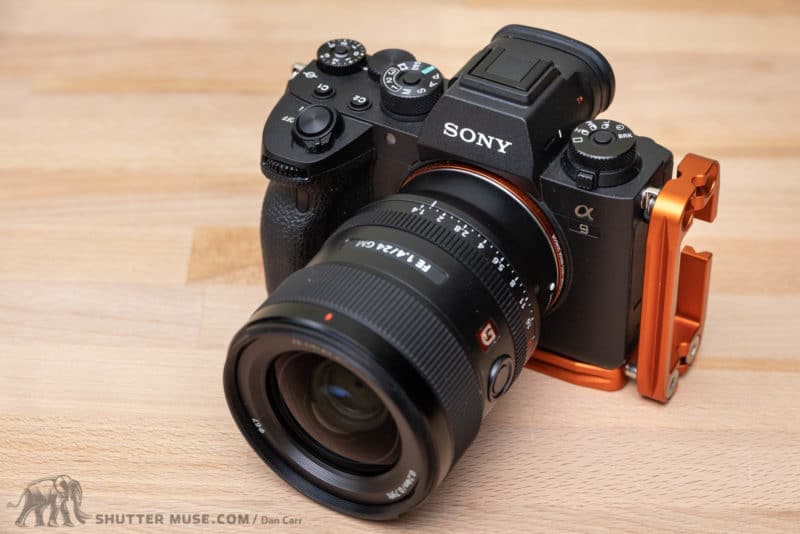
The second benefit of the horizontal adjustment is to provide a safe space for cables that are exiting the left-hand side camera ports. As you can see in the photo above, the camera can be clamped with the bracket even when cables are protruding. This is useful when shooting tethered, when powering the camera through the USB port or when you have various video related cables attached.
Even if you have the camera horizontal on a tripod when shooting video, the extended part of the bracket provides something of a protective cage that prevents you from accidentally knocking out HDMI cables or causing damage to the camera ports.

If you loosen the screws on the base, you can also remove the vertical part of the bracket entirely. Although I wouldn’t recommend that for a permanent solution, it’s an option if you really want to shave every last gram from the camera weight on a long hike.
You might also consider removing the vertical arm if you are using one of the Peak Design compatible versions and hiking with the camera in your Capture Clip. If you’re doing this and aren’t planning on using a tripod, there would be no need for that vertical piece.
The final feature for Ellie is a pair of 1/4″ 20 threaded holes a the top of the vertical arm. You can use these holes to attach things like microphones or LCD monitor arms for video shooting.
Ellie Vs. QR11
Earlier I mentioned the QR11 L bracket that I had reviewed before. The QR11 costs $49, while Ellie costs $69. If you want one of the PD versions then that price increases by another $5-$10. So what are the main differences between the two?
The Ellie bracket would be a lot more complex to machine, which definitely contributes to the price difference. The QR11 is a bulkier bracket that is heavier and feels a little oversized when paired with a small mirrorless camera. The smoother edges on the Ellie also make it feel a lot nicer in the hand.
Both brackets do have a horizontal adjustment to keep them away from the battery door, but close examination will show you that this is handled in different ways. With Ellie, the baseplate position is set from the get-go. You just choose which of the two screw slots to use and lock it down tight. Any horizontal movement to extend the bracket is done by loosening the pair of smaller screws on the base. You never need to go back and unscrew the main 1/4″20 screw.
The QR11 takes a much simpler approach by using a long horizontal slot in the base. While this provides adjustability, it means you have to loosen the primary attachment screw every time.
So which one is right for you?
Avoiding a clash with the camera battery door is the biggest concern when using a universal L bracket. Due to its smaller size, the even smaller Short model and the nature of its adjustability, you are much more likely to achieve the proper fit with the Ellie bracket compared to the QR11. Also, if you shoot with a mirrorless camera, the Ellie just feels that much more suitable for the size of the camera.
I do think the QR11 is a better value than Ellie. $49 is a fantastic price. If you have a larger DSLR that is compatible with it (check the 3LT website for a guide), you have a limited budget and you don’t mind potentially loosening the screw to change a battery, the QR11 is still a great product.
Thoughts and Conclusion
Ellie is a great universal L bracket. Although I was initially confused as to why there was a new model alongside the QR11, it made a lot more sense when I used it with my Sony mirrorless camera. Ellie just fits and feels a lot better on these smaller camera bodies. The shorter baseplate, and optional Ellie Short model ensures that almost everyone will get a good fit that doesn’t interfere with their battery compartment door.
My one tiny complaint about this bracket is that I wish the size of hex bolts for the attachment stud (1/4″20) and the horizontal adjustment screws were the same size. A tiny hex tool that has both sizes on it is provided, but such a tool is easily lost. At that point, you’re required to carry two different hex tools to make adjustments to the bracket. Most photographers will have a 1/4″20 hex with them, but the other screw size is not standard.
At $69 it’s maybe not a slam dunk on price like the $49 QR11 bracket, but most people will find it is is a better fit for their cameras and so I still highly recommend it.
Where to buy
As always, we’re grateful when you use our links to make your purchases. You can buy Ellie from B&H or Amazon at the links below.