
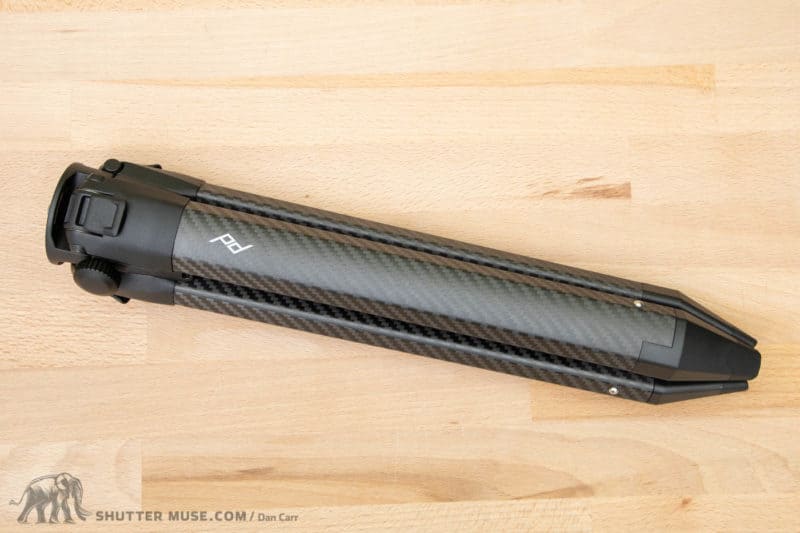
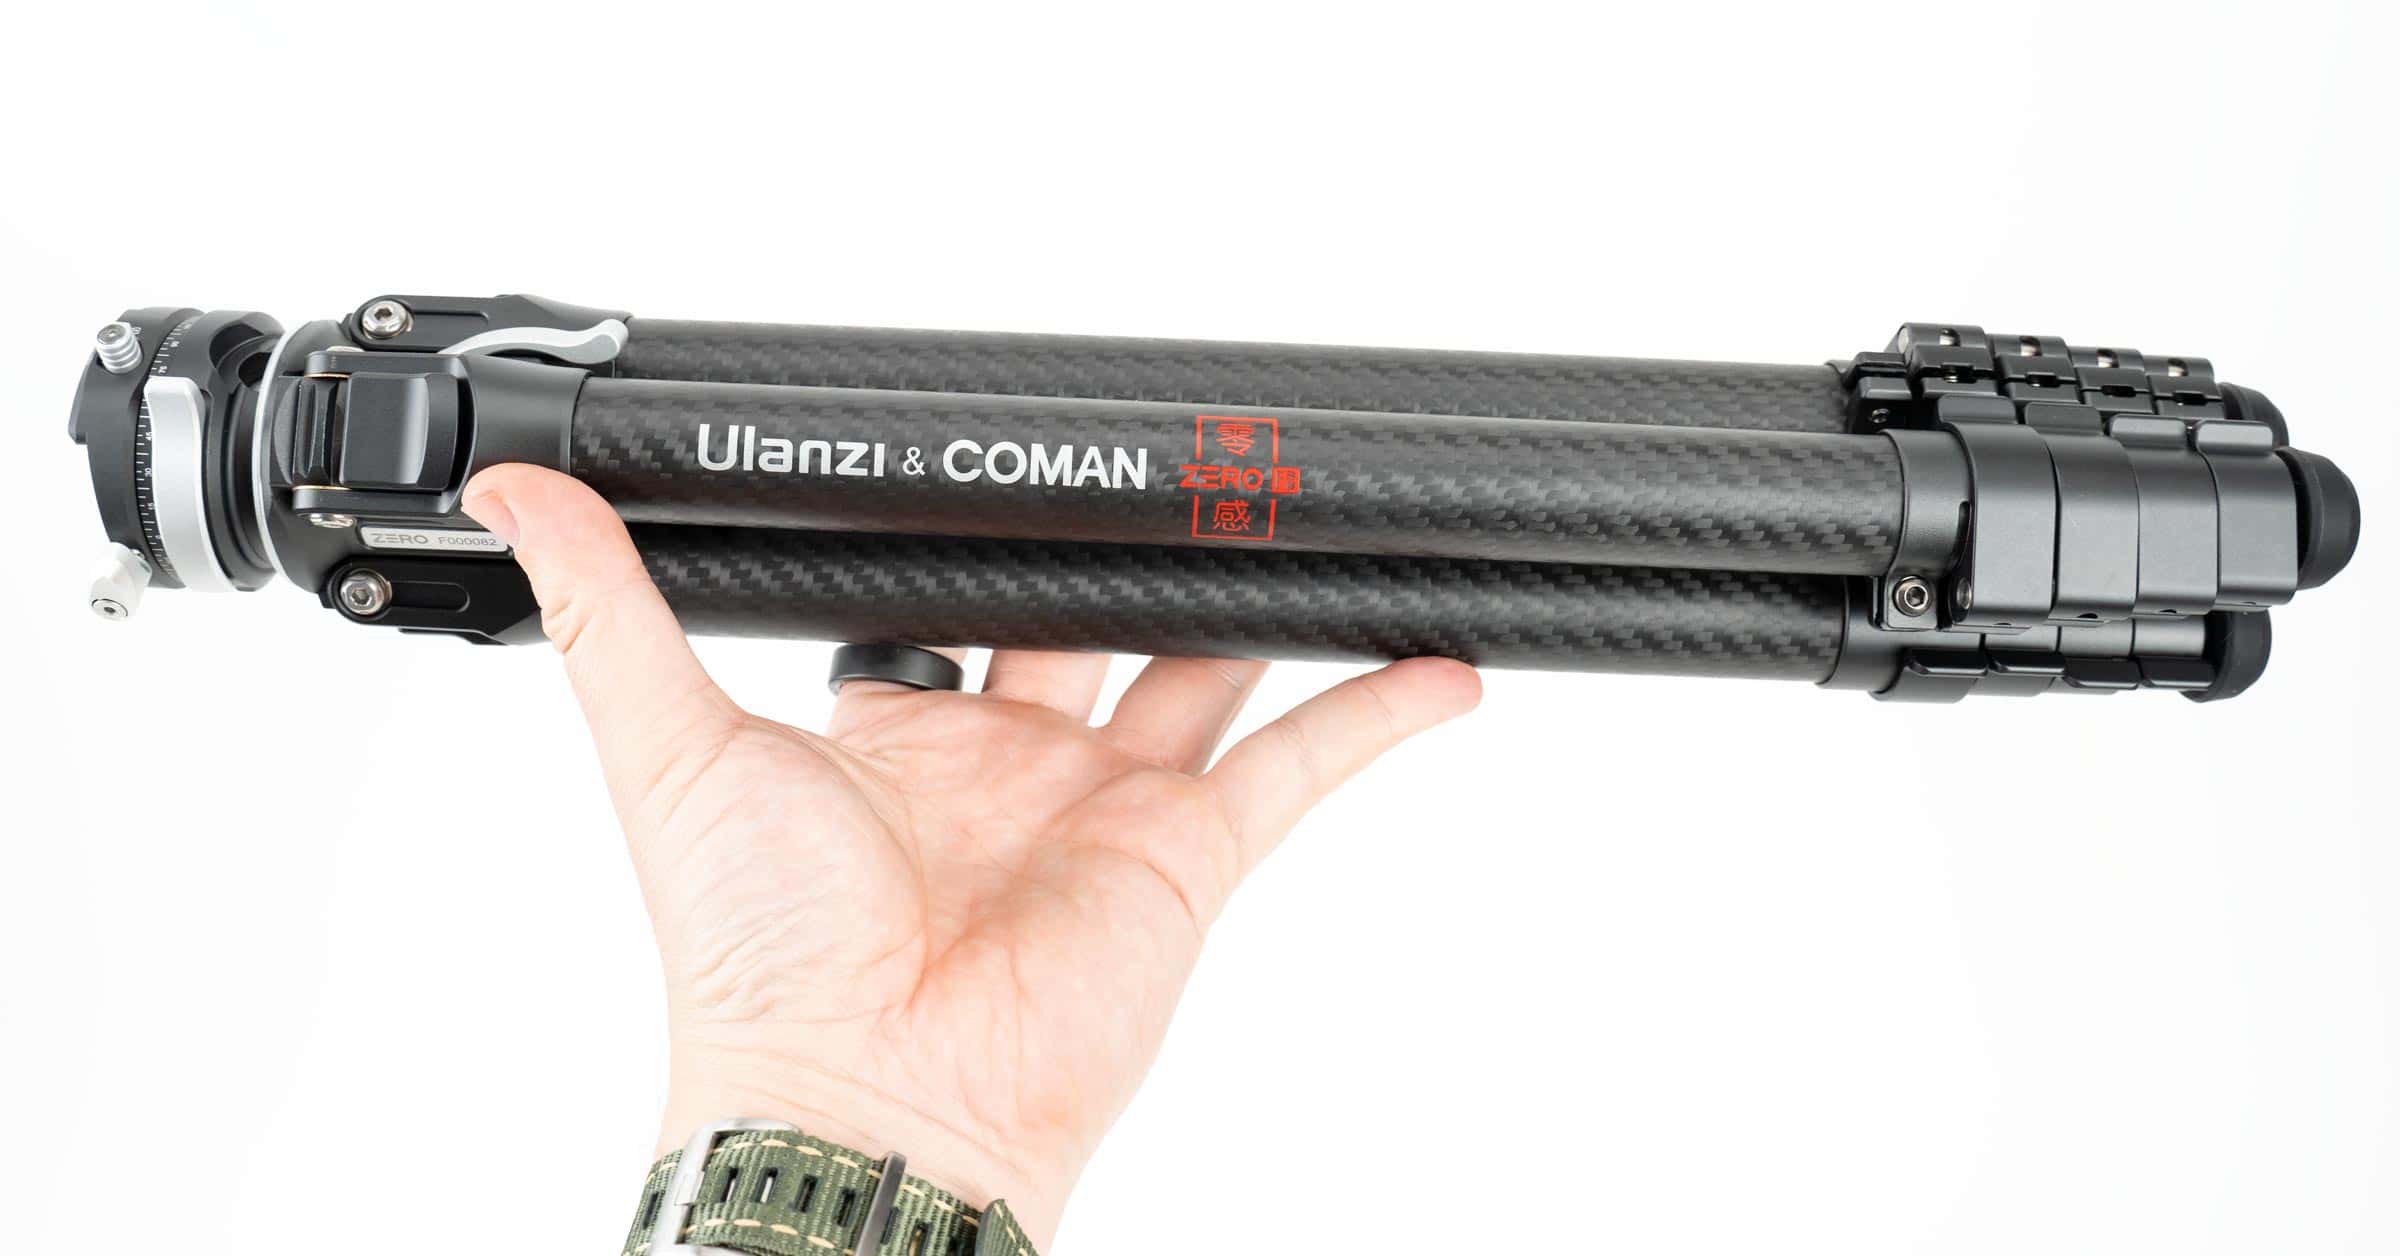
The Ultralight Conversion Kit is available for $30 and converts your Peak Design Tripod into a shorter, but significantly lighter tripod that’s suitable for tabletop and hiking usage. If you’re the kind of person that counts every gram or ounce, this is the kit for you.
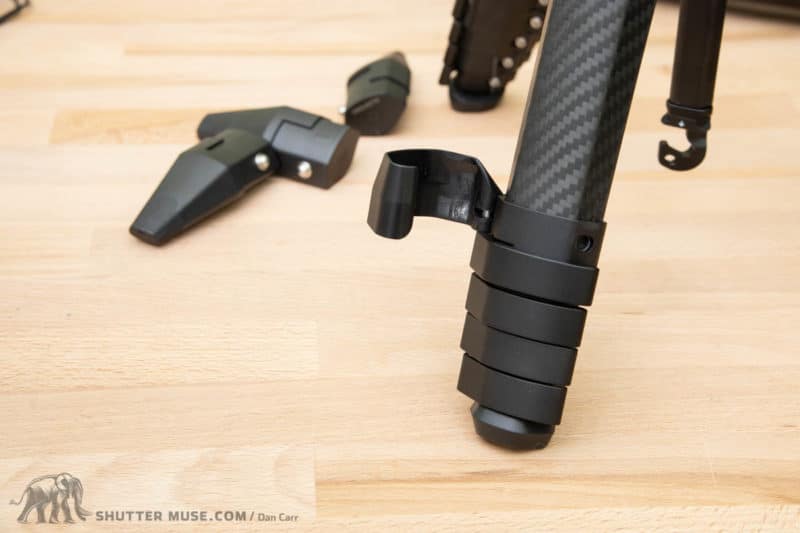
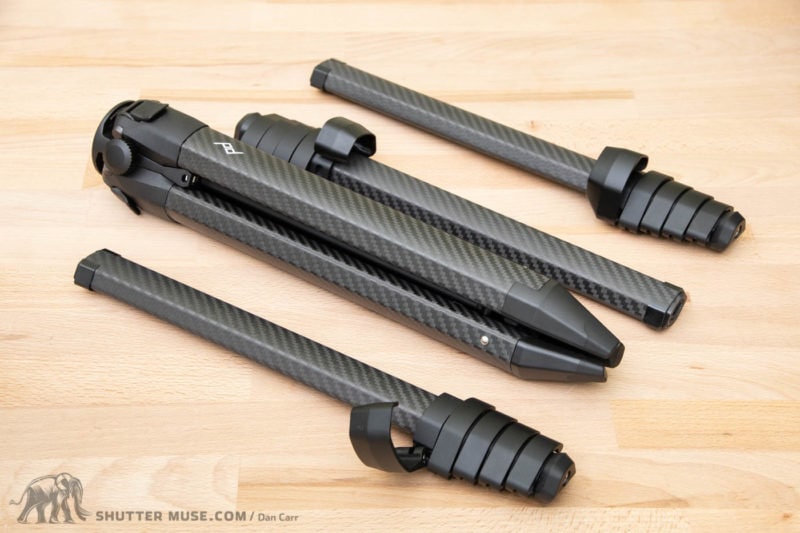
Let’s be clear about this because I saw somebody leave a 1-star review of this product on their website the other day stating that they did not know that the kit would reduce the height of the tripod! Using the Ultralight Conversion Kit will significantly shorten the tripod because, in order to make it ultra-light, you are removing all of the extending leg sections and simply replacing them with a rubber-tipped foot. Got it?


Of removing the telescoping legs will have a significant impact on how you can use the tripod, but it does roughly half the weight of what is already a very light tripod.
- Reduces Carbon tripod weight by 40%—from 1.29 kg (2.81 lbs) down to 0.774 kg (1.71 lbs)
- Reduces Aluminum tripod weight by 45%—from 1.56 kg (3.44 lbs) down to 0.854 kg (1.88 lbs)
Actually, these numbers are the simplified ones. If you were to remove the centre column and use the Universal Head Adapter, you can get the carbon version of the tripod down to a mere 578g (1.27lbs). I confirmed this myself on my own digital scales. I will discuss the use of the centre column and the universal head adapter later in this review.
How To Install The Ultralight Conversion Kit
Converting the tripod is very easy and can be done in about one minute once you have familiarized yourself with the process. That means that it’s very feasible to perform the conversion back and forth between using the tripod for hiking and converting it back to full height for more general purposes. It’s a clever, well-thought-out design.
Step 1
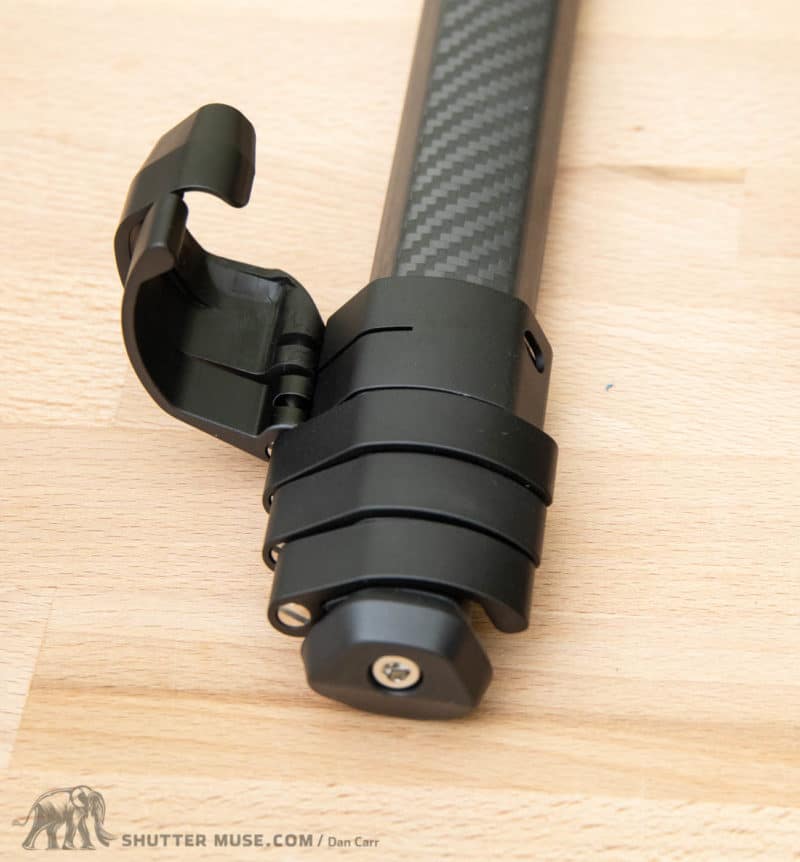
Pop open the collar that sits just above the leg locks. This collar feels a little flimsy to me, so do this gently.
Step 2
Pop open the first of the leg locks.
Step 3
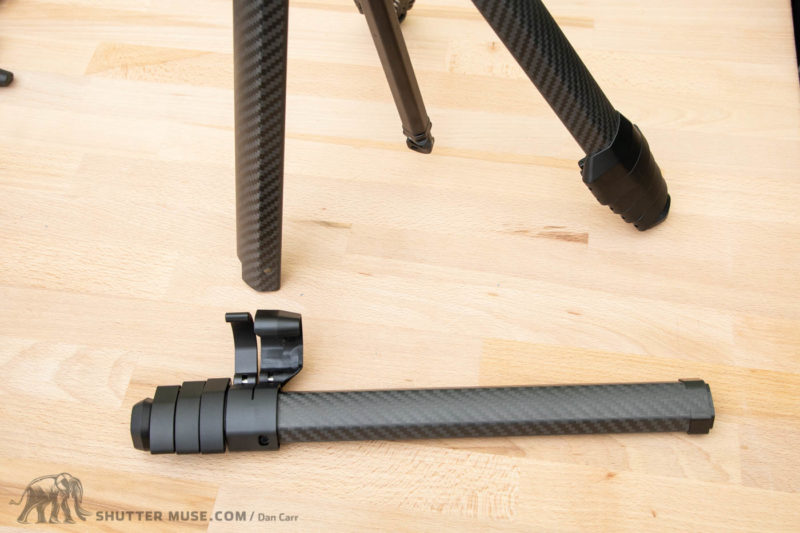
Pull on the lower leg sections to remove them from the tripod.
Step 4
Depress the spring-loaded pin on the side of the conversion kit’s plastic foot, and slide it onto the tripod leg until the pin clicks and pops out of the hole.
Step 5
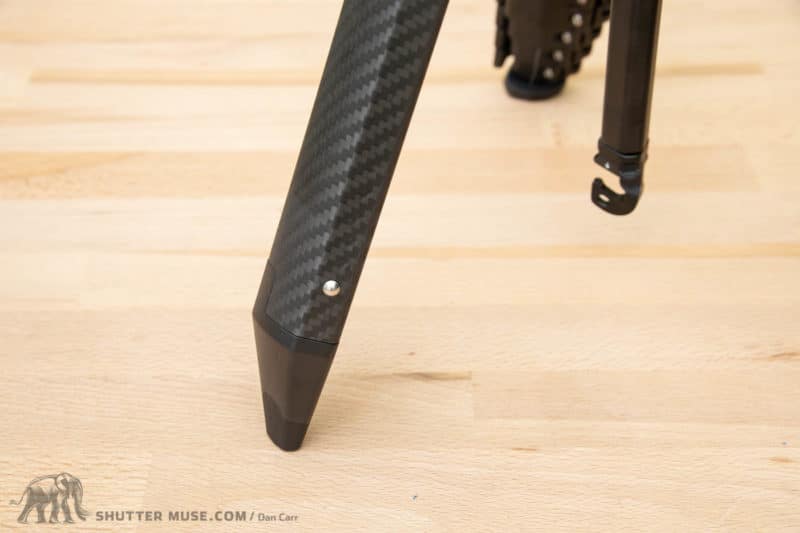
Admire your new insanely lightweight tripod.
Should You Still Use The Centre Column?
If your goal is to create the lightest possible version of the Peak Design Travel Tripod, then removing the centre column also makes a lot of sense, however, leaving it on does roughly double the amount of available height you can get from the ultralight setup. The centre column on its own, without a head, weighs 73g (2.5oz) by my own measurement.
- Max height without centre column): 36.3cm (14.29″)
- Max height with centre column: 58.1cm (22.87″)
Is an extra 73g worth carrying to get nearly twice the height? For a lot of people, probably yes.


Which Head Should You Use?
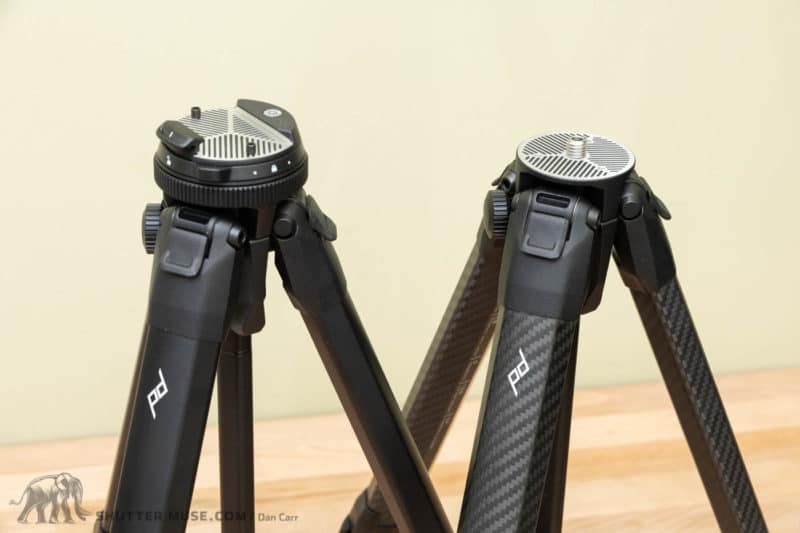
The built-in inverted ball head that comes with the Travel Tripod, weighs 214g (7.5oz). The Universal Head Adapter weighs 91g(3.2oz) so you can save 123g on the actual tripod setup if you go down that route, but then, of course, you’d still need some sort of head to put on the tripod. I doubt very much that you can find a head that weighs 123g and still manages to offer the same kind of performance as the head that comes included with the tripod in the first place.
So, if overall total pack weight is your primary reason for looking at using the Ultralight Conversion Kit, it makes sense to stick with the built-in head. However, you might not only be considering external pack weight. If you packed a ball head in your bag that weighed more than 123g, you might be able to counteract some of the perceived weight of that heavier ball head by careful packing, close to your spine and low in the bag. 123g hanging on the side of your bag doesn’t necessarily feel the same as a similar weight when packed more centrally in your pack.
Food for thought, although this is getting into some very fine detail at this point!
As A Tabletop Tripod?
The term tabletop tripod is often used to describe very small tripods, and whilst their usage isn’t actually limited to being used on a tabletop, that is still one way you could use them. Converted to ultralight mode, the PD Travel Tripod can certainly be used as an excellent tabletop tripod for people that literally need a camera on a table, perhaps for filming themselves. Or for shooting macro projects that are placed on a table in a studio. That said, using the tripod in this way doesn’t have a benefit over using the tripod in its standard configuration with the legs simply collapsed, because the feet from the Ultralight Conversion Kit are the same height as the part of the legs you remove when installing them. In other words, the collapsed length and the minimum height are the same as the regular tripod.
In some cases, a tiny pocket-sized tabletop tripod can also be snuck into “No Tripod” zones in busy public areas. But in this case, you don’t stand a chance of doing that with the Peak Design tripod because it’s still large enough that it very much looks like a proper tripod. If I plan to use a tripod in those kinds of places, I’m still going to go with my tiny RRS TFA-01 Ultra that can literally disappear into a pant pocket.
I don’t really see this as a downside, it’s simply not what this tripod was designed for. But I did want to flag it because I have seen this conversion kit described in other places as a way to turn the Travel Tripod into a tabletop tripod, and I think that’s an incorrect way to think about this kit.
Conclusion

The Ultralight Conversion Kit is a clever addition to the growing Peak Design tripod ecosystem and it works very well. For a lot of landscape photographers, it’s still a very useable setup, despite the lower tripod height. In particular, it lends itself well to usage in watery landscapes where you would often be using a low-to-the-ground angle to capture reflections from lakes, streams and rivers. In many other situations, you can find a natural object to add some height, such as a rock or log. If the wind conditions are good, it’s also possible to use your own camera bag to add a little extra height.
Of course, I would always prefer to have the option for additional height if the weight wasn’t a concern, but this is certainly a useful solution for extremely strenuous backcountry hikes or lengthy thru-hikes. Heading out on the West Coast Trail? The Pacific Crest Trail? Hiking the Appalachian Trail? This is a great addition to your kit if photography is a big passion of yours. Importantly, this setup is much taller and more stable than standard pocket-sized tabletop tripods. If you had previously been considering a tiny tabletop tripod or something like a Gorillapod, the Ultralight Conversion Kit would be a much better option if you already own the Peak Design Travel Tripod, or its price is within your reach.
Where to Buy
As always, I greatly appreciate it when you shop using the links on this page. I might make a small commission, which will help me bring you more content. I recommend buying directly from Peak Design to maximize their excellent customer service and free shipping options.
- Peak Design Tripod Conversion Kit – Peak Design / Amazon / B&H Photo / Adorama / WEX (UK)


Thanks for this, very helpful.
You’re welcome Mark.
A good review Dan, I have the PD tripod and use a GPSS head, the lightest Acratech makes and find it perfect. I like the gimbal function which I use with my Fuji 100-400mm. I found the PD head to have limitations when using the camera in portrait mode. It’s design prevents it being used for a full arc as in taking vertical astro panoramas. hence the purchase of the Acratech, I have used this model for years on my other tripod, an Induro C214, another lighter type tripod and sturdy.
I had planned a trip to your necks of the woods this year but everything got sidetracked, maybe later in the year or 2022.
Hi,
Thanks for your review !!
I have a question that is totally away from the subject… May I ask you what are you using for your light diffusion on the picture like step 4 or 5 ?
Thanks,
Julien
This was the exact info I was looking for. Particularly the extreme detail of having the mass of all the separate pieces. ULers rejoice!
Haha! I’m glad, Chris. I figured someone would eventually appreciate that detail 🙂