
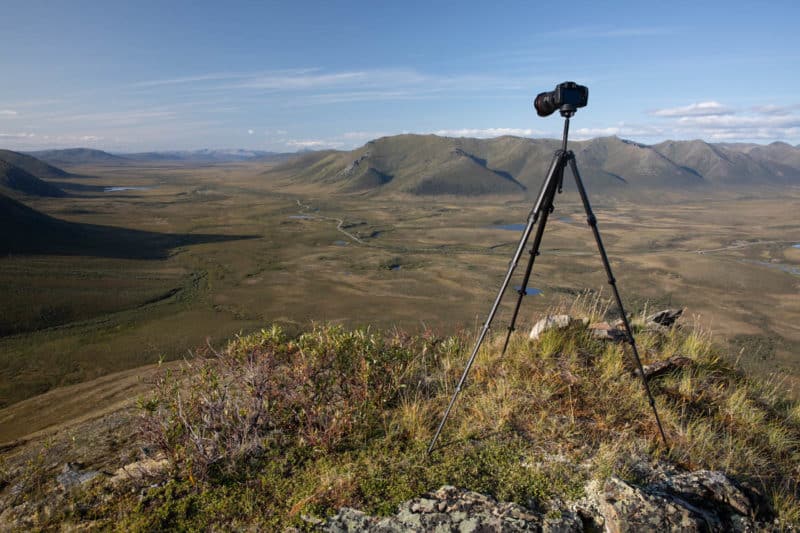
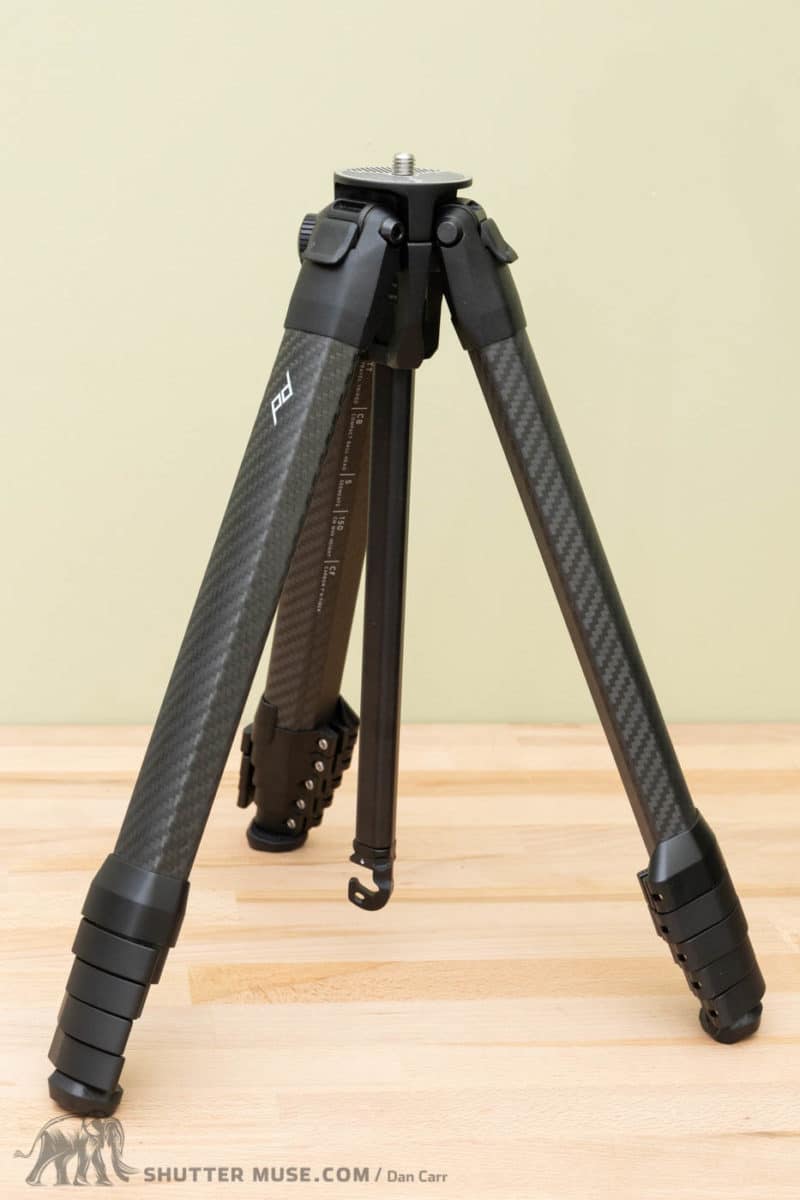
The Peak Design Travel Tripod is a popular ultralight tripod that’s available in either aluminum or carbon. As well as selling the tripod, Peak Design also offer several different accessories for the tripod so today I thought I would discuss these, as well as throwing in bonus third-part accessory that can protect your new investment from salt water, sand and dirt.
Due to my existing relationship with Peak Design through this website, I was lucky enough to get my hands on a pre production tripod the year before it was launched to the public, so I’ve had some good experience with the product.
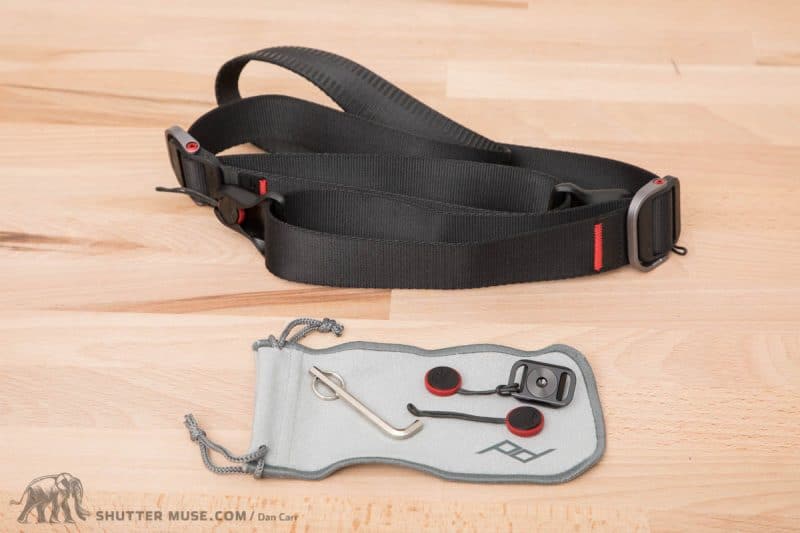
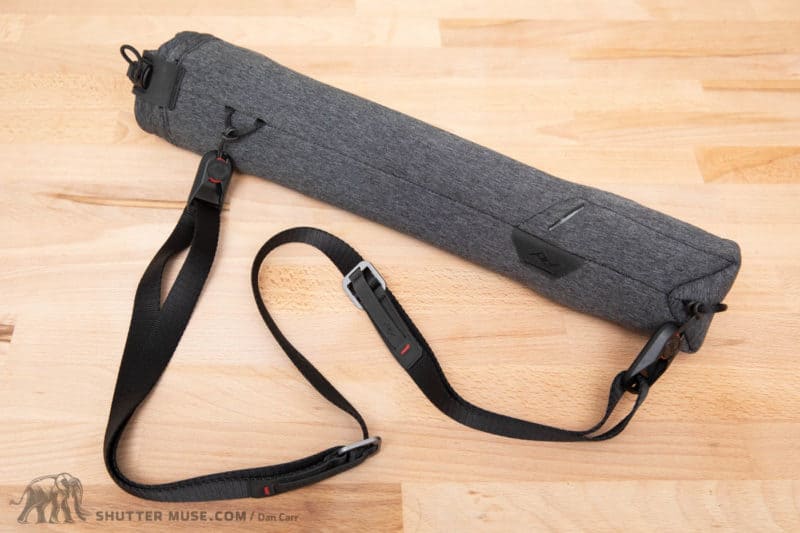
Shoulder Strap
Before this tripod came along, and before they made their hugely successful line of Everyday camera bags, Peak Design were a camera strap company, so of course they thought of the best way to integrate these straps into the Travel Tripod.
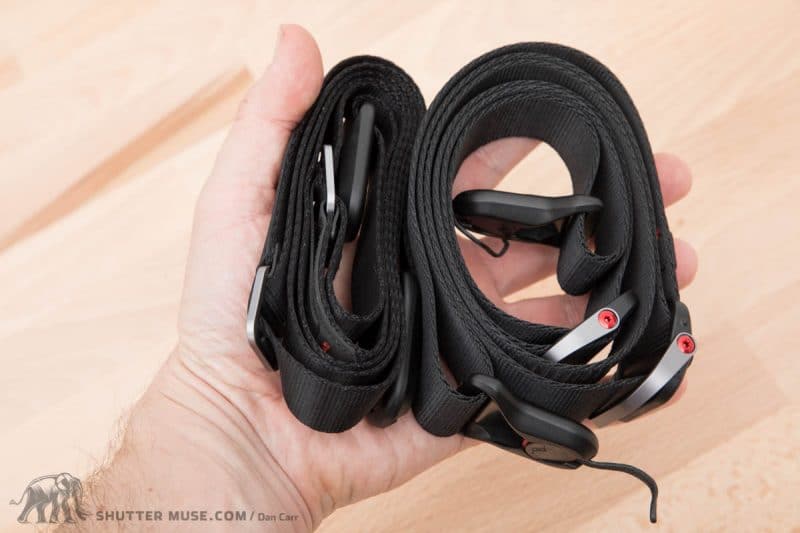
Perhaps the best part of Peak Design’s camera straps has always been the quick release system that uses their Anchor system. The small Anchors are easy to attach to cameras and camera plates, and they lock quickly and securely into their various camera straps, allowing you to remove straps when not needed, or switch straps for different scenarios.
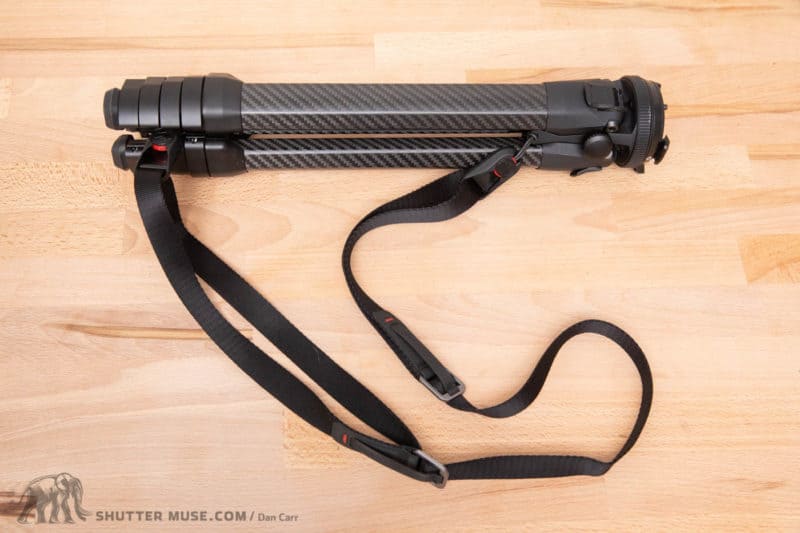
The Peak Design Travel Tripod has two holes on it for Anchors to be attached. One on the hook at the bottom of the column, and one on the tripod’s apex. With Anchors attached to these two spots you can quickly connect one of their camera straps to carry the tripod over your shoulder. You can either choose to buy a new strap for this, or simply use your existing Peak Design camera strap if you don’t think you would ever need to sling both your camera and your tripod over your shoulder at the same time.
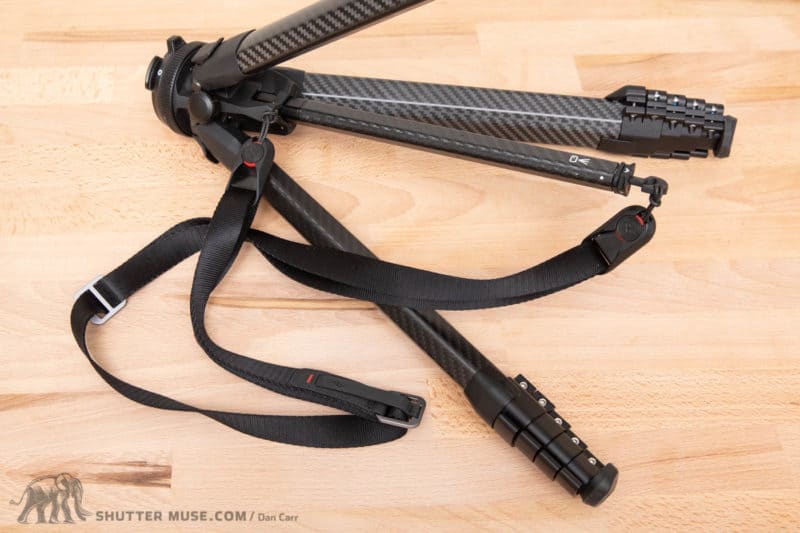
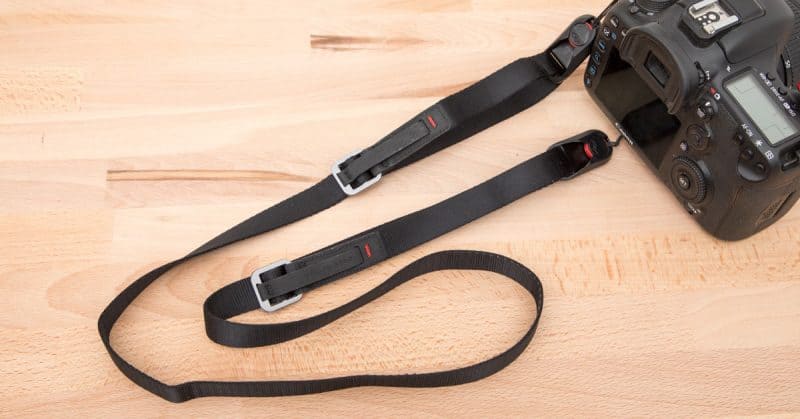
In my photo I’m using the Peak Design Leash strap, which I think is an excellent option that keeps with the ultralight nature of the Travel Tripod. You could also use the slightly larger Slide Lite strap. If you buy a new strap specifically for the tripod, you’ll get some Anchors with it. If you already have a strap and are using your Anchors on your camera, you can buy additional Anchors on their own.
Using a 3rd Party Ball Head with the Peak Design Travel Tripod
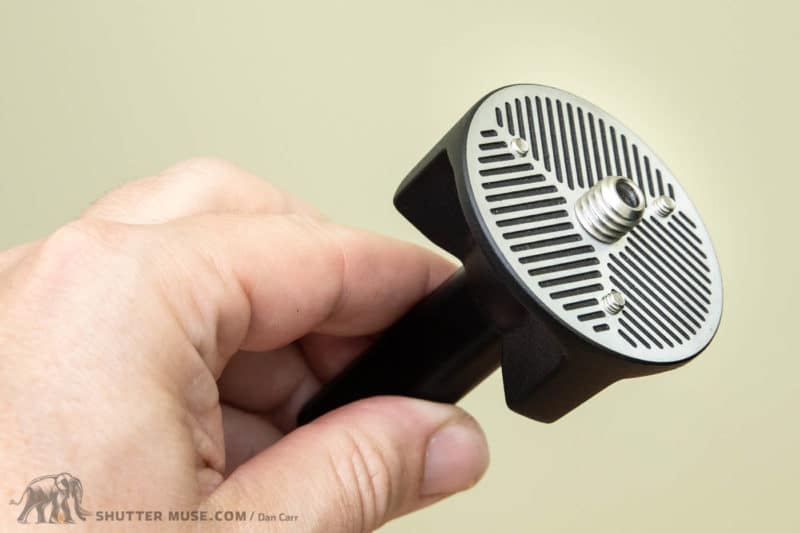
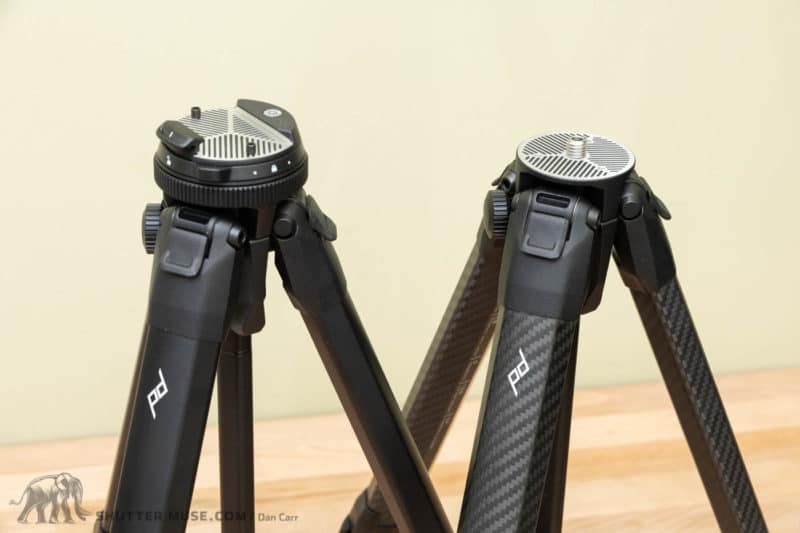
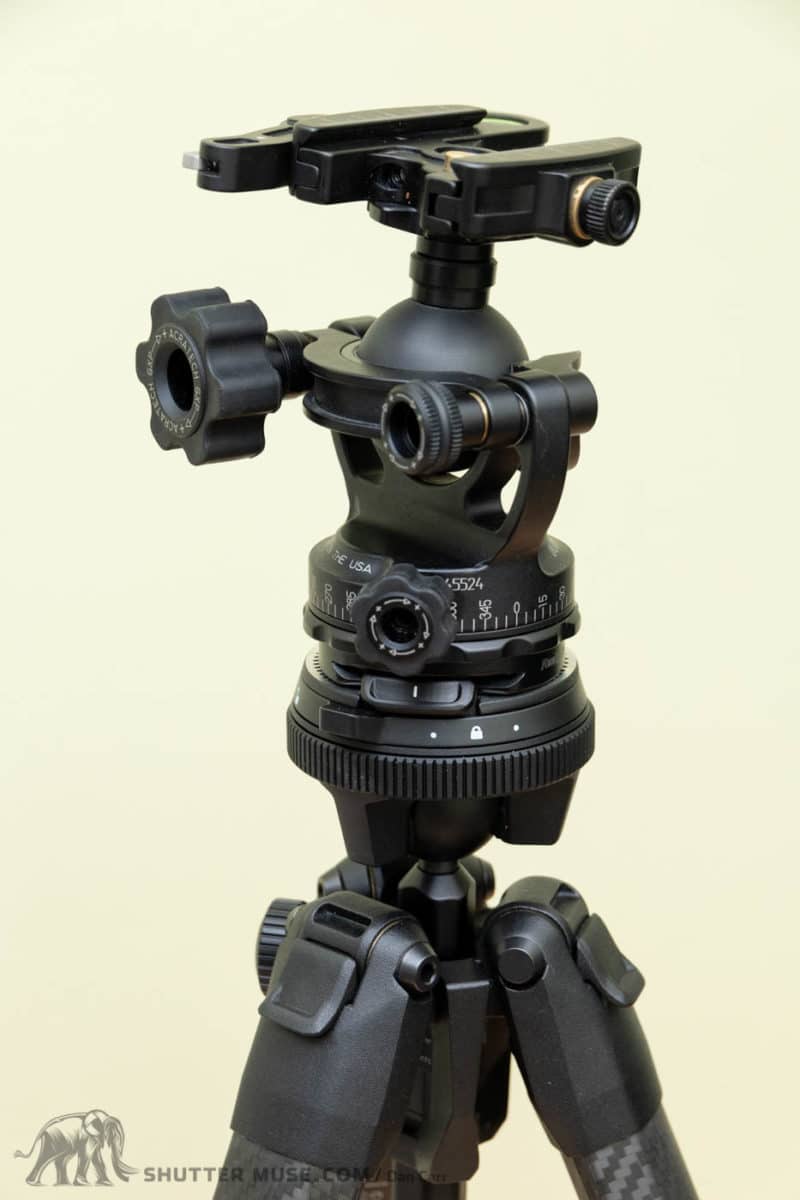
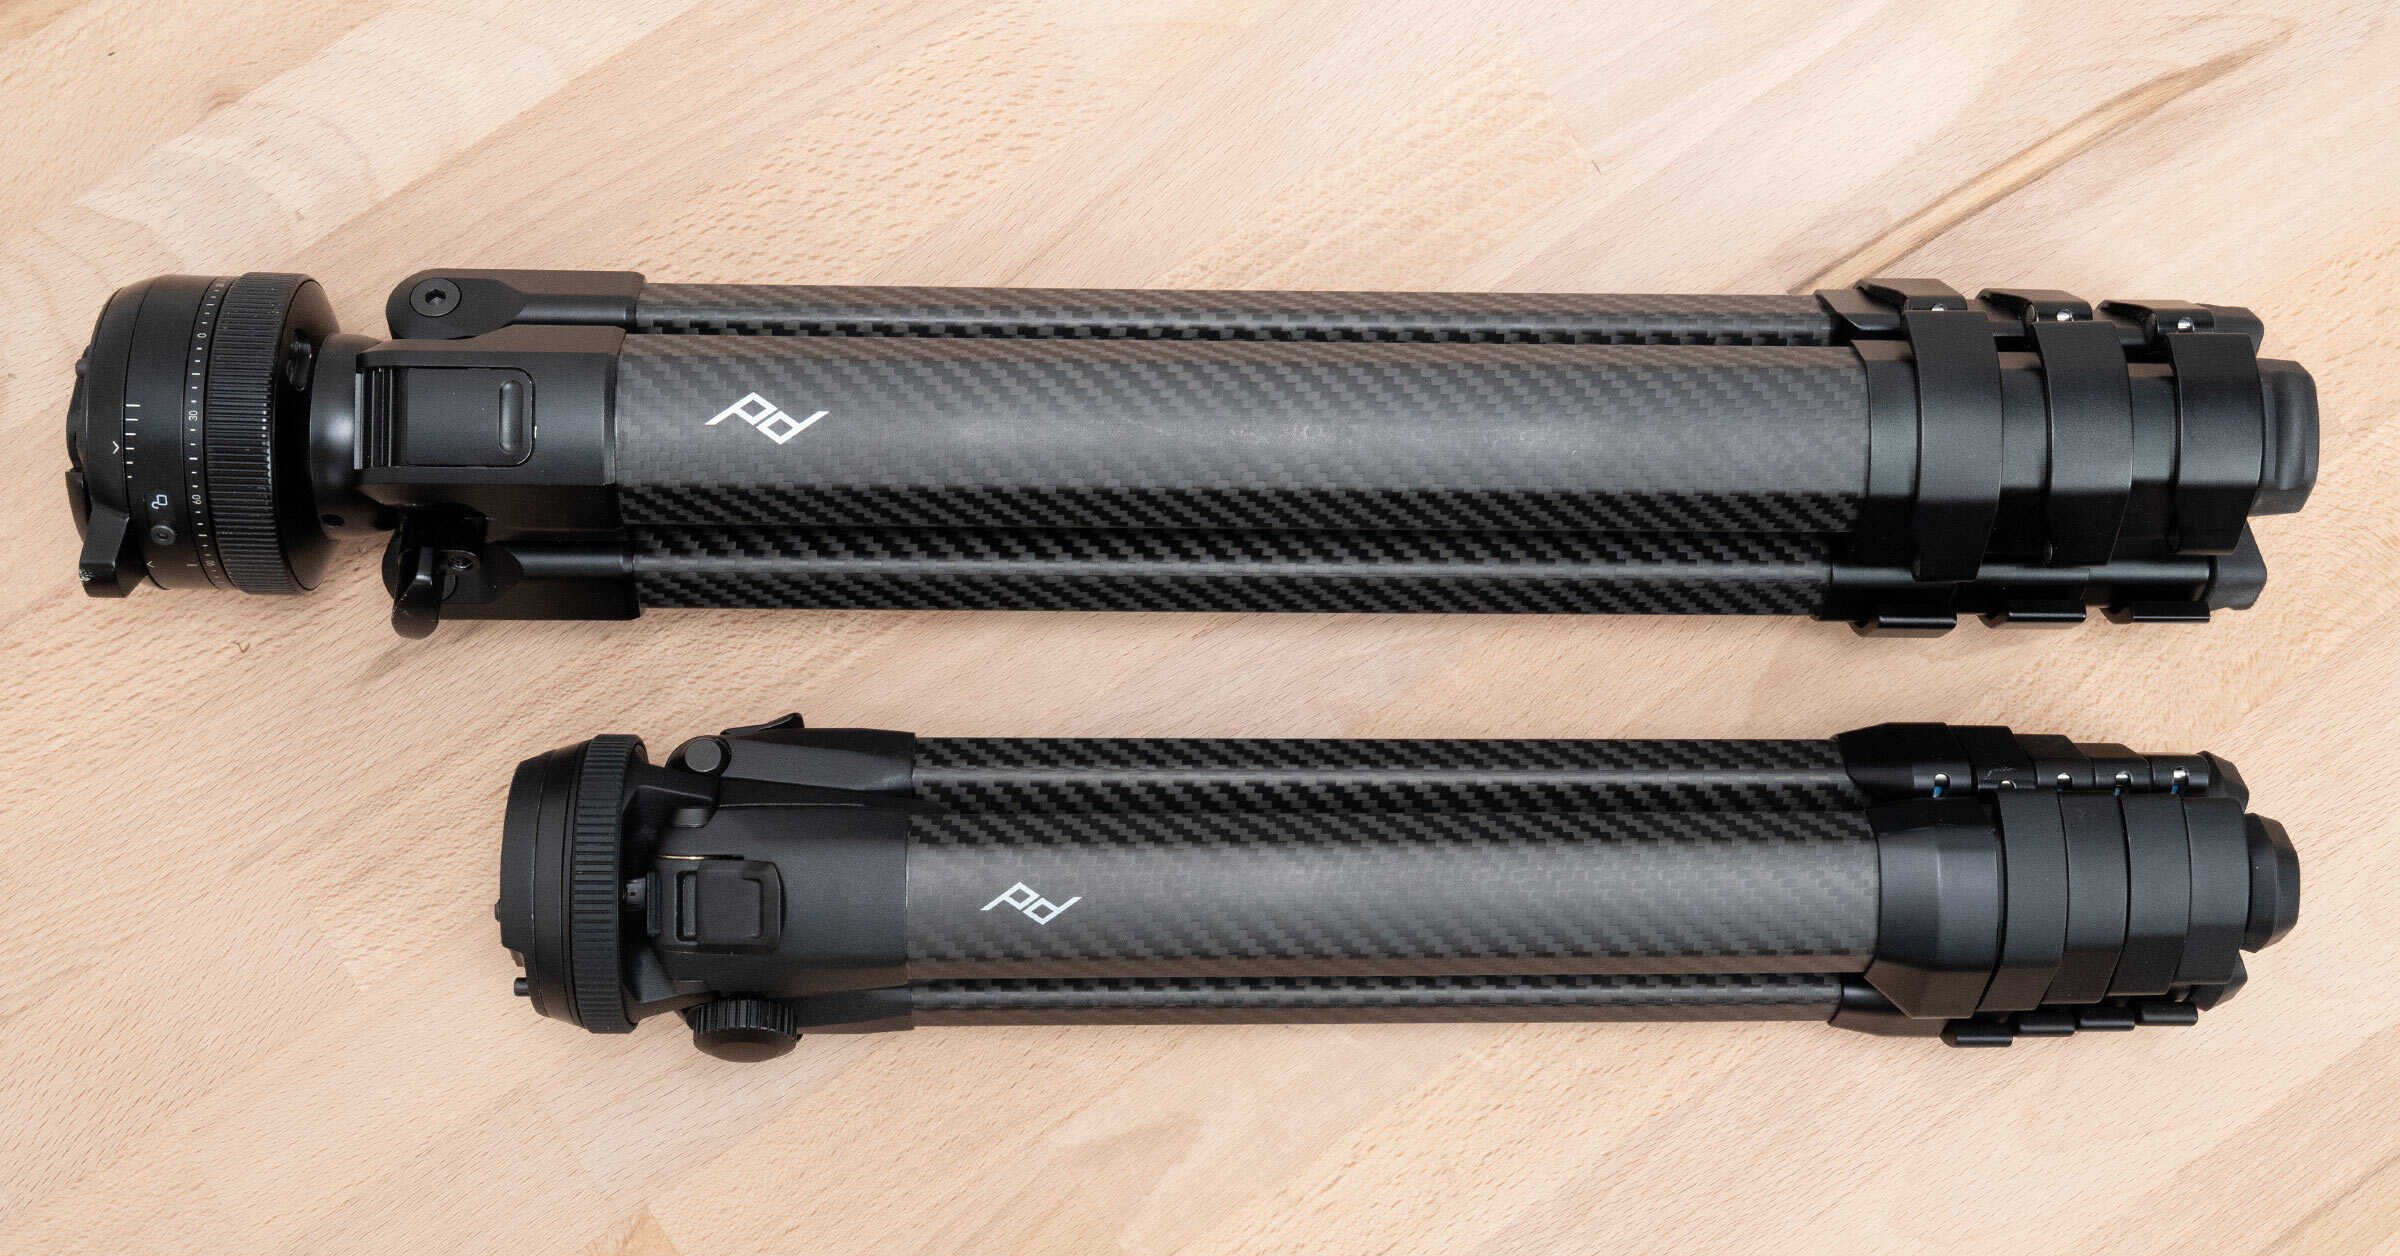
The Peak Design Travel Tripod comes with a built-in inverted ball head that works for mid-sized camera loads, but you might already have your own favourite ball head that you want to use with the tripod. There’s two ways to do this: Firstly you can purchase the Peak Design Universal Head Adapter, which entirely replaces the built-in head on the tripod and gives you a more traditional flat platform with a 3/8″16 screw on it. You can either mount it to the tripod legs directly, or you can mount it to the centre column depending on whether you need that column or not.
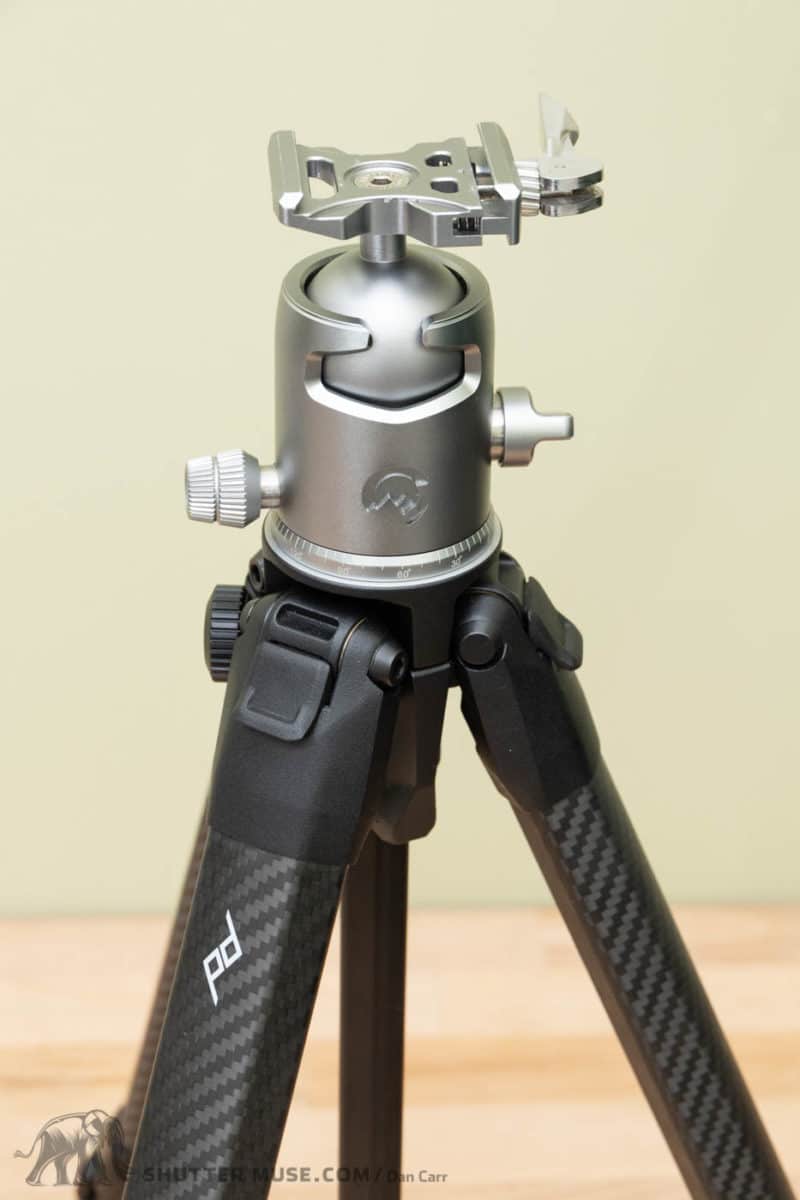
This is an elegant looking solution that will be the best option if you think you only want to use your existing 3rd party ball head with the tripod. Also, by removing the built-in head and substituting it with the universal platform, you are keeping the tripod height and weight down to a minimum. Switching the head for the platform does require a bit of fiddling around with screws and hex wrenches, so it’s not something I would want to be doing all the time, though. Like I said, great if you think you only want to use your regular ball head with this tripod.
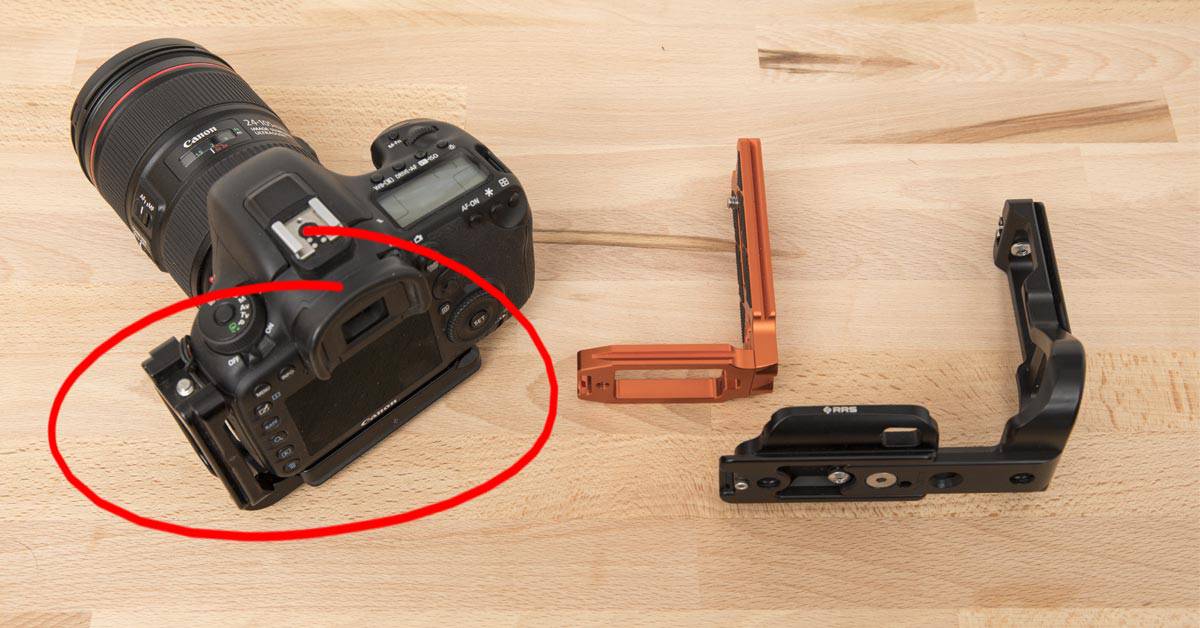
If you think you might want to use the built-in head from time to time to keep a nice light setup, but occasionally want to use your regular ball head, the best solution is to use an Arca-Swiss compatible plate on your ball head. That way you can easily attach the head to the tripod using the tripod’s existing quick release clamp. You can see this demonstrated in my photos of an RRS BH-55 and an Acratech GXP below.
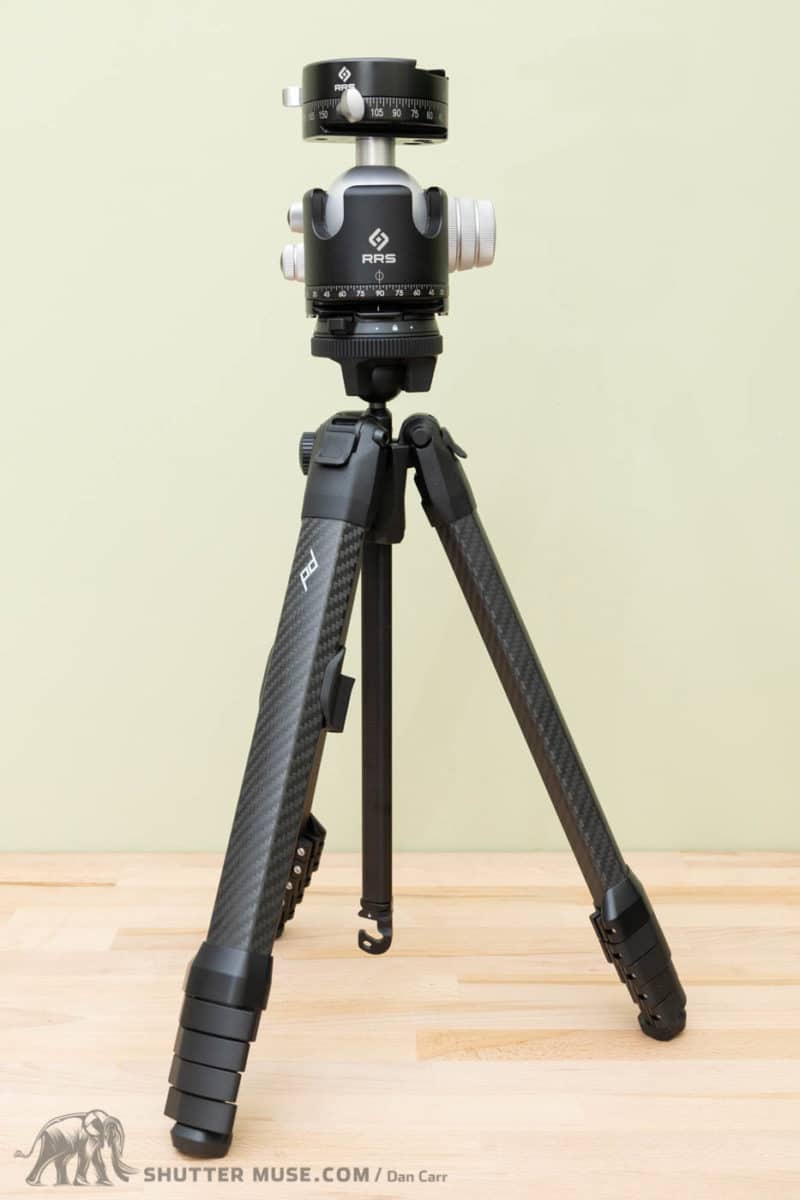
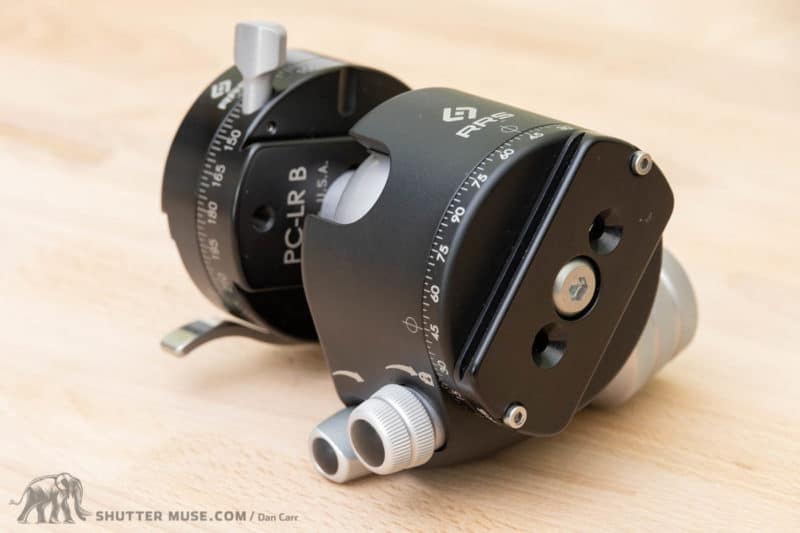
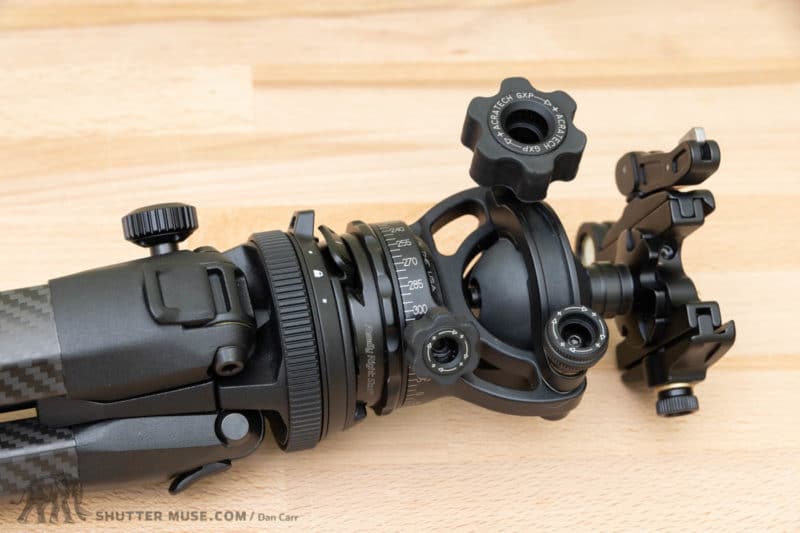
Some manufacturers, like RRS, sell specific Arca plates for their ball heads. If you can’t find one for your head, there’s no reason that you could not use a plate from another manufacturer. They are nothing more complicated than circular Arca plates. Heck, there’s no real reason you couldn’t use a square or rectangular one either, as long as it has a 3/8″16 screw to go into your ball head. This would be a great solution if you want to switch back and forth between using your ball head, and the built-in Peak Design head.
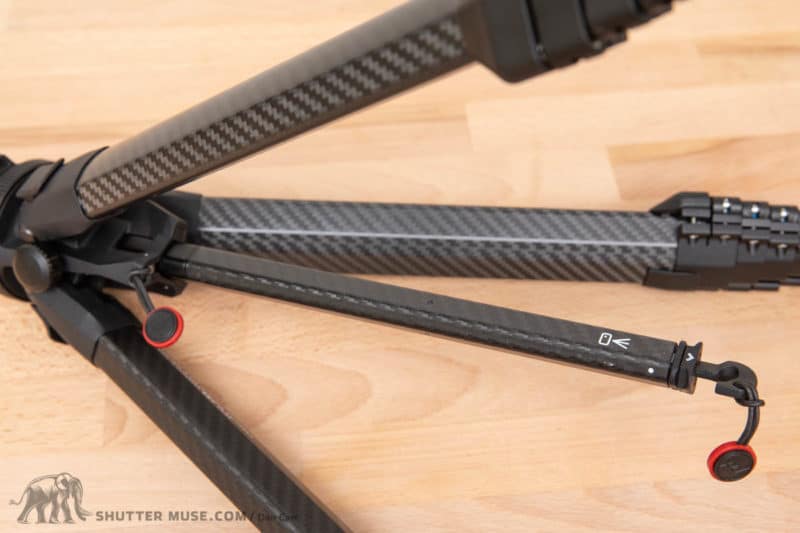
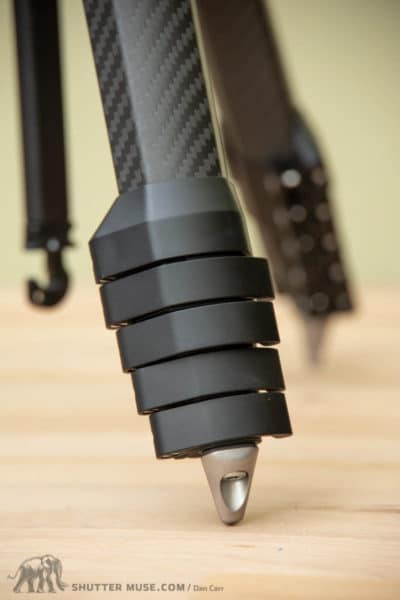
Foot Spikes
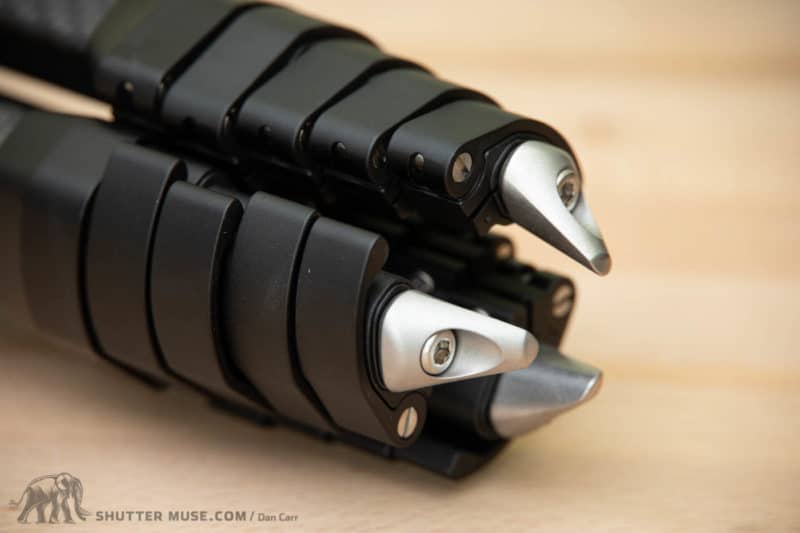
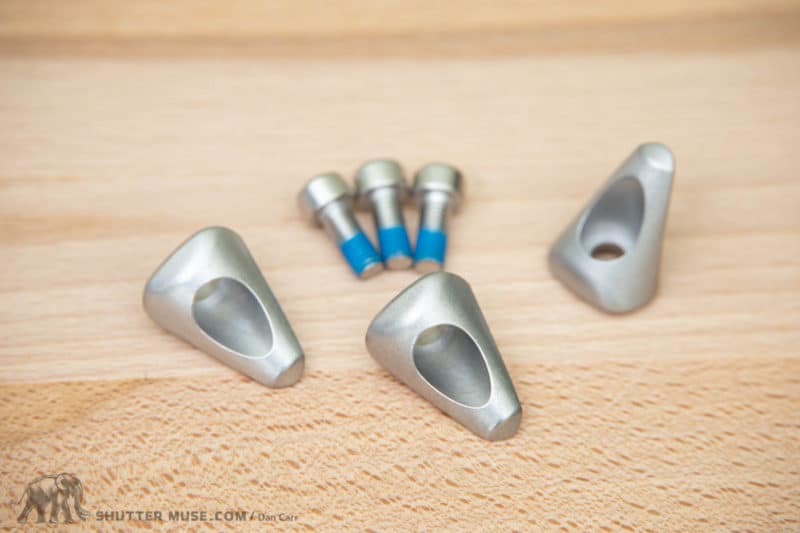
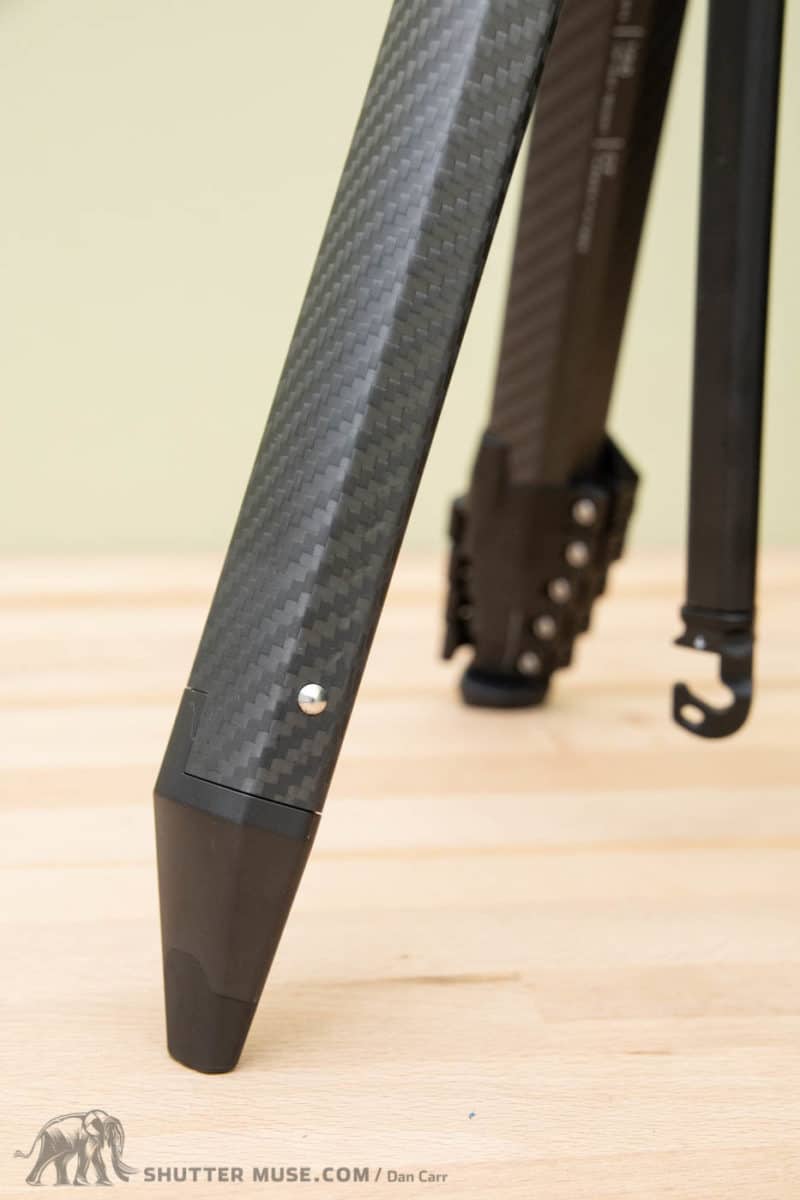
A set of foot spikes if offered as an optional accessory. At $30 they aren’t cheap, but they will certainly provide some additional traction on slippery or loose surfaces such as ice, smooth rocks, and loose dirt or gravel. What I like about the design of these spikes is that they are very compact. The spikes I have for my other tripods are considerably longer, and thus more of a pain in he ass to carry around just in case you need them. With these Peak Design spikes, I’m sure you can find a corner for them in your camera bag, and they’ll be there when you need them.
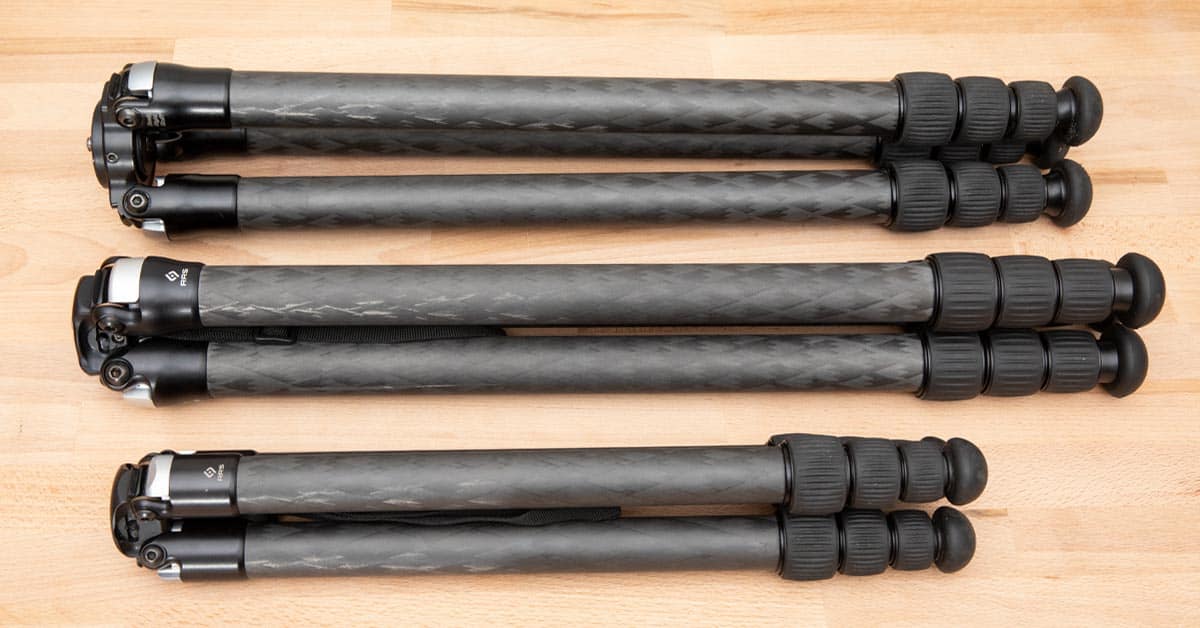
Ultralight Tabletop Conversion Kit
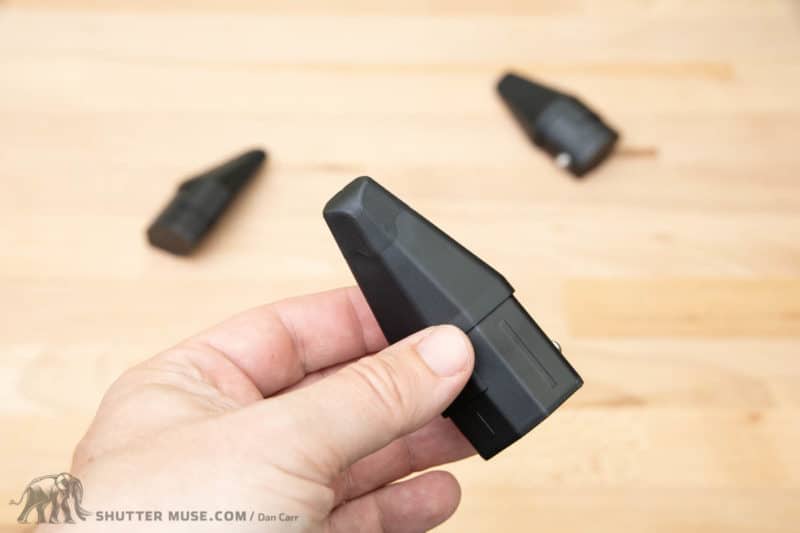


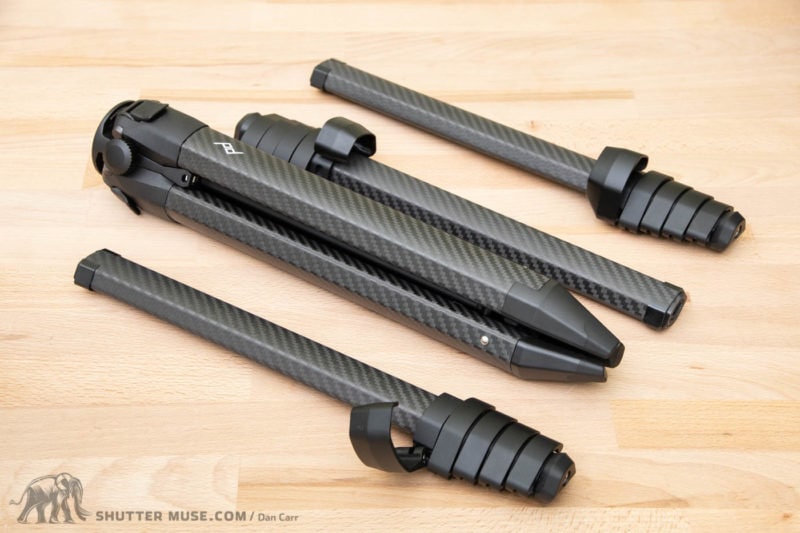
These are already some of the lightest tripods on the market, but if you want to take things a step further you can buy the Ultralight Conversion Kit. This comes with a totally new set of feet that connect to the tripod once you have removed all of the extendable legs.
Once installed, the Carbon tripod in ultralight mode weighs just 0.774 kg (1.71 lbs), and the aluminum tripod in ultralight mode weights 0.854 kg (1.88 lbs).
Of course this is great if you only need low angles or can work on a tabletop, but it’s also handy for backpacking where weight is really of the essence. In many case you’ll be using low angles for landscape work anyway, and in other cases you can find for rocks and other natural outcrops to elevate your angle. You still have the option to include the centre column for a few more inches of added height.
Tragopan Avocet Tripod Waders

If you are planning on immersing the legs of your tripod into dirty silty water, or salty ocean water, you might consider a set of Tragopan Avocet Tripod Waders to protect them. We all know salt water is no good for metal, such as the leg locks and collars, and sand or silt is a real pain in the ass when it gets trapped in the opening mechanism for any tripod.
Over the years I have spent many hours dismantling and cleaning tripod legs, until I discovered these Tripod Waders from Tragopan. While I do wish they also made them available in a more solid neutral colour, the functionality of them is spot on. If you’re going to spend hundreds and hundreds of dollars on a tripod, take good care of it so it lasts a lifetime!
Tripod Bag?
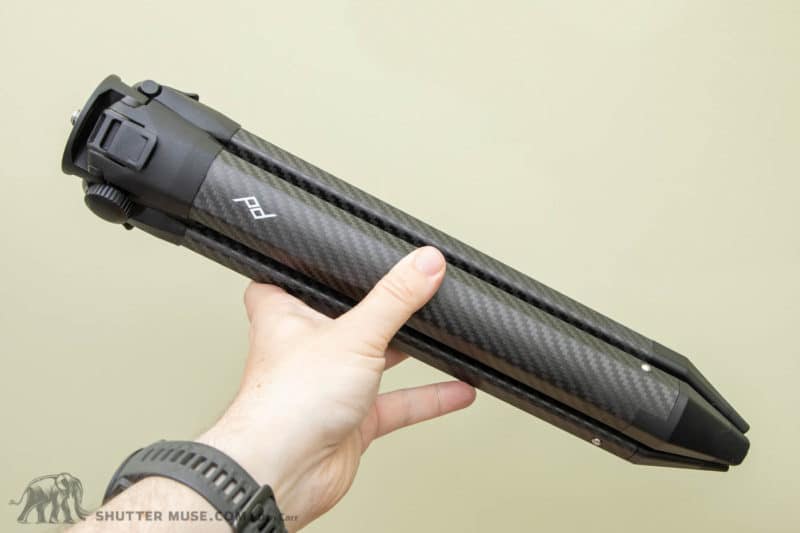
If you don’t already own the Travel Tripod, you might be thinking that you need a nice case to protect your prized possession. Actually that’s not the case, and nor was that intended to be a pun! The case is included with the tripod. It is svelte and minimal, but it has a tool pocket and protects from dings and scratches which is basically all you need.
As you can see from my photo, adding another pair of Anchors to the case will allow you to quickly attach and detach one of Peak Design’s camera straps.
The only downside to this case is that it’s not large enough if you want to use a larger 3rd party ball head on the tripod. If that’s what you want to do, I would recommend looking at the additional tripod cases that are mentioned in my tripod accessory guide.
Where to Buy
As always, we appreciate it when you use the links on this page to make your purchases. For Peak Design gear I always recommend buying directly. They have free shipping to many places and their customer service team are always on hand to help if you have any problems.
- Peak Design Carbon Travel Tripod – Peak Design / Amazon / B&H Photo / Adorama / Moment / WEX (UK)
- Peak Design Aluminum Travel Tripod – Peak Design / Amazon / B&H Photo / Adorama / Moment / WEX (UK)
- Peak Design Universal Head Adapter – Peak Design / Amazon / B&H Photo / Adorama / Moment / WEX (UK)
- Peak Design Ultralight Conversion Kit – Peak Design / Amazon / B&H Photo / Adorama / WEX (UK)
- Peak Design Tripod Spiked Feet – Peak Design / Amazon / B&H Photo / Adorama / Moment /


Heading to the Grand Canyon for a week of rafting. I do not have a travel tripod, and was curious if this was a good bet. I did the kickstarter compaign, so able to get this for a bit of a discount, $479 I think. The B&H guy tried to convince me that o 3 Legged Thing Punks Brian Travel Tripod was a better selection. Any thoughts? Also trying to figure out best 1-2 lens to bring. We are traveling with a group, so have dry bags, and will be on a big raft, doing side hikes for photo opportunities.
Not sure about exact lenses as I don’t know what camera you are using, but if it was me I would want something like a 16-35 wide-angle zoom to use in the boat (on the calm sections) to get people and the view all in the shot. Then I would want a second lens that is something like a 24-105mm.
As for the tripod, I personally don’t like the double extension of the centre column on the 3LT tripod. And in terms of packing down small to fit in a dry bag, the Peak Design tripod definitely has it beat by some margin. I’d go with the Peak Design, it’s a pretty perfect tripod for the situation you describe. I will be packing mine in a dry bag this summer!
Thanks Dan! So happy to hear you are still enjoying the PD tripod!
I will be bringing my 5D Mark IV. I do have the 24-105 F4L, but was thinking of renting or purchasing at 16-35 (?2.8 or 4) ? I was going to leave my primes and my 70-200 behind!
Do you think I would need any PD accessories for the Tripod, or take as is? Another confounding factor is my 14 yo is really getting into film, and has been using my old 60 D, and making some nice action videos, and Broll. I think she wants to bring the 60D too. So was not sure if she would need any special head for filming, but do want to simplify too.
I would say take the tripod as is. Ideally you would have a pan/tilt head for shooting video, but that’s a whole different ball game and you can still get great shots without one. Keeping it light and simple with one tripod is probably your best option. I would also recommend the 16-35/f4 L IS over the 2.8 for your use. It’s much cheaper and lighter and I don’t think you will really need the f/2.8 aperture.