
I recently found myself needing to create a few boxes to store several selections of small prints. What with being in the middle of a global pandemic and an economic crisis, I wasn’t too keen to spend a ton of money on this little project so I decided to spruce up a few cheaper options to create something that looked old and rustic. Many photo businesses are hurting right now, so I thought there might be others out there that would appreciate an idea that doesn’t cost a lot of money. If I get some good feedback, perhaps I’ll do some more photo DIY projects in the future, too.

These kinds of wooden boxes can often be found in dollar stores, Walmart, or in my case Canadian Tire. They are about $10 each here in Canada, but it’s likely that they are even cheaper in some places. For that price, I wasn’t even going to go down the route of constructing the boxes myself. If you are looking to sell small prints at art shows, local markets or in local stores, I think a box like this is a nice way to present them. The ones I bought are able to hold 10″ prints in one orientation, and 14″ prints in the other orientation.
If you want to do this yourself, you are going to need the following items:
- An old rag
- A paintbrush
- A sanding block
- A can of light coloured wood stain
- A can of dark coloured wood stain
- A sharp crafting knife
As you can see from the photos, I created two different looking boxes, so I’ll describe my methodology for both below.

Option 1
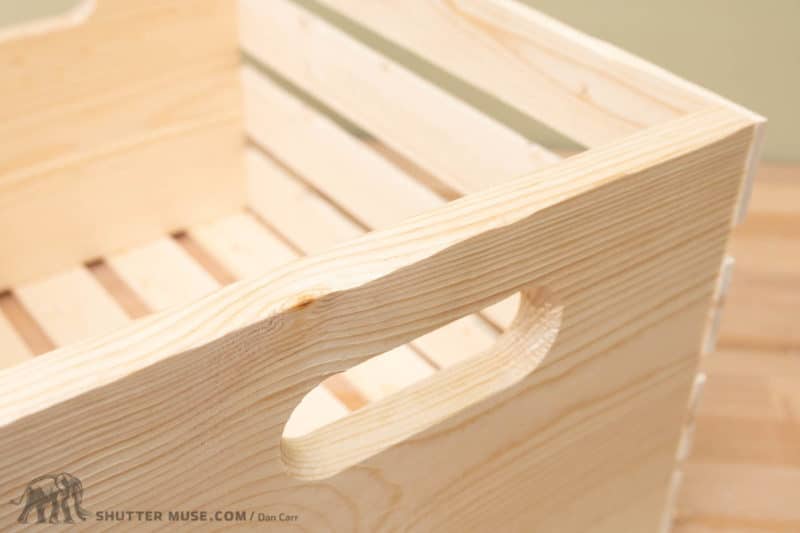
First of all, you need to sand down all the edges and corners of the box, as well as making sure all the flat surfaces are nice and smooth. Since my aim was to make old looking boxes, I did not worry about sanding things evenly, and in some cases, I deliberately sanded edges and corners much more than other areas to make them look worn.
After this, I took a sharp knife and cut random chunks out of the edges and then sanded those. In some cases, I even scored lines in the wooden panels and hit the butt of a knife on the wood to add a few dents. As you’ll see, uniformity is not your friend if you want a rustic look, so don’t be afraid to mess things up a bit. Heck, you could even grab a hammer if you want!
Next, I took the paintbrush and slapped a pretty thick coat of the dark wood stain on. I covered everything! At this point, it looked a real mess because I had covered over all of the interesting wood grain. Frankly, it looked like I had just painted it with brown paint. But you have to be patient!
Once it was all dry, I took a sanding block and sanded each surface back to reveal the grain. Again, from the photos you can see how I did this fairly unevenly, revealing more in some places, and less in others, to add to the weathered look. The sanding down of the dark layer will have left it looking dull and scuffed so I then finished it off by rubbing a thin layer of the light coloured wood stain over every surface using an old rag. This final layer with the lighter stain helps to give a finished surface, and it adds that light stain to the wood grain that you just revealed amongst the dark stain.
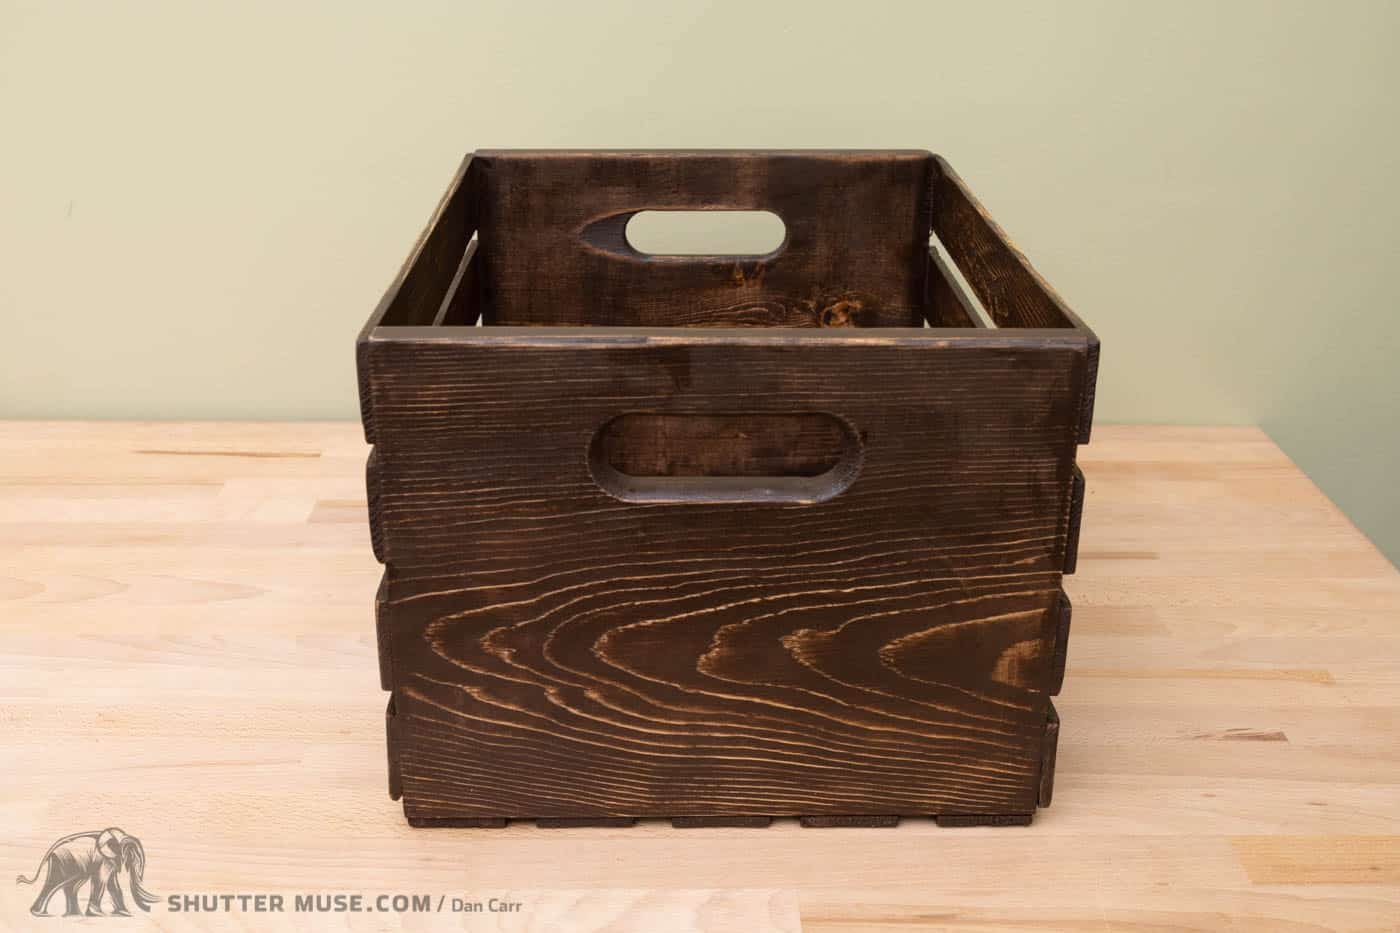

Job done! Hopefully, you can also see some of the areas where I took my knife to the edges to give it more of an old, rustic look. Additionally, I added a touch more dark stain in a few areas such as the inside of the handles and ends of the side panels just for some more contrast.
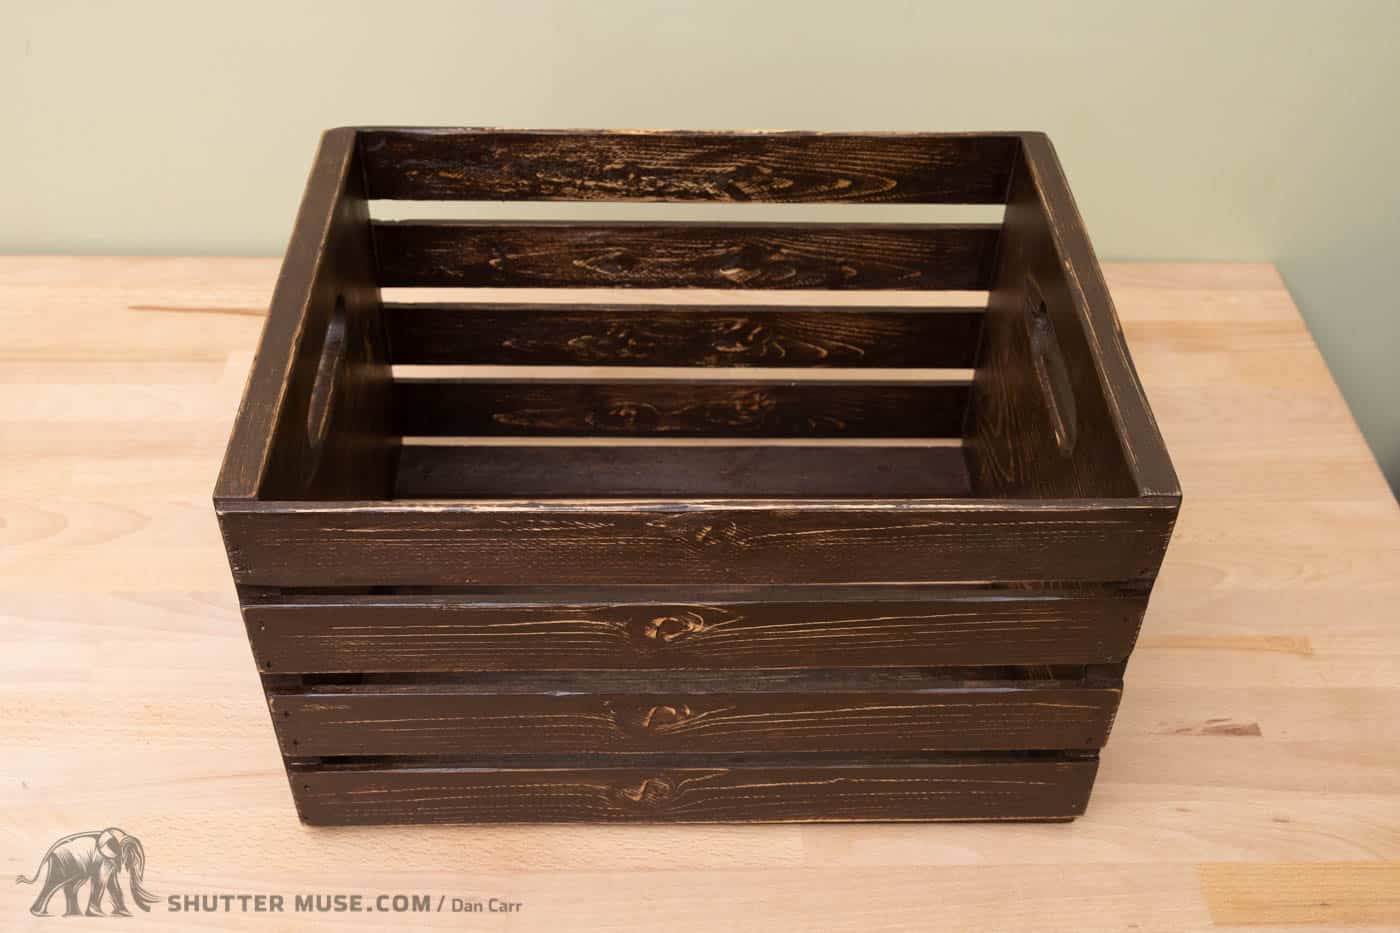
Option 2
This second box is essentially done in the opposite way to the first one. I sanded it, to begin with, then made my “improvements” to the edges with the knife. Then I covered the whole box in the light wood stain, using a rag to apply it, before sanding it back and rubbing the dark wood stain over it to pick out the grain details and finish it off.


Quick, Fun Project
I really like the way that I was able to create two completely different looking boxes using the same two wood stains, and I’m certainly going to create a few more of these to place in some local stores to hold my prints. I have never posted any kind of tutorial like this on Shutter Muse before, but hopefully, it sparks a few ideas for other people. Let me know if you find it useful, and if anyone tries it out I would love to hear how it went!


