
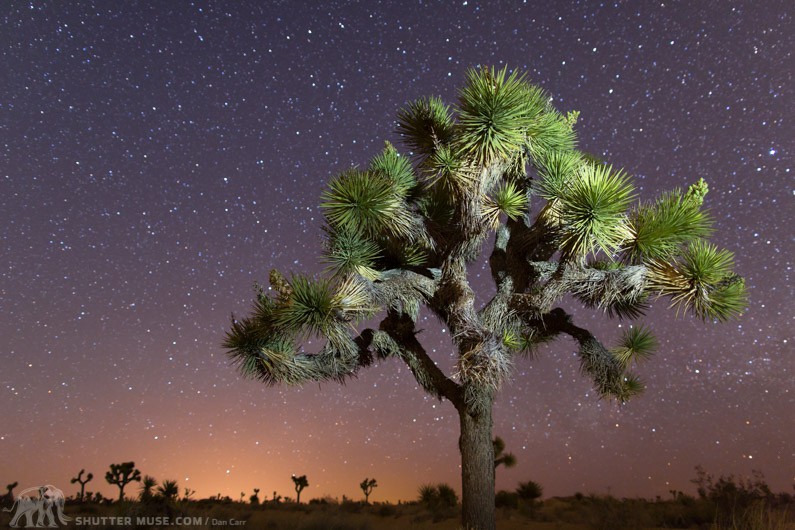
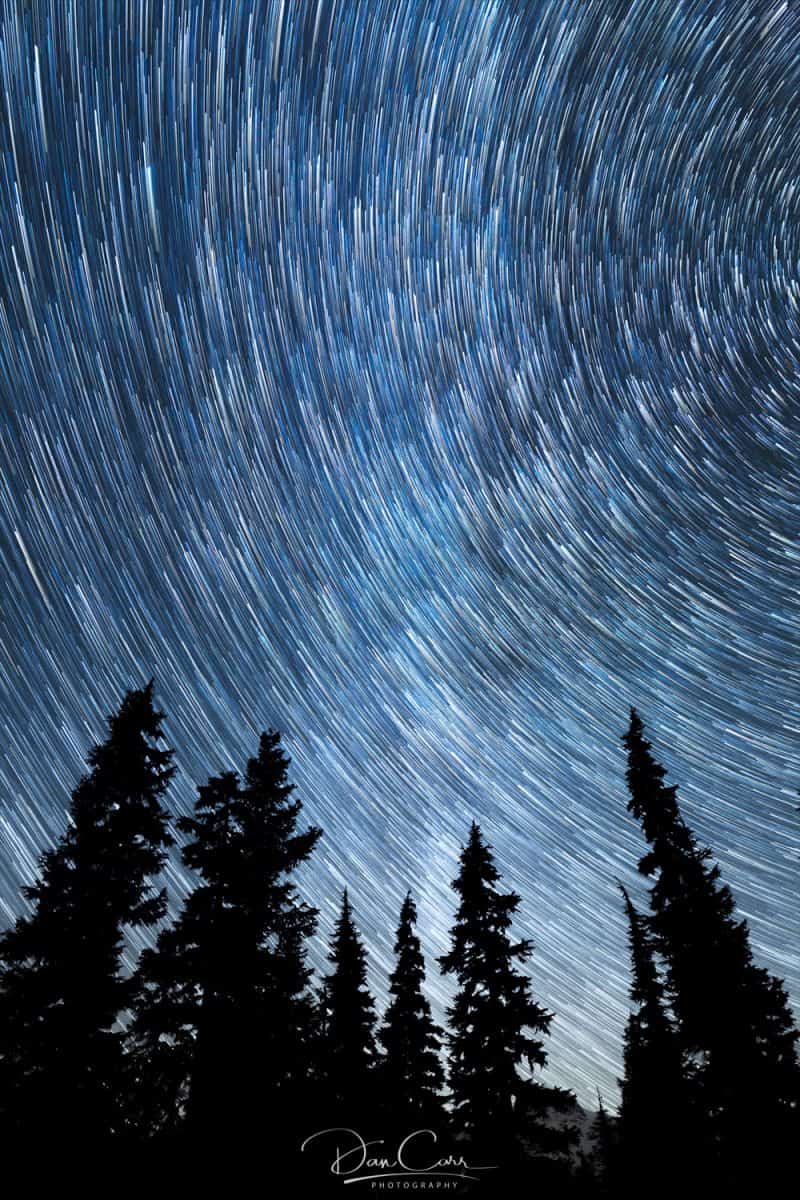
I’ve been spending a little more time out at night recently while I work on getting some new content together to teach you guys about astrophotography. Whenever you’re shooting stars there’s a question you have to immediately ask yourself and that’s whether you want to render your stars as point stars or star trails. There isn’t really a good middle ground between the two of these things because a slightly trailed star just comes across looking like a slightly blurry point star. In other words, it looks like you made a mistake when you were shooting it. Of course, this can cause a few problems because of the inherent lack of light in your nighttime location means that you require a pretty lengthy exposure time. What’s more, when people first starting shooting at night they are often very surprised to see just how short an exposure time can start to produce trailing on their stars from the rotation of the earth.
The exact length of exposure that you can get away with depends on a few variations. Firstly you need to know the focal length of your lens and the wider it is, the longer you can expose for without the stars becoming visibly blurred. Secondly, and very much related to the first point, you also need to know the crop factor of your camera’s sensor because this has an effect on your equivalent focal length. A full-frame camera has a crop factor of 1x, but APS-C sensors have either 1.5x or 1.6x depending on the manufacturer. Micro Four Thirds is becoming increasingly popular as well and these cameras have a 2x crop factor.
When deciding on what your maximum exposure time should be for point stars, you might also take into account how you will be viewing your final image. For example, if I was only showing my images in small resolutions on the web, I could get away with a small amount of trailing without it being noticeable. On the other hand, if I make large prints of my work, or they are featured as full-page shots in a magazine, then I would definitely have less tolerance. I think it’s fair to say though that most people will want to get the best possible result though, but if you are struggling with your particular gear setup then it might be that you can have a little leniency and nobody will really notice.
The ‘500 Rule’ is definitely more of a guideline than a rule because really there are no rules in photography. What this says though is that the maximum exposure time you can have before your starts start to become blurred is equal to 500/(your focal length in 35mm equivalent).
Example: If I had a 24mm lens on 1.5x crop Nikon camera my maximum exposure time would be 500/(24×1.5) = 14 seconds.
Now the shortness of this exposure time can catch people by surprise as I said before. If you have a crop sensor camera with a kit zoom lens on it that only has a max aperture of f3.5 or something like that, you’re going to be pushing your ISO up pretty high to get your exposure time down to 14 seconds. It’s, therefore, easier to shoot with wider lenses, and also a good reason for a full-frame camera which will allow the full field of view of a lens and also have a better high ISO performance.


When I was in Death Valley visiting the Racetrack Playa one night, I wanted to capture a cool photo of the 4×4 Jeep I’d rented to get up to the famous plateau with the moving rocks. In this shot, I chose an exposure time of 31 seconds but I had my lens set at 35mm on a full-frame camera. The 500 rule would way that I shouldn’t have my exposure longer than 500/35=14 seconds. As you can see from the 100% crop of the image, the stars have indeed begun to trail quite visibly in the photo. Not ideal! Hey, we all make mistakes…… that’s how we learn. In fact, the focus of this image is more on the vehicle than the night sky so in this instance, I almost got away with it. Had this been a shot entirely of the sky though, focussed on the intention of just showing the stars, this would have looked a lot worse.
The ‘500 Rule’ Chart
For easy reference (and because nobody really likes to do the math), I created some handy charts that you can refer to. You’ll find a download link to get a PDF version of the chart that you can keep with you on your mobile device, or print out and keep in your camera bag. If you don’t need that, the charts are also displayed on this page.
The first chart features a large variety of focal length, as well as three different sensor sizes. Full frame 35mm as well as 1.5x and 1.6x crop factors to cover Canon, Nikon and Sony. A separate chart is provided for the 2x crop of Micro Four Thirds cameras.
Print Friendly PDF Version
Full frame, 1.5x and 1.6x crop

2x crop – Micro Four Thirds


Thanks for this great info, however, in most articles about this process, no-one mentions ISO. What is the best ISO for this? Do we just push our cameras to the max? Also, I gather the lens is set wide open?
Thanks,
ISO should be seen as a setting that you use to enable a required aperture and shutter speed. There’s no “correct ISO” for any photo, instead, you set an ISO that enables your camera to shoot at what would be considered an ideal aperture or shutter speed for your scenario. This might be useful: http://shuttermuse.com/what-is-iso-in-photography/
In the case of astrophotography, you would want to open up your aperture as wide as possible (smallest f-stop number), so that you gather enough light to bring your exposure time into line with the 500 rule.
In this case the process would go like this:
1. Set aperture as wide as possible
2. Set shutter speed to the longest possible speed to avoid star trails for your focal length of lens.
3. Adjust ISO until the image is correctly exposed.
This one might also help: http://shuttermuse.com/exposure-triangle/
Hi Dan! Thank my lucky stars for finding your blog. Kudos to you for all your great content. You know that I found ShutterMuse a few months ago and have never looked back!
Just wanted to let you know what a great job you’re doing and that you were in the top 10 for my first search hit on the “500 Rule”!
Will be my first time going out to capture the Perseid meteors and I needed some solid info, to give me some confidence, which your blog definitely delivers!
Thank-you, again and again!
You’re welcome! Thanks 🙂
Very informative, thank you a lot.
Hey Dan,
Thanks for all the detailed work and countless hours you put into the charts / shuttermuse.
-pablò-
You’re very welcome!
Hey Dan tnx for the explanation. My Camera (Canon M50) has a crop factor of 1.6, the lens I am using is 11-22mm. To apply the 500 rule on my lens on the widest focal length, should be: 500/(1.6×11) ??
You’re exactly right, yes.
Good morning,
What is the unit for the exposure time in the table? I assume it is seconds. Am I wrong?
Thank you for sharing this very useful table.
Yes, it is seconds.
Hey mate, thanks 4 sharing but this page isnt vewable when using Chrome it is doubled up.
Dan
I recently bought the fuji X-T30 ll which is a 1.5 crop camera and a 23mm prime lens which is the equivalent of a 35mm lens. Does that mean that I simply divide 500/35 to get 14 seconds time exposure?
This lens opens to F1.4, however, I have read that most lens have what is called COMA and a wide open aperture will amplify this common problem that most lens have. The other issue is sensor noise which gets worse as you increase the ISO. It’s hard to get away from light pollution and overcast skies in Ontario. When I get the chance, I will try this 500 rule with the iso set at 640 and open the lens to it’s max which is F1.4 to get an idea of what is acceptable as sensor noise and what I capture.
You are correct. You should use 500/35. As for COMA, the best thing to do is take a series of images with different apertures and then study them all at home on your computer. You need to determine what your own acceptable COMA limit is. It’s hard to get zero COMA, but it’s also a hard thing to see unless you really zoom in on the image. A lot of people don’t even notice it until someone tells them to go looking for it.