In this video tutorial I’m going to show you how to add sun rays to your photo using Luminar from Skylum Software, and also explain which images work best for this kind of edit. Luminar has rapidly become my go-to Lightroom and Photoshop editing plugin, and with Luminar 2018 they added some cool new features that will help us with this task.
Example Image
The first image is the RAW file from my Fuji X100. The second image has gone through the process that is demonstrated in the YouTube video above. Click to view them larger.


Whilst sunshine can be nice to have while you’re taking photos, there’s actually a lot to be said for adding the sun in afterwards. When the sun is really shining, we know that it usually creates some areas of blown out detail in a scene. Photographing on a cloudy day with more diffuse light will give you nice even lighting on the scene, then you can use Luinar to add a little dramatic sunlight back into it.
What I’m really loving about this features is that you have an incredible amount of control with the look of the sun rays. You can make them extremely obvious, or you can do what I’ve done and make them much more of a subtle glow through the trees. Watch the video below to see all the different looks of sun rays you can generate!
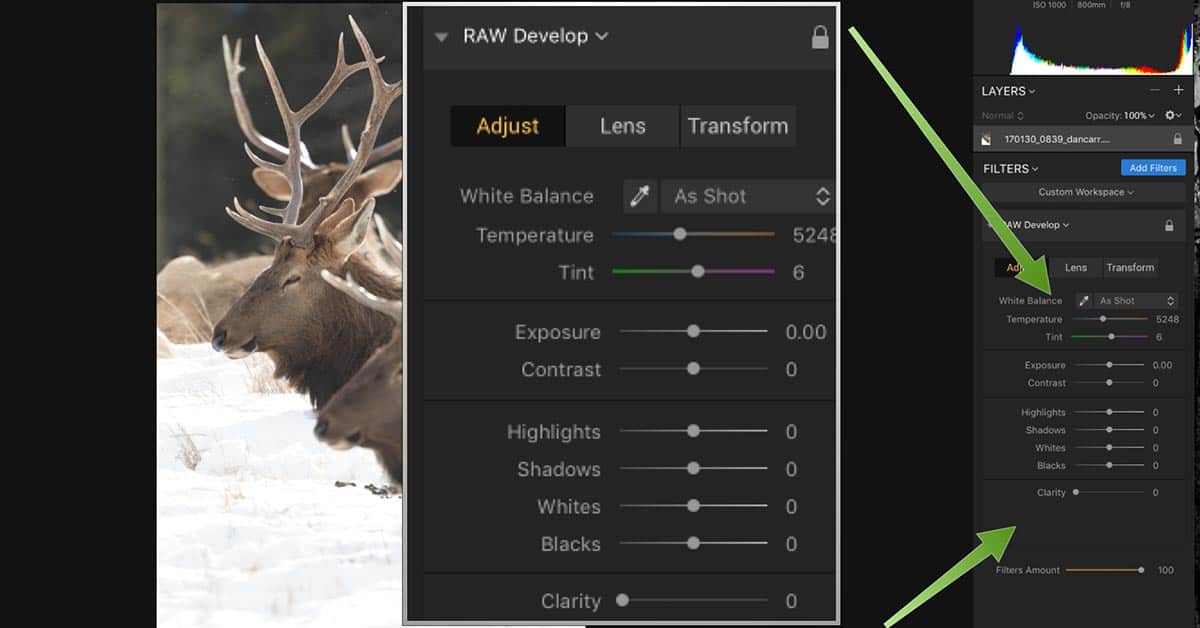
Here’s How…
Try Luminar
If you haven’t tried Luminar yet, you owe it to yourself to at least use the 15-day trail to check it out.