Not so long ago, I was on a wildlife expedition near the Great Bear Rainforest in British Columbia. Along with a few other photographers, we had a boat at our service and cruised the fjord lands of Northern BC in search of grizzly bears and other wildlife. Every time we saw something, I raced to grab my camera with a large telephoto lens on it, and I realized that I didn’t quite have the perfect camera bag for this.
The bag I was using was great for air travel with long lenses, and it was great for carrying long lenses while hiking. The difficulties arose while quickly extracting a camera on a bobbing boat with the bag lying on the floor. As with most large camera bags, to open the backpack required it to be lying flat. In the tight confines of the boat, amongst other photographers all trying to do the same thing, it was all a little too cumbersome.
I knew there must be a solution that would work better in this specialist situation, so I took to Google for some research when I got home. I wasn’t wrong, and it turns out that my friends at LensCoat make a bag – their only camera bag – for almost this exact purpose. After a quick email, they sent one over for me to test and review.
The LensCoat Xpandable camera bag is a collapsible and expandable long lens bag that can adapt to the size of your super-telephoto lens, with and without the lens hood attached. Crucially, for solving the problems I experienced in the boat, the bag has a large top opening. Designed for wildlife photography, with use in safari vehicles, cars and boats in mind, the bag can fit vertically in a small space while still allowing you to retrieve your camera.
Table of Contents
Colours and Sizes and Specifications
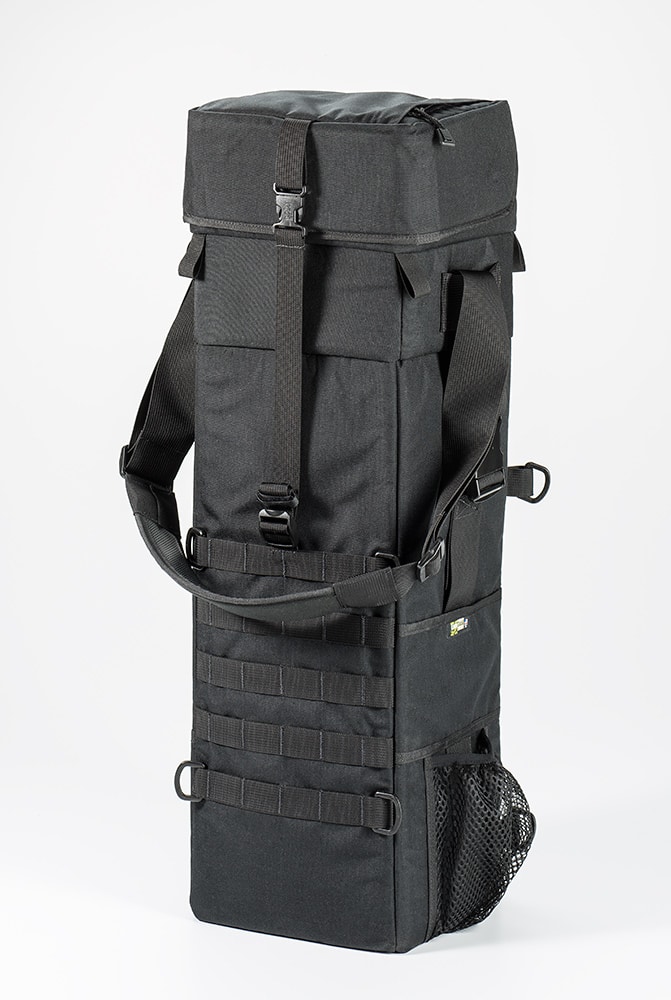
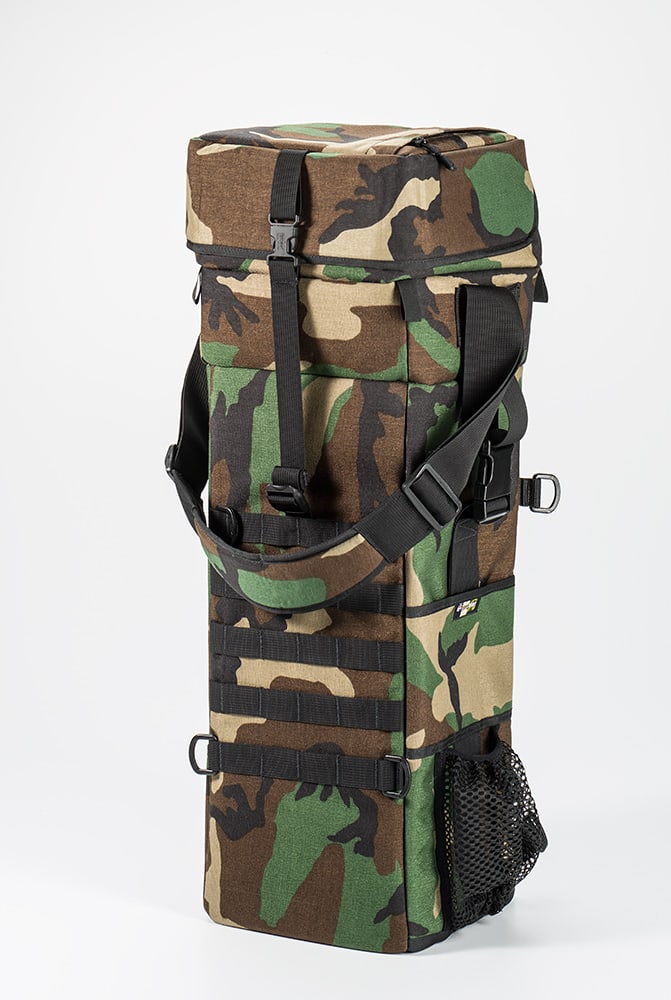
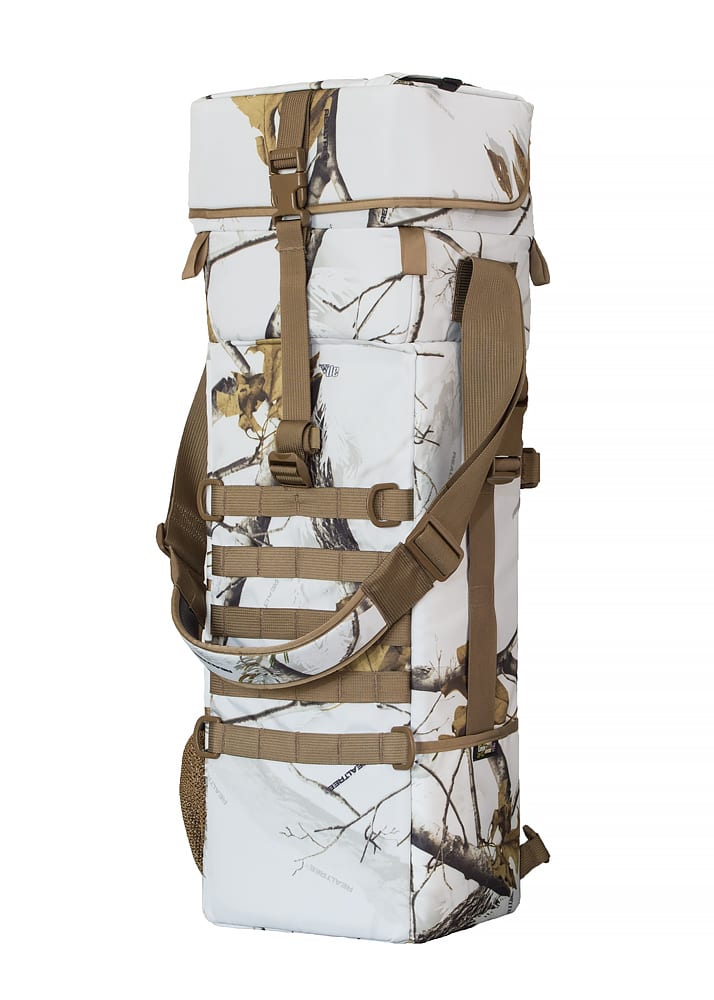
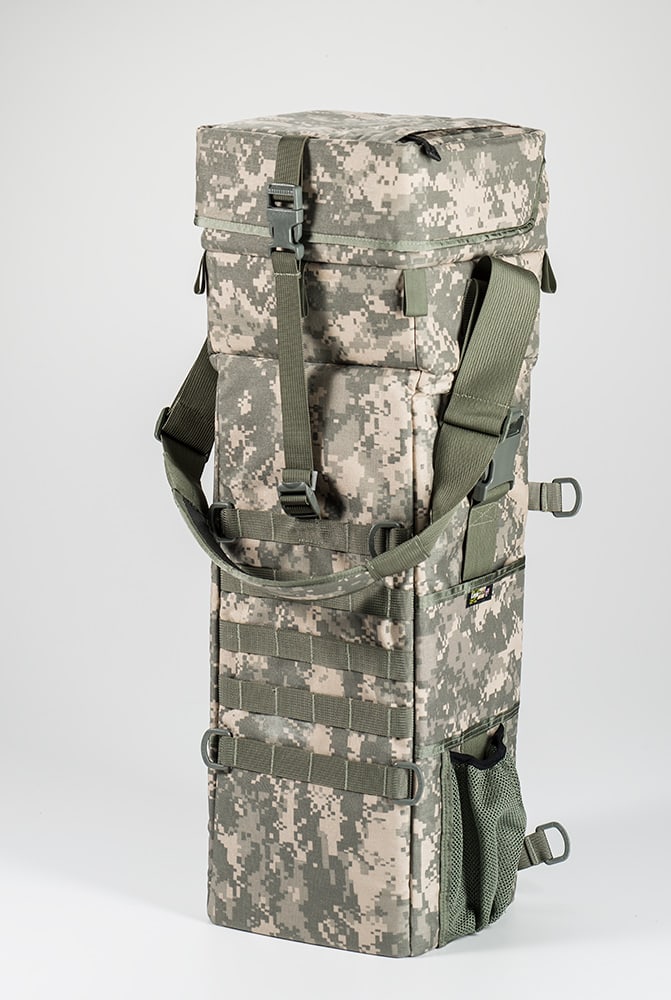
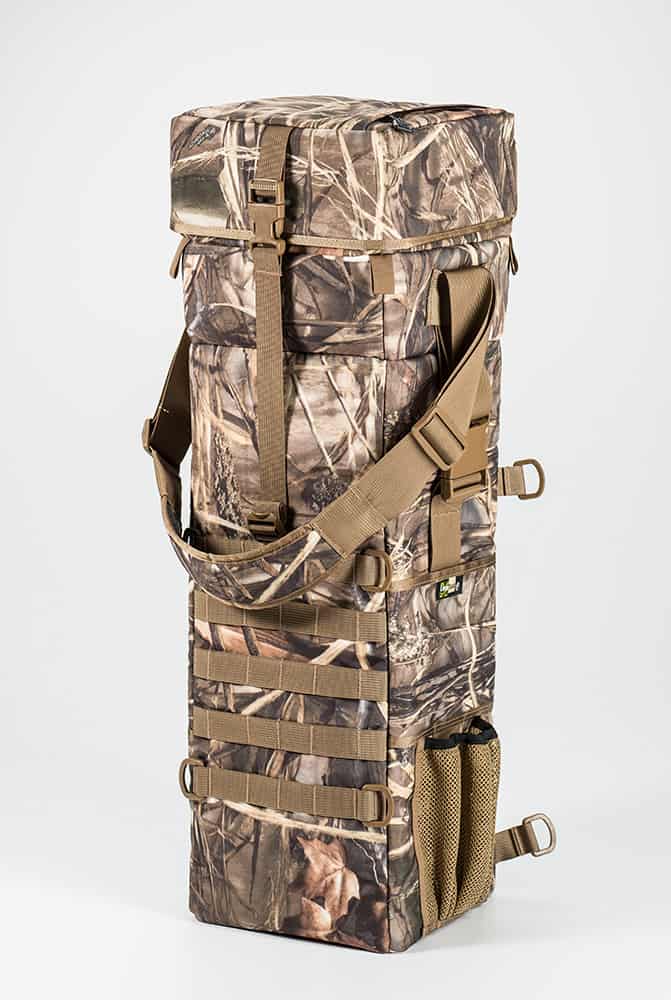

The Xpandable bag is available in two models called 3Xpandable and 4Xpandable. Contrary to what you might assume from the naming scheme, both bag models can be configured in three different sizes using the bag’s headline expandable folding feature.
Each model is available in six different colours or camouflage patterns. The one you see photographed in the rest of the review is the Realtree Max5 version, but they are also available in Realtree Max4, Realtree AP Snow, Forest Green Camo, Digital Camo and Black.
3Xpandable Specs
- Position 1 length: 27.75″
- Position 2 length: 23.5″
- Position 3 length: 19.75″
- Internal dimension: 8″x8″ (20.32cm x 20.32cm) x 19.75″or 23.5″ or 27.75″ (50.16cm or 59.69cm or 70.49cm)
- Weight: 2.13 – 3.5lb (.964- 1.59kg)
- Accomodates lenses such as: Canon 200-400mm, Canon 300mm f/2.8, Canon 400mm DO, Canon 500mm, Nikon 200-400mm, Nikon 300 f/2.8, Nikon 500mm, Sigma 500mm, Sigma 300-800mm, Sony 500mm
- Price: $279
4Xpandable Specs
- Position 1 length: 28.75″
- Position 2 length: 24.5″
- Position 3 length: 21.5”
- Internal dimension: 9″x9″ (22.86cm x 22.8cm) x 21.5″or 24.5″or 28.75″ (54.61cm or 62.23cm or 73.02cm)
- Weight 2.6 – 4.19lb (1.19 -1.9kg)
- Accomodates lenses such as: 400mm f/2.8, 500mm, 600mm, 800mm
- Price: $289
In terms of sizing between the two different models, it’s worth underlining that the internal dimension of the 3Xpandable model is 8×8″, where the 4Xpandable is 9×9″. Though lenses such as 400mm f/2.8 and 600mm f/4 have lengths that at first appear compatible with the 3Xpandable bag, the cross-sectional dimensions are not going to be enough for their wide diameter lens hoods.
When choosing between the 3Xpandable and 4Xpandable bags, make sure you consider your future lens acquisition plans. Maybe right now, you are shooting with a 200-400mm lens which would easily fit in the smaller 3Xpandable bag. But in the future, if you see yourself getting a 600mm or an 800mm lens, it might be prudent to buy the larger 4Xpandable model. In the meantime, you can easily use the larger bag in its mid-sized position to fit your current smaller lens.
Features and Design
When I write gear reviews, I often read through customer reviews on websites such as Amazon and B&H to see whether anyone has raised a concern or issue that hadn’t crossed my mind. In the case of the Xpandable bags, I noticed a few comments from people who appeared dissatisfied with the level of padding in this bag. To be very clear, and as I hope you can see from extensive products photos in this review, this is not a heavily padded bag. For it to be so would prevent it from being expandable and pack-flat collapsible for travel. In short, it would become a different bag for another purpose.
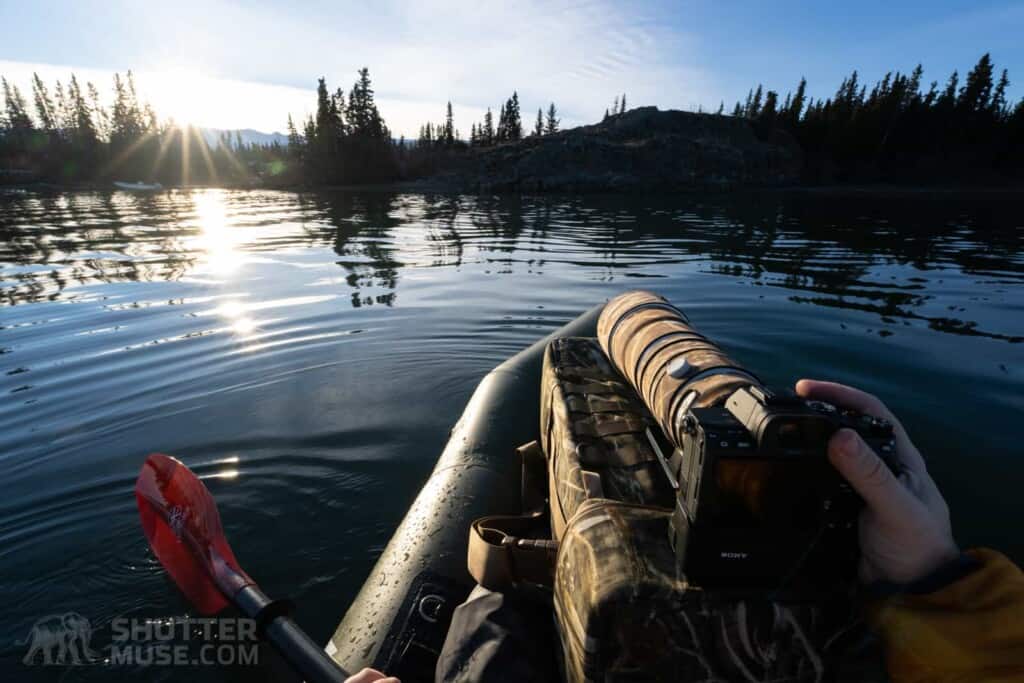
Where this bag shines is offering enough bump and scratch protection for your gear while using it in any vehicle. The top access means that you can stand it up between your legs in the tight confines of a shared vehicle, on land or the water. Or, as can be the case when I’m photographing from a raft, kayak or small Zodia-style boat, I can lay the bag on my legs with the opening facing me. Once I have completed the mission, the bag can be packed flat, and the camera and lens can go back into my travel backpack.
Collapsible Design
When I first unpacked the Xpandable bag, I was surprised at just how flat it is when entirely collapsed and strapped down with the included accessory straps. For air travel, this makes a lot of sense. The longest camera bag you can get onto a plane as carry-on luggage will just about fit a 600mm lens with the hood reversed and no camera body attached.
On safari with a bag like that, when you want to have a camera attached and a hood in place, ready to go, you’re left with no option but to place the camera on the seat next to you, open to the dust, sand and rain because it won’t fit into the bag you used on the plane.
If your checked baggage weight limit allows for it, you can pack the Xpandable bag into your duffel bag and set it up on location to carry your super-telephoto lens with a camera attached and the lens hood in place. On many dedicated photographic safaris, guests are given the entire row of a safari vehicle, leaving plenty of room for the Xpandable bag with your big lens and your carry-on camera bag with a secondary shorter lens such as a 100-400mm or 70-200mm.
Expandable Design
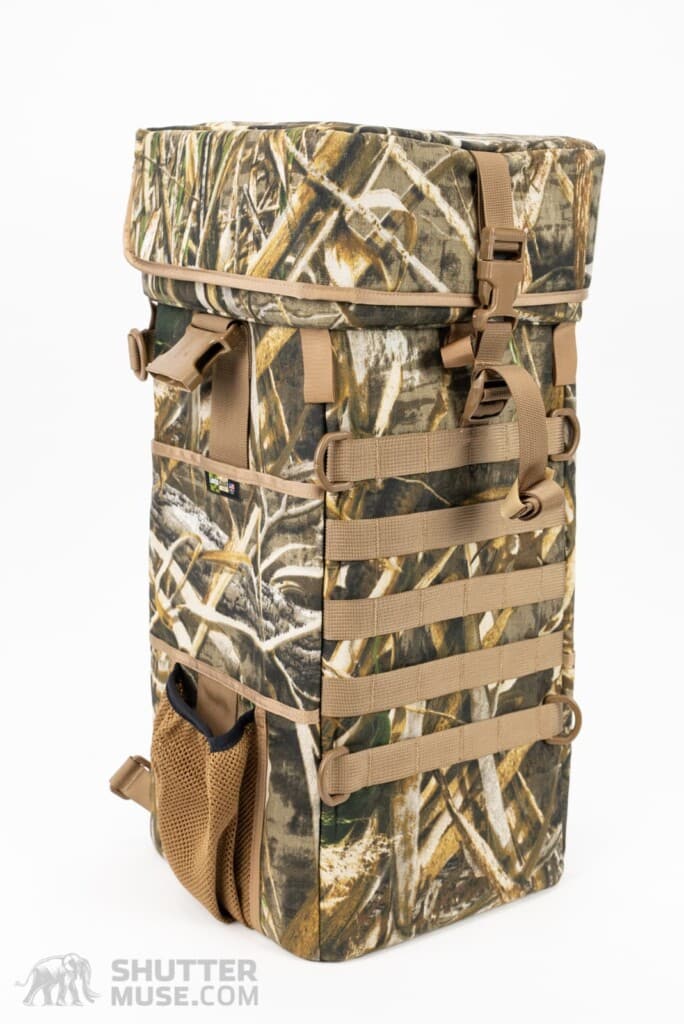


Both versions of the Xpandable bag (3X and 4X) use a clever folding system that allows you to adjust the height of the bag to one of three different sizes. Not only does this allow for accommodating different lens sizes, but it also allows you to set the bag up to carry just a lens, or a lens with a camera attached, or a lens with a camera attached and the lens hood in place.
Alongside the collapsible design, the expandable design is this bag’s primary feature, and I’m pleased to say it works like a charm. Moving from one size position to another takes just a few seconds, so it’s easy to adjust throughout the day as the need to leave a lens hood in place arises.
Removable Lid
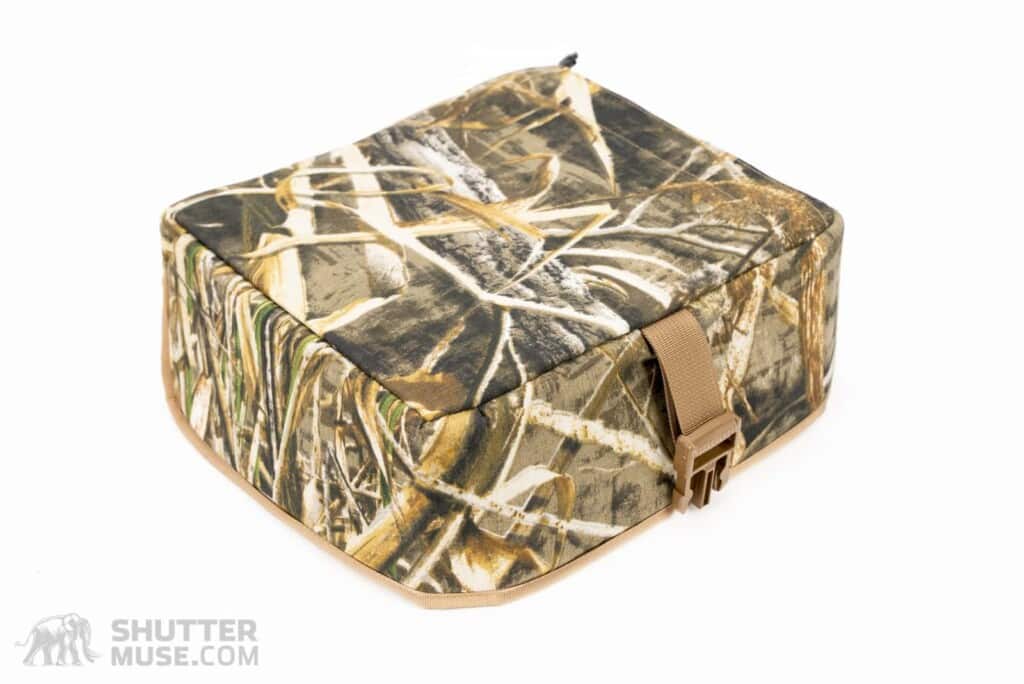

A zipper secures the lid of the bag. That zipper is protected from sand and grit by a flap of material that attaches over the top with hook-and-loop. If you are using the bag inside a closed vehicle, safely secured to the seat next to you, you may find that there is no use for the lid, in which case you can remove it and leave it at home.
When I used the bag in my car, I generally placed it in the front passenger footwell. With the bag secured vertically, I was able to quickly reach over and pull my camera from it at a moment’s notice. When used in this way, I didn’t bother to close the lid between shooting moments, but I still preferred to leave it attached to the bag as protection when transferring my gear to and from the car. Your mileage may vary, and it’s nice to have options.
Lid Pocket
A sizable lid pocket gives you an excellent place to store a memory card holder, spare batteries and your teleconverters.
Side Pockets
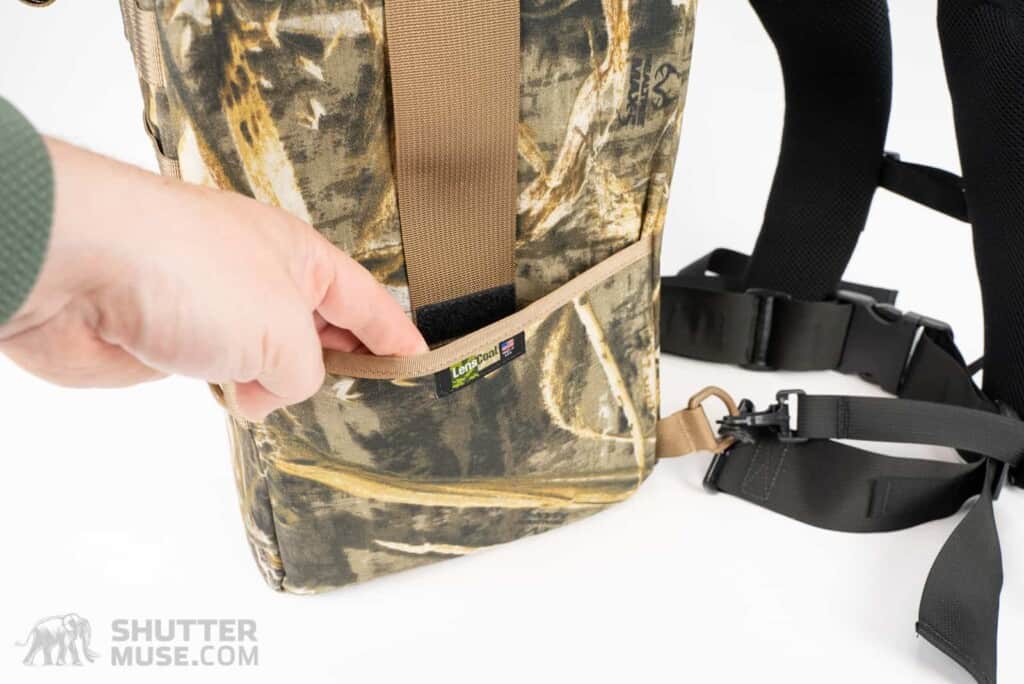


There are three side pockets on the Xpandable bag. The mesh pocket is designed to carry a water bottle, while the lower pocket on the opposite side is primarily for your tripod or monopod feet. A third flat pocket above the mesh pocket has limited use because it is only secured by a tiny piece of hook and loop in the centre. I always put things in the zippered lid pocket instead of inside the bag’s main compartment within a third party organizer.
MOLLE
The front of the bag is covered in standard MOLLE webbing for attaching accessory pouches. There are thousands of options available from military and hunting stores, but LensCoat also offers its range of roll-up MOLLE pouches. These highly compressible pouches pair nicely with the Xpandable bag if you intend to take advantage of its fold-flat design for travel.
Tripod Carry
The Xpandable bag arrives in its flat-packed form, strapped down by a pair of matching accessory straps. When the bag is constructed, these serve as tripod straps once passed through the slots in the webbing on either side of the pack. As you can see in the two photos, you have the option to place a tripod on either side of the bag.
Optional Extras for Backpack Carry
Backpack Straps
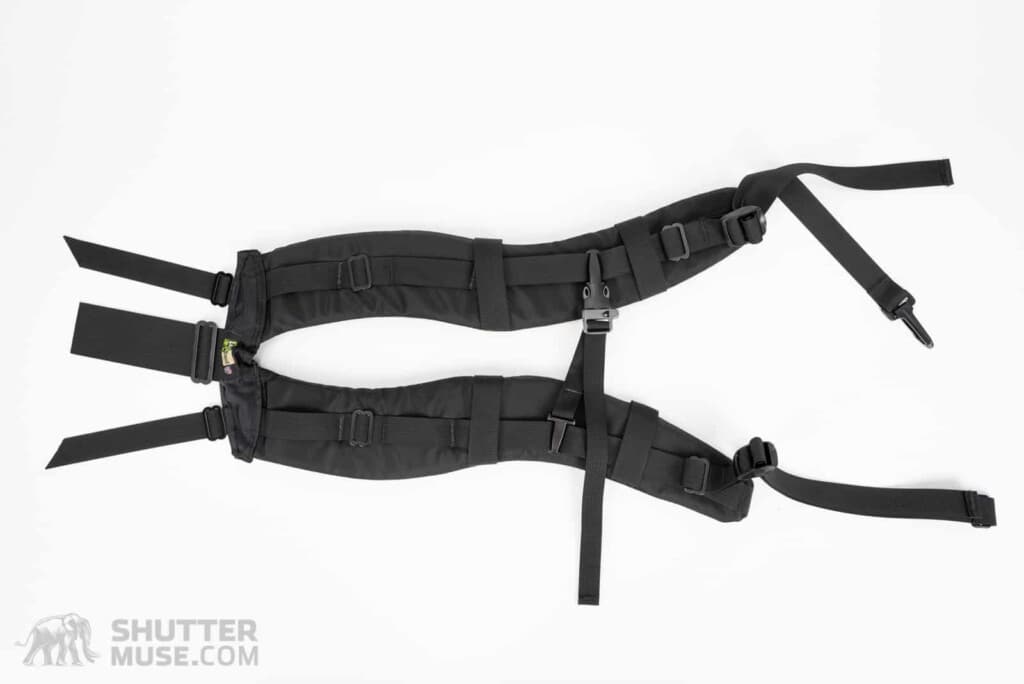


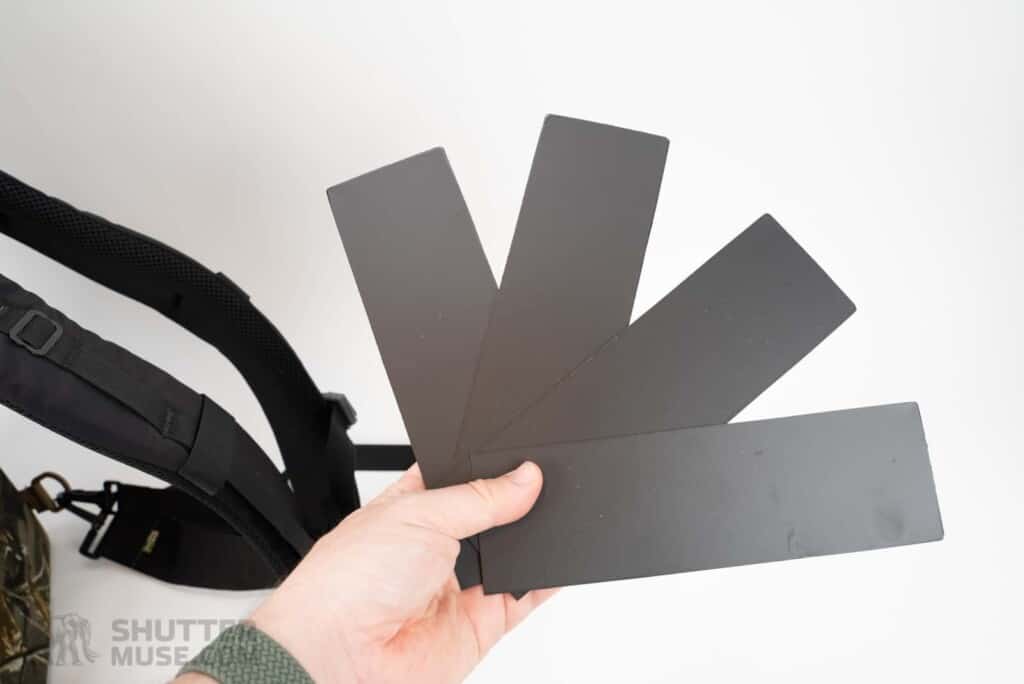
A set of backpack straps are available for the bag as a separate $45 purchase. They are thickly padded and comfortable on the shoulders, but they don’t feel as well built as the bag itself. At the top of the bag, the straps attach with three pieces of nylon webbing to one of two sets of attachment points. Chose your set of attachment points based on the size of the bag you will be using from the three expandable options.
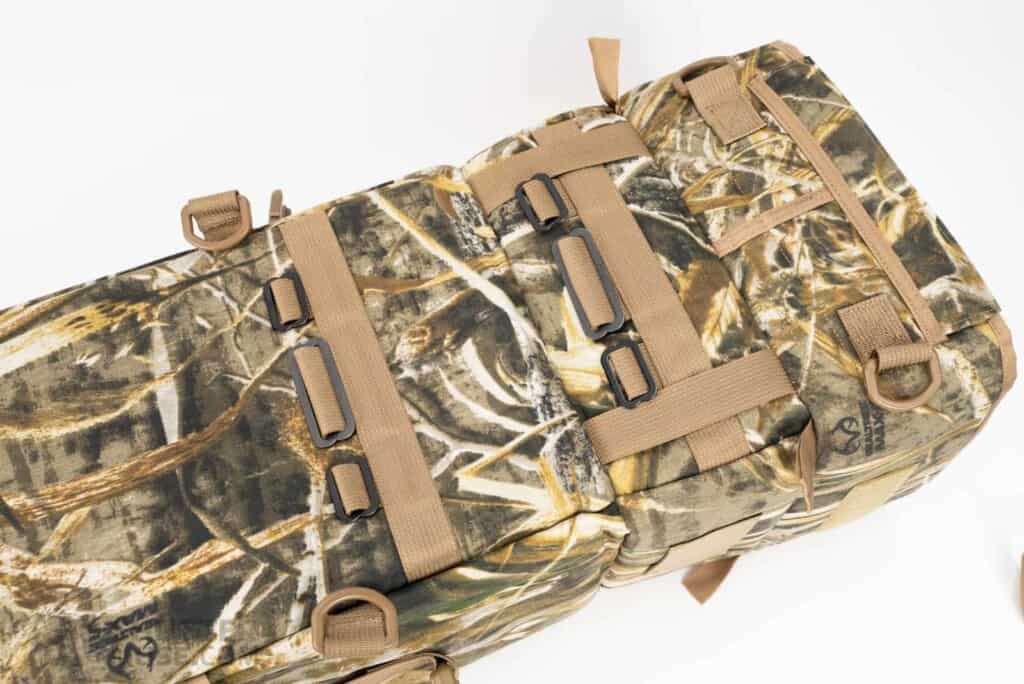


I think LensCoat did the right thing in offering the shoulder straps as an optional purchase. Most people will use this bag as a protective, quick-access long lens case in a vehicle – not carrying it around on their back. In that situation, it’s nice not to have the bulk of the backpack straps.
The downside of the optional purchase is that I suspect the shoulder straps are produced in low volumes, and this means they are pretty expensive for what they are. I would usually expect a camera backpack in the price range of the total price (Xpandable bag + backpack straps) to use much more robust materials and buckle hardware than what we see here. By comparison, the single shoulder strap included with the bag is of a much higher quality that matches the main pack.
Waist Strap
A waist strap is available for an additional $18 purchase. This strap is as basic as it comes, with cheap-feeling plastic clips, no padding and a length adjustment method that prevents you from simply tightening the belt once you have the bag on your back. The last point alone is a deal-breaker for me because you are endlessly fussing with the strap every time you wear a different thickness of outer layers. I can’t recommend it.
Overall, I was left a little underwhelmed in terms of the optional backpack straps and waist belt. These add-ons seem like they were designed by different people and made in different factories to the main product. The Xpandable bag, as we have seen, is built like a tank and full of clever, innovative features. The optional straps don’t exude that same level of construction toughness. The waist belt, in particular, is inadequate for the loads you would expect to carry in a bag designed for super-telephoto lenses.
I understand that this bag’s primary purpose is not to be used as a backpack, so these straps are not included. But if the straps are offered as an optional extra, I still feel they should live up to the same standards as the bag itself. Otherwise, anyone buying the complete set will have their opinion of the bag diminished by their experience with the add-ons. I think that would be a shame because the bag has so much going for it.
In the end, in terms of carrying the bag as a backpack, I’m left to conclude that it is merely adequate. If your primary intent is to hike for many miles with your 600mm lens on your back, there are better bags out there that offer thickly padded waist straps and generous back panel padding, such as the Lowepro Trekker 600. Of course, such bags as the Trekker 600 are not fold-flat collapsible like the LensCoat Xpandable bag, so it’s crucial to remember sacrificing the perfect backpack carry has given the bag a unique and handy feature. Swings and roundabouts, I guess. Just make sure you know what your feature priorities are.
Air Travel With a LensCoat Xpandable Bag
While preparing for a wildlife expedition to Tasmania, I decided I wanted to have my LensCoat 4Xpandable bag along for the journey. While I could have flattened the case and packed it into a duffel bag, I placed it in a Pelican case and stuffed it with my tripod and several other precious pieces of gear. Once in Tasmania, the bag lived in the car to protect my 600mm f/4 lens, and the Pelican case continued to protect the other items from my kit. The Pelican 1606 AIR is a great size for this purpose.
Conclusion
The LensCoat Xpandable is a camera bag that serves a particular purpose. It allows you to carry a super-telephoto lens in a rugged, lightly padded case. From that, you can quickly draw your camera when a wildlife photo opportunity presents itself.
This bag can be re-configured in three different sizes to suit different lenses or switch between a lens only configuration and a lens with a camera attached and lens hood in place configuration. Overall, I was mightily impressed with the bag’s clever expandable design and tough as nails materials.
The optional waist belt, and to some extent, the optional backpack straps, were my only disappointment with this bag. They don’t feel like part of one cohesively designed product and lack the toughness otherwise evident in the main bag’s design. If you’re looking for a long lens bag that you can comfortably carry all day on your back, this is not the right solution for you.
The best way to use the LensCoat Xpandable bag is in a vehicle when you need essential protection for your gear and fast deployment. Though many camera backpacks can accommodate smaller lenses such as a 100-400mm with a camera attached and lens hood in place, I know of no other reasonably-sized camera bag on the market that can do the same thing with huge super-telephoto lenses like a 400mm f/2.8, 600mm f/4 or 800mm f/5.6.
This scenario is where the Xpandable bag shines. Strap it into the passenger seat of your car, use it in a safari vehicle in Africa, or lash it into the front of an inflatable boat while you search for Polar Bears in Svalbard. Then, at the end of your trip, fold it flat and pack it into your duffel bag for the flight home. As long as you use this bag as intended and don’t have any misconceptions about the level of padding and protection that is offered, I think you’ll find it to be a great addition to your wildlife photography kit.




From this article, I take it that this bagshold not be used to transport a large lens during air travel. This bag then shines at your final destination as a bag transport. What would you recommend for air travel for a lens like the Nikon 800mm f/5.6 for the air travel portion of the tip? Thanks. I have used several of your reviews to buy or avoid equipment that would not otherwise suit my needs.
You’re right, Alfredo. I would transport the lens as carry-on in a Gura Gear Kiboko 30L+. Review here: https://shuttermuse.com/gura-gear-kiboko-review/
I then place my tripod and some clothing in the LensCoat bag and place that in a Pelican case or a large duffel bag.