
I thought it was about time for the next instalment of my photo backup routine series which has been running now for about four years. It’s April, so perhaps calling it mid 2019 is slightly premature, but a lot of water seems to have passed under the 2019 bridge already and it sure as heck doesn’t feel like early 2019.
The last article in this series was written in 2018 where, as usual, I detailed my entire photo backup routine as it was at that point. As technology evolves, and as I learn more about my own business needs, my backup routine tends to evolve and I like to keep all of you in the loop.
Why, you may ask?
Well, I’m sick of hearing people’s sob stories about how they lost their photos when it’s so incredibly unnecessary. Every year I hear the same stories about how someone’s drive failed, or how they accidentally erased their memory cards and hadn’t backed up their photos yet.
You wouldn’t light a bunch of candles in your house and then walk out the door for the day would you? So why do people insist on playing with fire when it comes to protecting their hard-fought, precious, irreplaceable photos. It boggles my mind!
Hard drives will fail, and humans will make mistakes. If you don’t protect your photos from these inevitabilities then you will lose your photos at some point. It’s as simple as that. Your photos are not safe unless they are stored on multiple drives in at least two locations. And yes, it’s going to cost you money, so the sooner you get over that, the sooner you can make your photos safe.
If this is the first time you have come across my photo backup series then it might be worth jumping back to the beginning and following the whole journey. There are plenty of stories and useful tidbits shared in previous years.
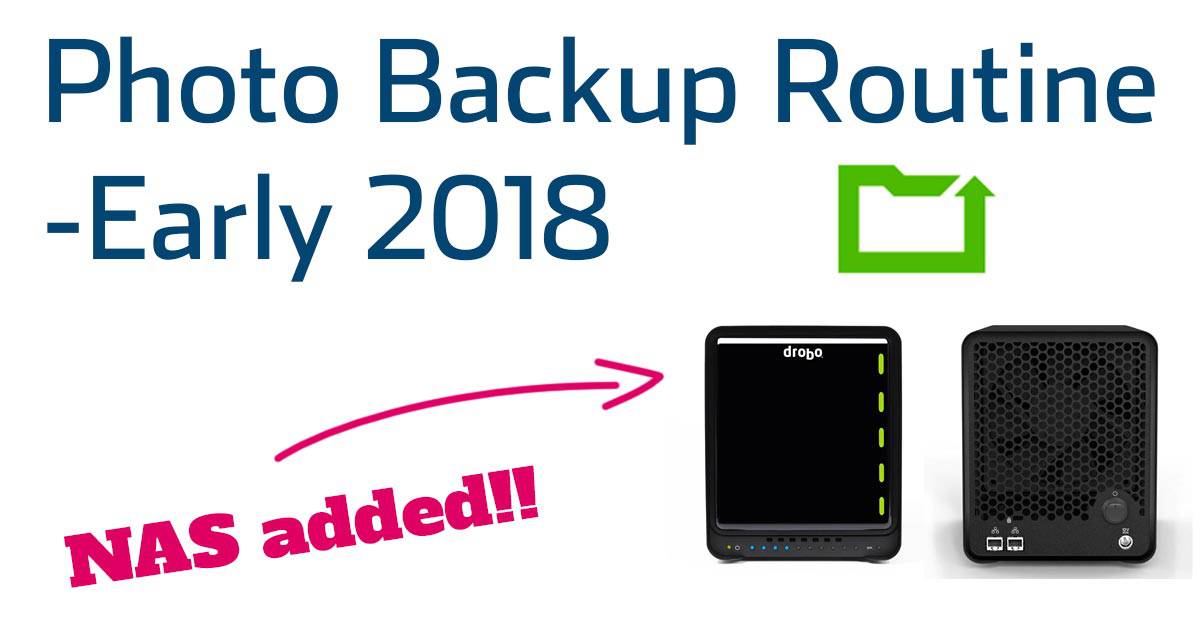
A Quick Recap
My primary storage device is a Drobo 5D3 and they hasn’t changed since I last wrote in this series last year. The Drobo 5D3 has been going strong and apart from upgrading all the drives inside it to Seagate Ironwolf drives, that part of the backup equation has gone unchanged.
Last year I also transitioned my secondary backup device to a Drobo 5N2 NAS. This was an exciting development for me because it allowed me to easily access any of my images from anywhere in the world using my laptop or even the Drobo app on my iPhone.
Main Changes for 2019
Since I’m a Mac user, I always make use of the Time Machine backup function. It has saved my ass many times, and did so again a few months ago when it recovered a deleted email from over a year ago! In previous years I have used a dedicated drive for my Time Machine backup, but this year I moved the backup to my primary Drobo 5D3.
The Drobo has a specific function for creating a dedicated Time Machine volume on the device and it was as simple as clicking a few buttons and telling the Drobo how much space I wanted to set aside for the Time Machine backups. It appears as a separate volume when plugged into my Mac, and functions just as it did before. The only difference is that now I don’t need to have one more external hard drive sitting on my desk. I like simplification! I’m not really sure why I hadn’t done this before.
As standard, if a drive fails in the Drobo 5D3 then you can just slot in a new one and your data won’t be lost. There’s also an additional option to allow for two simultaneous drive failures and still keep your data safe. The downside is that you need to put more, or larger capacity drives in to the Drobo, but this year I deemed that a worthwhile added layer of protection and I turned on Dual Disk Redundancy and added more 8TB Seagate Ironwolf drives to provide the necessary extra space.
Another change that I made was cancelling my Crashplan service. Crashplan is a service that backs up your computers internal drive to the cloud, and it used to be available for a mere $5/month. Unfortunately they increased their prices dramatically last year and I failed to see the value in it anymore. For me, at the time when I was using it, it wasn’t a crucial piece of my backup plan anyway. Of course every complete backup plan needs to have some kind of off-site backup, but I already have that covered elsewhere as you’ll see.
Flying my Offsite Backup on a Plane
To underline how serious I am about my backups, let me tell you a story.
A few months ago I moved house, and I moved a long way. Several thousand kilometres in fact. I rented a moving truck to drive all my belongings to my new home, but I came across a problem.
I needed to move my primary and secondary photo backups which was fine, but I also need to move my offsite backup to a location that was going to be closer to my new home.
There is no way I could put my offsite backup in the moving truck with my primary and secondary backups, because that would mean for several days all my photos would be in the same place (the truck) and I would essentially have no offsite backup at that point. What if the truck crashed? Or was broken into?
There was no way I was going to let that happen, so I drove the truck to my new home and left my offsite backup back at my old home. Once I was settled in my new home, I actually got on a plane and flew down to pick up my offsite backup in its Pelican case, and bring it as carry-on luggage back to a location close to my new home.
The security screening took a long time when they passed the Drobo through the carry-on x-ray machine, but eventually they let me though and I safely got my offsite backup to a new location, without ever endangering my perfect backup system. Costly? Yes. But this is an archive of my entire career we are talking about.
Here it is then –>>My 2019 Backup Routine
Primary Photo Storage – Drobo 5D3
Photos are downloaded from memory cards using my ProGrade Digital Workflow Reader and Photo Mechanic, then placed into my primary photo archive on the Drobo 5D3. The 5D3 is a redundant array using Drobo’s BeyondRaid technology, so even if two drives fail simultaneously in the 5D3, I can simply slot in replacements and no data is lost. It works in a similar way to a regular RAID system but it allows you to use drives of varying sizes. Remember that a RAID system is not a backup, so this is just my first layer of redundancy.
Secondary Photo Storage – Drobo 5N2 NAS
Every night, Carbon Copy Cloner mirrors the primary storage onto the Drobo 5N2 NAS. Again, since it has redundancy built into it, a drive can fail and no data is lost. Even if a drive fails, it can still perform its backup duties that night whilst simultaneously rebuilding the replacement drive that you put into it. Even when a drive fails in a Drobo, you still have continued access to all your files during the rebuild process.
The primary reason for having two Drobos containing the same data is to protect against hardware failure of the Dobo itself. If the Drobo 5D3 unit fails, even if all the drives are fine inside it, this would knock me out of action for several days while warranties or replacements are organized. I can’t afford for that to happen, and I learnt this lesson the hard way many years ago. It also protects against file corruption because a RAID (or in this case a BeyondRaid system) is not a backup as I said before.
The 5N2 is permanently switched on and attached to my local network so I can log into it remotely to retrieve files while I’m on the road.
Offsite Photo Storage – Drobo 5D
This additional Drobo 5D lives at a friend’s house. After a big job, or several weeks of shooting, I bring it home and plug it in to the computer. Carbon Copy Cloner immediately jumps into action and mirrors the Primary Photo Storage 5D3 onto this 5D, then it goes back to my friend’s house.
This protects agains fire, flood or theft of the Primary Storage 5D3 from my office location.
Internal Drive Backups – Time Machine
Time Machine backs up the internal drive on my Macbook Pro 15″ to a Time Machine volume on my Drobo 5D3 in the office.
Time Machine backs up the internal drive on my 13″ Macbook Air to a tiny Sandisk Extreme SSD. I specifically purchased the ultralight Macbook air for times when I need to travel light, so it makes perfect sense to pair it with one of these tiny SSDs for this purpose.
Internal Drive Backup – Bootable Copy
Time Machine is great for getting back a single file that you may have accidentally deleted, but if your entire internal drive fail, it takes time to replace the drive and get back up and running. To mitigate this risk, I use Carbon Copy Cloner to occasionally create a bootable clone of my internal drive onto a LaCie Rugged USB-C.
If my internal Macbook Pro drive fails, which has happened before, I can instantly boot a mirror of my computer from the clone and be back to work in minutes. Of course the internal drive would still need to be replaced, but this means I can take the time to do it at a convenient moment.
Travel Drives
In my continuing efforts to save weight while I travel, I’m now using a pair of Sandisk Extreme SSDs as my backup drives while I travel.
You should always keep these in different places, and ideally one of them should be on your person the whole time to protect against lost baggage or theft from hotel rooms. With the tiny Sandisk Extreme SSD able to fit in my pant pocket, that makes like easy!
Summary
This setup has me covered from some pretty serious drive and hardware failure. In order for me to lose my images I would need to experience 7 simultaneous hard drive failures across three different devices in two distinct locations. That’ll simple never happen!


Good ideas, for professional photographers – your livelihood depends on fail proof back up, as much as it does on your camera gear.
Amateurs can opt for printing their photos – but of course if the house goes up in flames, the prints go too. Ignoring that, at least they won’t go broke because they’ve lost the originals and can no longer produce fresh prints.
I often wonder what the famous 99% are doing – the cellphone crazed members of the population, whose entire photography collection lives and dies in a digital vacuum. Transferred from one place to another, on cellphone APPs. With no backup at all, for the overwhelming majority of them. Gone are the slide evenings of the 1950s, with dimmed lights, a projector, a screen, a box filled with Kodacolor slides, and everyone munching popcorn in the gloom. Their collections vanished for another reasons – lack of stability or permanence in the vegetable dyes used to colour the film and produce the images.
These days, at least, prints can be made with industrial dyes that we are assured can last over a century, with suitable curation, on acid free papers. But of course, there’s still the question of back up . . . .
“I often wonder what the famous 99% are doing – the cellphone crazed members of the population” Well because I’ve written quite a lot about photo backups on this site, it unfortunately means I often get emails with people’s horror stories about losing all their photos. That’s really why I continue this series, so that I can try and help at least a few people avoid the pitfalls. With regards to printing photos, I had some small 4x6s done recently and the thing is that it’s not really cheaper. If you take a lot of photos, it’s cheaper to use hard drive storage and cloud backup.