This question came up in a recent conversation with a reader via email. They mentioned that they needed to do some research into the difference between neutral density filters (ND) and graduated neutral density filters (GND) because they were not sure how they differed and when you might use one versus the other. It sounded like a perfect topic for the growing list of articles about photography filters, so here we are!
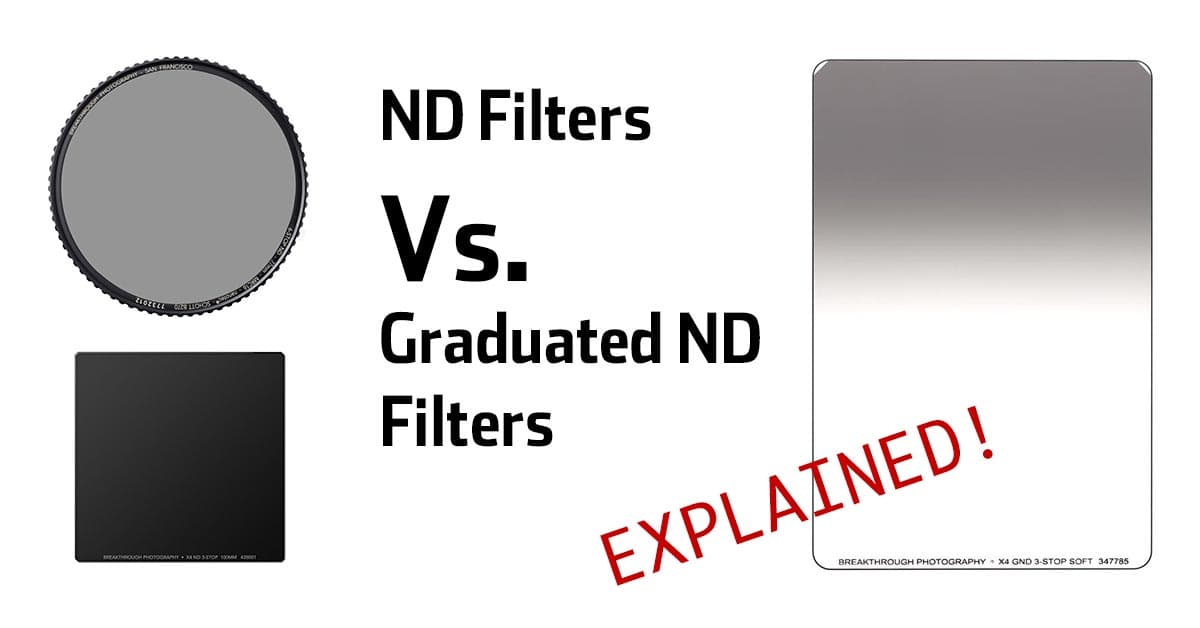
Neutral Density Filters
Neutral density filters, or ND filters as they are often called, are filters that cut down the amount of light that enters the front of a lens. ND filters work in a uniform manner, and he distinction “uniform manner” is very important in this description. It means that the amount of light hitting the camera’s sensor is diminished by exactly the same amount across the entire frame. It’s kind of like putting a pair of sunglasses on your camera, except that the word “neutral” means that the colour of the image is not affected (in theory) by the filter.

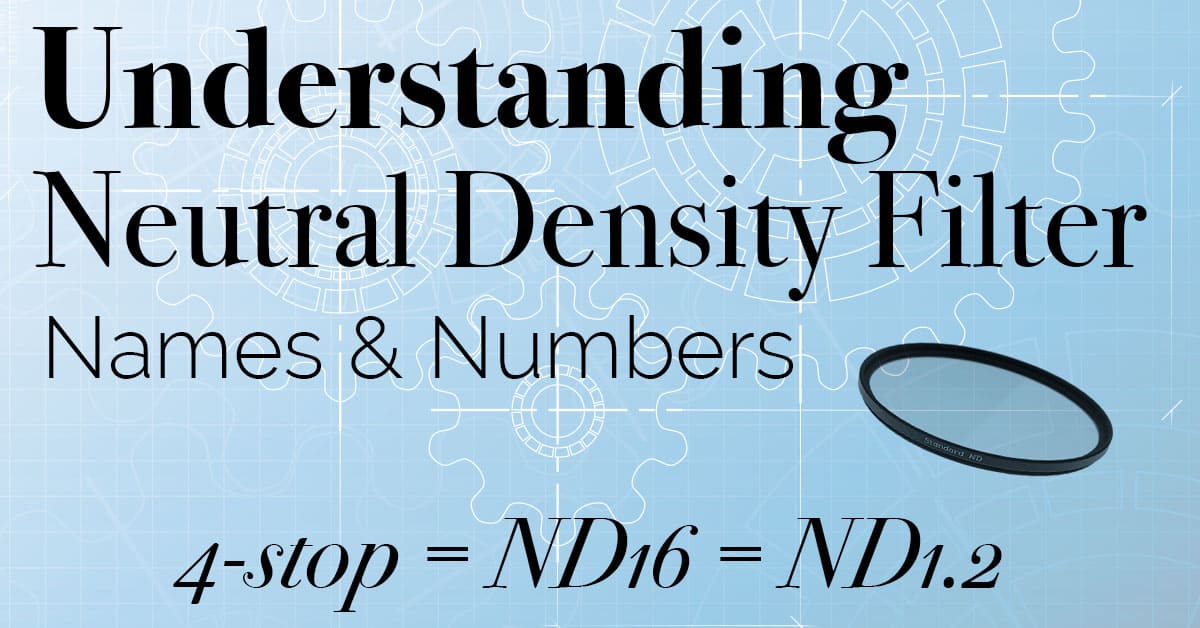
These ND filters are available in different “darknesses” which we actually call densities. ND filter naming conventions can be a little complicated, and in the past I have written a separate guide to understanding ND filter names. Once you’ve got the hang of the basic differences between these types of filters, I’d recommend going back and reading that article as well.
In general, ND filters are available in a range of densities that all vary by 1-stop. They start at 1-stop and go up to about 15-stops. If you remember all the basic exposure terminology about f-stops and apertures, you’ll remember that a change of one stop is equivalent to either a halving or doubling of light, depending on how we phrase it.
In the case of ND filters we are removing light, so a 1-stop ND filter would half the amount of light that is getting to the sensor. A 2-stop ND filter halves that light again so that means it’s actually 4x less light coming into the lens than if you had no ND filter on it, and a 3-stop filter would be 8x less light.
In the field you rarely need to remember exactly how much less light a filter is going to allow into your lens, apart from knowing that a 6-stop ND filter would allow a lot less light into your lens than a 2-stop ND filter.
Why use an ND Filter?
The most popular reason for using an ND filter is to achieve a much slower shutter speed in order to blur cloud or water movement in landscape photos. Without an ND filter, the longest shutter speed you can get is limited by whatever you get when you set your ISO to it’s minimum setting (eg iso50) and your aperture to it’s smallest setting (eg f/32). At this point you would be left with a single shutter speed that would provide the correct exposure for the scene, and if the shutter speed is not slow enough to blur that water then you’re out of luck. Unless you use an ND filter!
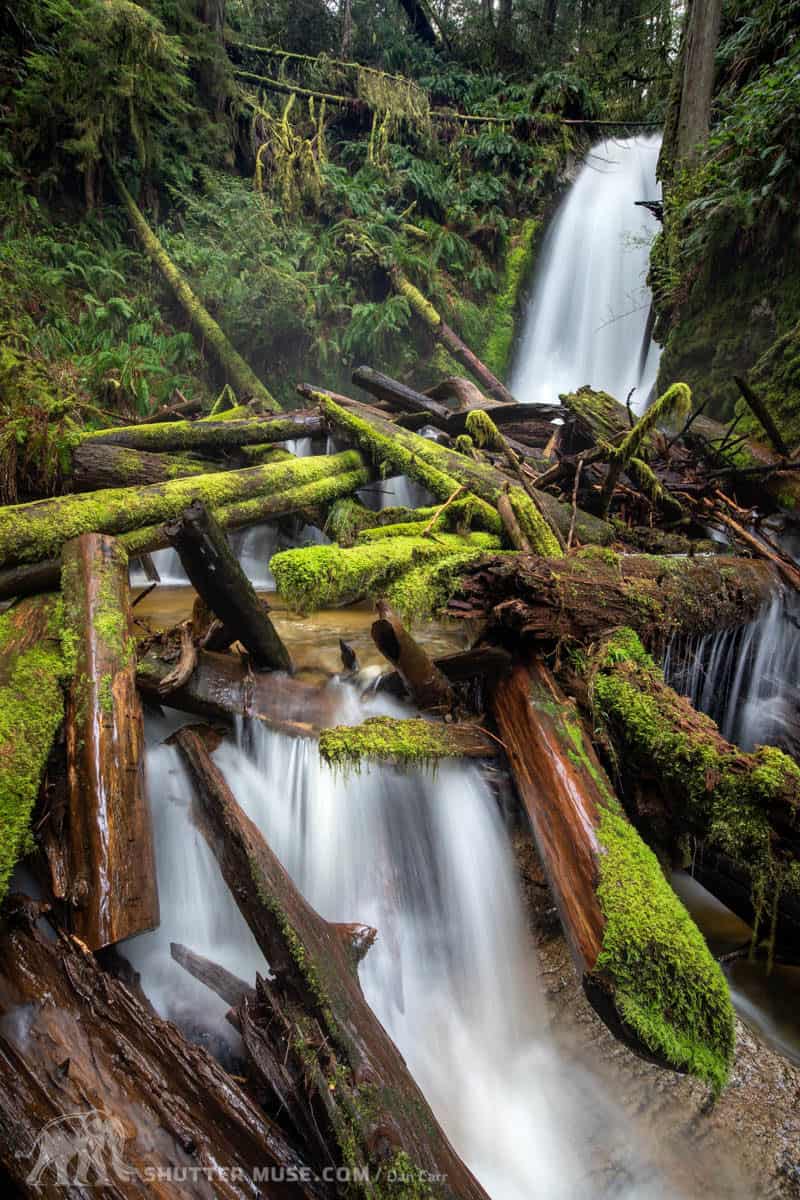
ND filters of various densities will dramatically slow down your longest available shutter speed. For example, if your native shutter speed with no ND filter was a quarter of a second and you added a 6-stop ND filter to your lens, all of a sudden your correct exposure would be a 15 second exposure. A dramatic difference, right?!
Free Resource: This article about calculating long exposure times contains a free downloadable long exposure table to keep in your camera bag.
The second most popular use for ND filters addresses the other end of the shutter speed spectrum. Let’s say you are outside trying to shoot a portrait photo on a bright sunny day and you want to use a fast prime lens with a big aperture to get a nice creamy out-of-focus background at f/1.4. It’s sunny outside so you set your iso to its base value then select that big wide aperture. At this point you take a test shot and realize that your photo is completely over-exposed and blown out, even with the fastest shutter speed that your camera can use (often 1/4000 or 1/8000).

Your iso and shutter speed are already pushed to the end of their scales, so your only option would be to make your aperture smaller to let in less light. But this adds depth of field and starts to kill the look you were going for with that wide-open prime lens. The fast prime lens is simple letting in too much light, but the solution which you no doubt saw coming, is ND filters.
When you apply an ND filter to the lens you can keep that aperture wide open, getting your nice creamy bokeh, and lower your shutter speed to get the correct exposure instead.
Summary: ND Filters

ND filters block varying amounts of light coming into your lens, and they do it in a uniform way across the entire frame. They are most commonly used by landscape photographers to create slow shutter speeds for blurring water and clouds, and sometimes by portrait photographers who want to work outdoors in bright light with wide aperture prime lenses.
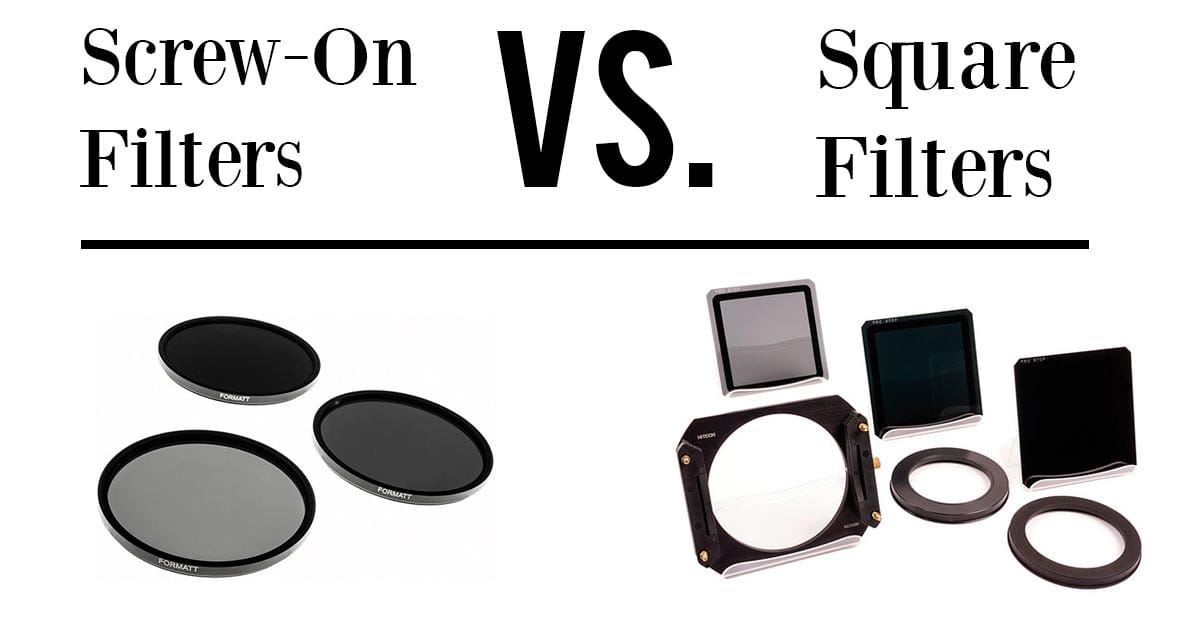
Note that ND filters are available in two variations: Round screw-on filters, or square filters that require a filter holder. I have previously written an article that discusses the question of round filters vs. square filters. Be sure to read that before making your first purchasing decisions when building out a first filter kit.
Graduated Neutral Density Filters
Graduated neutral density filters, or GNDs as they are sometimes called, are rectangular filters that transition from a point of maximum filter density at the very top, right through to being clear at the centra of the filter.

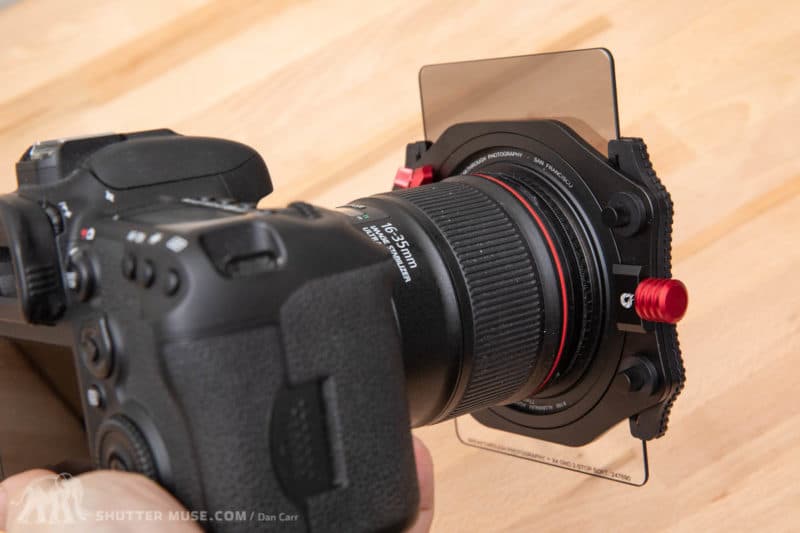
The reason that these filters are rectangular is so that you can move the filter up and down in front of your lens in order to position the dark part of the filter, and the transitional area, over exactly the right spot in the photo.
Most people use a filter holder attached to the front of their lens so that the filter is held in the right spot while you take multiple frames, or during a particularly long exposure.
By placing this darker part of the filter over the top part of your photo where the bright sky and clouds are, you can “hold back” the exposure there to balance it with the foreground exposure. If you have ever taken a photo where you sky looks great, but your foreground is left incredibly dark and lacking detail, a graduated neutral density filter is how you solve this problem. With a GND in place, you can take a longer exposure, revealing more of your foreground. The darkness of the GND at the top of the frame ensures that this longer exposure doesn’t overexpose your sky and you can slide the filter to ensure the dark area only covers the bright parts of your composition. You can even rotate it to an angle if that suits your shot.
Just like regular ND filters, GND filters are also available in a variety of different filter densities or “stops”. By far the most common are 1-stop, 2-stop and 3-stop. There are some 4-stop GND filters on the market but I’ve never seen anything darker than that because it would be very unusual to have the top and bottom parts of an image differ by more than 3-4 stops. In reality, I find that 2-stop GNDs are the most used, and occasionally a 3-stop can be handy to have as well. Note that when we talk about the densities of GNDs, we are talking about the density of the filter (the darkness) at the very top of the filter, before it starts to transition towards being clear in the middle.

As well as varying filter densities, there are also different types of transition, with the most common being “soft edged” where the transition between the light part and the clear part of the filter happens gradually. The second most common is “hard edged” where the transition is much more abrupt, and therefore possibly visible in the image if you are not careful. A third type, the “reverse” GND, transitions from light at top of the filter towards a darkest band closer to the middle. This type is generally only used for sunrise and sunset images where the sun is close to the horizon, giving you very bright horizon in the central part of your image.
Summary: Graduated ND Filters
Graduated filters block light like a regular ND filter, but unlike an ND filter the effect it not uniform across the whole frame. Instead the density of the filter is usually graduated from the top of the filter towards the middle of the filter.
Graduated neutral density filters are almost exclusively used by landscape photographers who want to darken bright skies and clouds in an image, in order to balance the sky exposure with a darker foreground.
All graduated neutral density filters are rectangular, and most people prefer to use them in a filter holder so that they can accurately position the area of transition over the correct part of the frame during the exposure.

General Summation
As you can see from these descriptions of ND and GND filters, they both serve very distinct and different purposes. I like to employ both of them in my own landscape photography, and particularly appreciate the ability of ND filters to blur water and clouds. Something which is impossible to accurately replicate in post processing software.
If you are just starting out and looking to experiment with both of these types of filters, I would recommend purchasing a 2-stop GND and a 3-stop ND filter. This pairing is a great starter kit for landscape photography which will easily allow you to blur rivers, lakes and waterfalls as well as hold more detail in your skies.
My preferred filters at the moment are those made by Breakthrough Photography. Here is a link to their 2-stop X4 graduated ND, and here is a link to their 3-stop X4 ND. I like these filters because they are colour neutral, unlike other cheaper brands, and they also have incredible customer service when you deal with them directly.


Dan, thank you for an excellent thorough article on this topic. It cleared several questions in my mind as an enthusiast photographer trying to put his hands on filters first time.
George
Thanks George! Glad it helped.